


Table of contents
- Native Jira integration in your workflows
- What you can do with this integration
- How to set up the integration
- Practical use cases
Native Jira integration in your workflows
We have added Jira as a native integration in Futuria CRM workflows. Your automations can now react to issues being created or updated in Jira and, the other way round, manage the whole issue lifecycle straight from Futuria CRM.
You will be able to create, update and link issues, add comments, watchers, attach files, log work time and move issues into sprints, all automatically.
What you can do with this integration
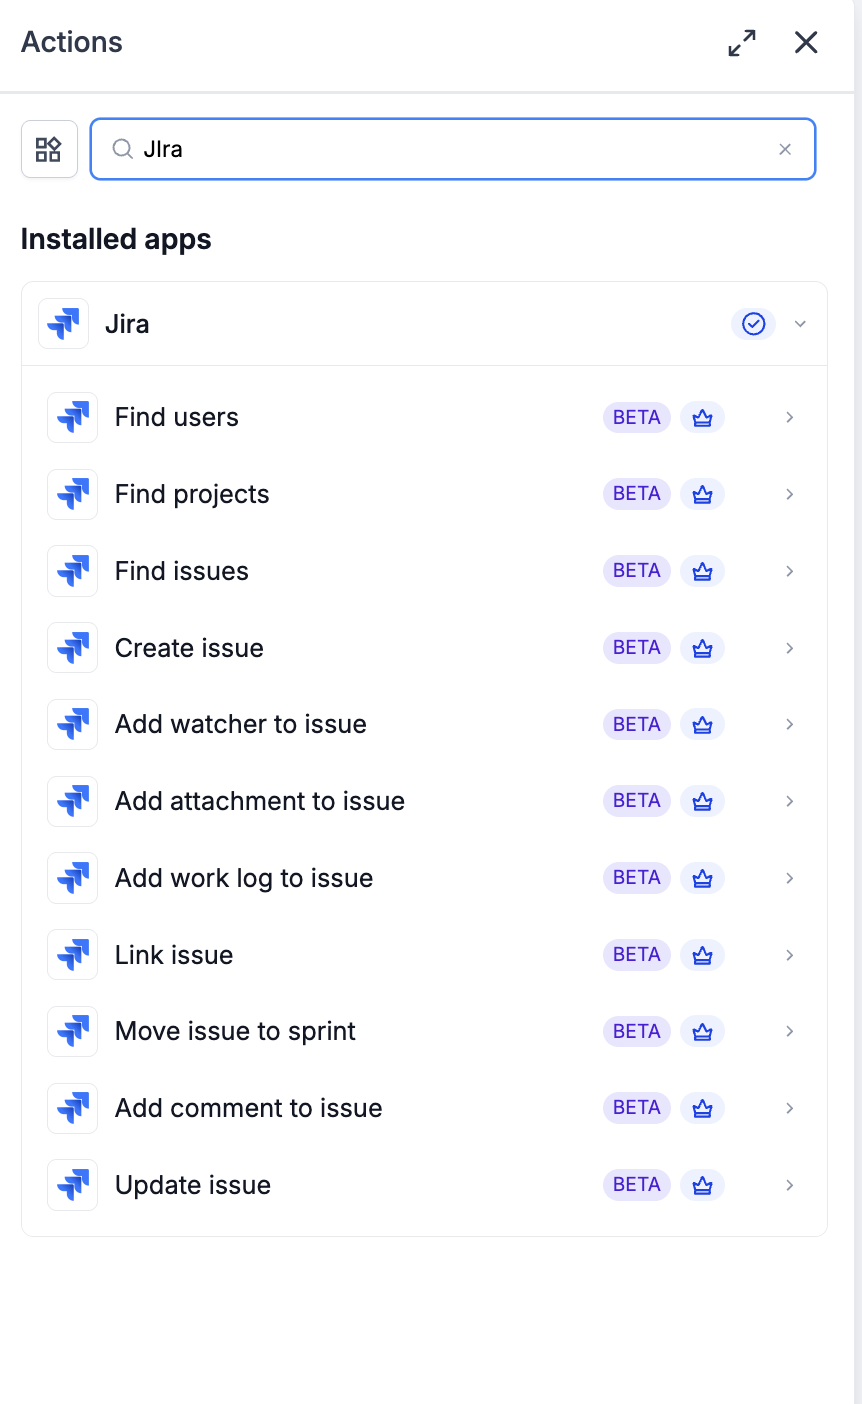
The integration includes two triggers and eleven actions. Authentication runs through OAuth and, once you have connected your Atlassian account, you can select the right Jira Cloud site for each action, even if you have access to more than one.
Triggers (from Jira to Futuria CRM)
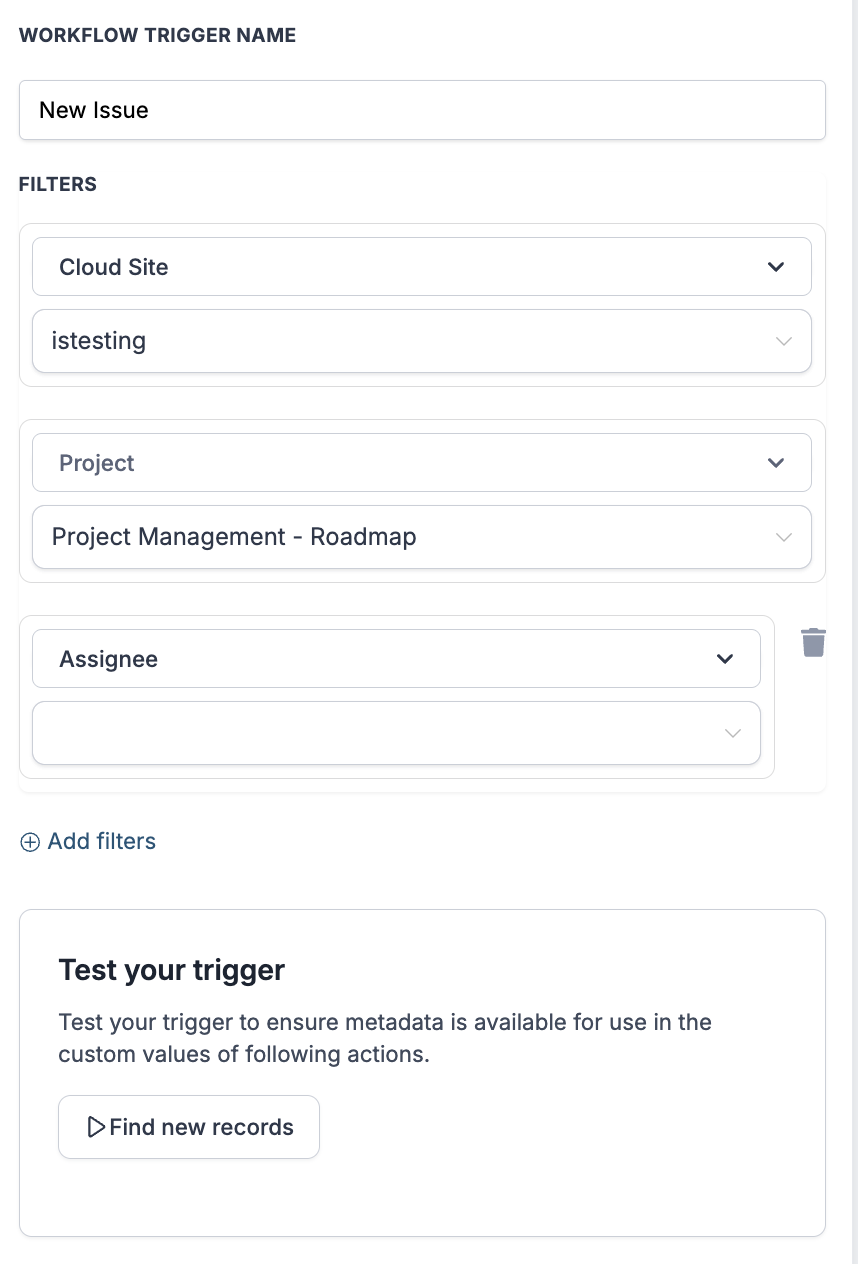
- New issue
- Issue updated

Actions (from Futuria CRM to Jira)
- Search
- Find users
- Find projects
- Find issues
- Creating and updating issues
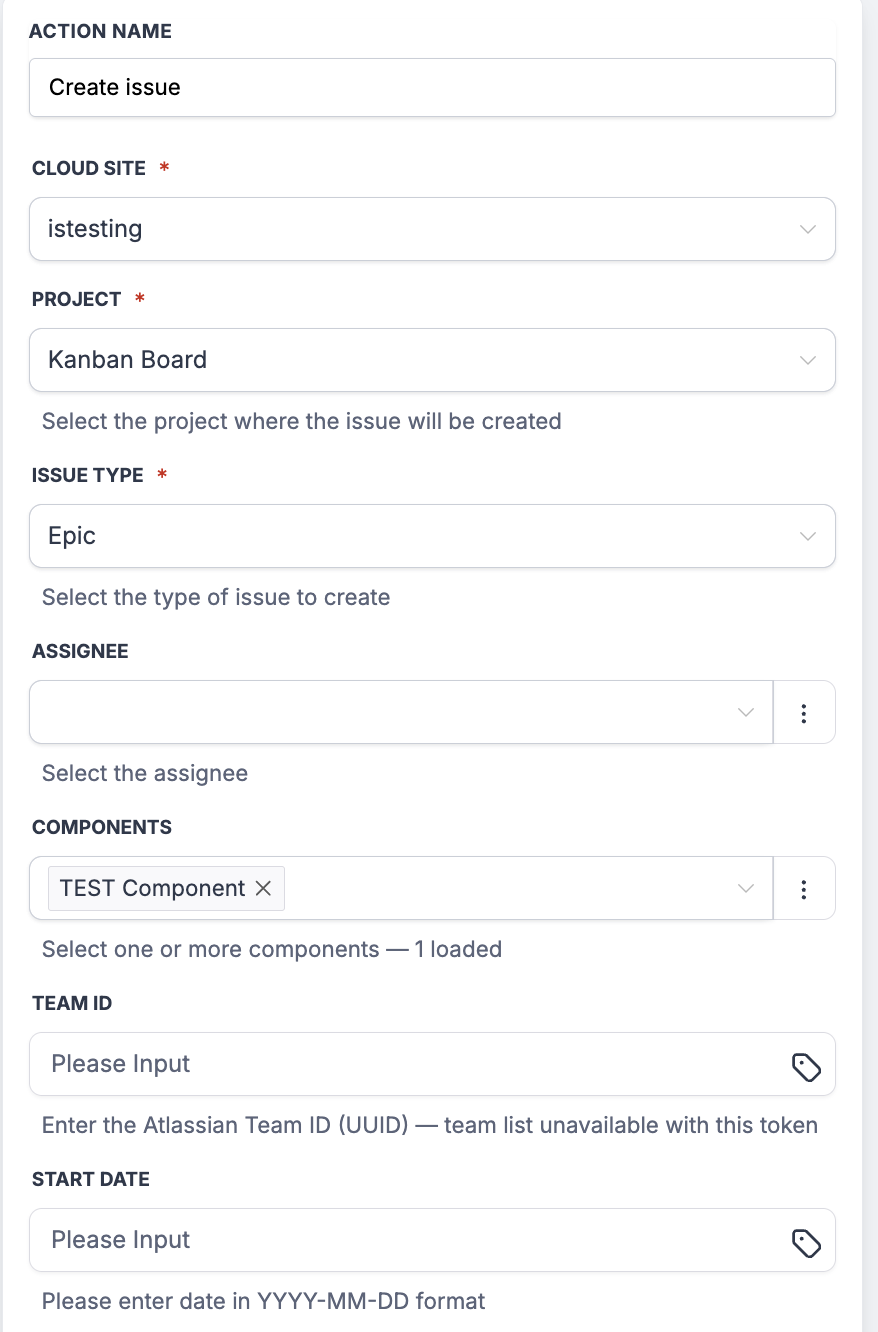
- Create issue
- Update issue
- Enriching issues
- Add comment to issue
- Add watcher to issue
- Add attachment to issue
- Add worklog to issue
- Relationships between issues
- Link issues
- Move issue to sprint
How to set up the integration
Connect Jira once through OAuth and you can start using the triggers and actions across all your workflows.
- Open the workflow builder and add a Jira trigger or action.
- In the configuration panel, click Connect your account.
- A set-up window will open. Enter a name for the connection (for example "Technical team Jira") and the email address linked to your Jira account, then click "Continue".
- You will be redirected to the Atlassian authorisation screen. Approve the access scopes requested for Jira.
- You will return to the workflow builder and the panel will show the "Connected" status.
- For each Jira trigger or action, select the target Cloud site to work on. This selection is mandatory when creating an issue and acts as a filter for the triggers.
Practical use cases
1. Notify the customer when an issue is resolved
You can build a workflow that, when an issue in Jira is marked as "Done", finds the matching contact in Futuria CRM and sends them an automatic message summarising the solution.
2. Link related issues automatically
When a new issue is created with a shared external reference (such as the ID of a support ticket), the workflow can search for other Jira issues carrying the same reference and link them together. This cuts out duplicated work and keeps related issues easy to trace within Jira.