

Table of contents
- What is invoice layout customisation?
- Key benefits of layout customisation
- Branding settings
- Business information
- Contact information
- Invoice information
- Labels
- How to set up layout customisation
- Frequently asked questions
What is invoice layout customisation?
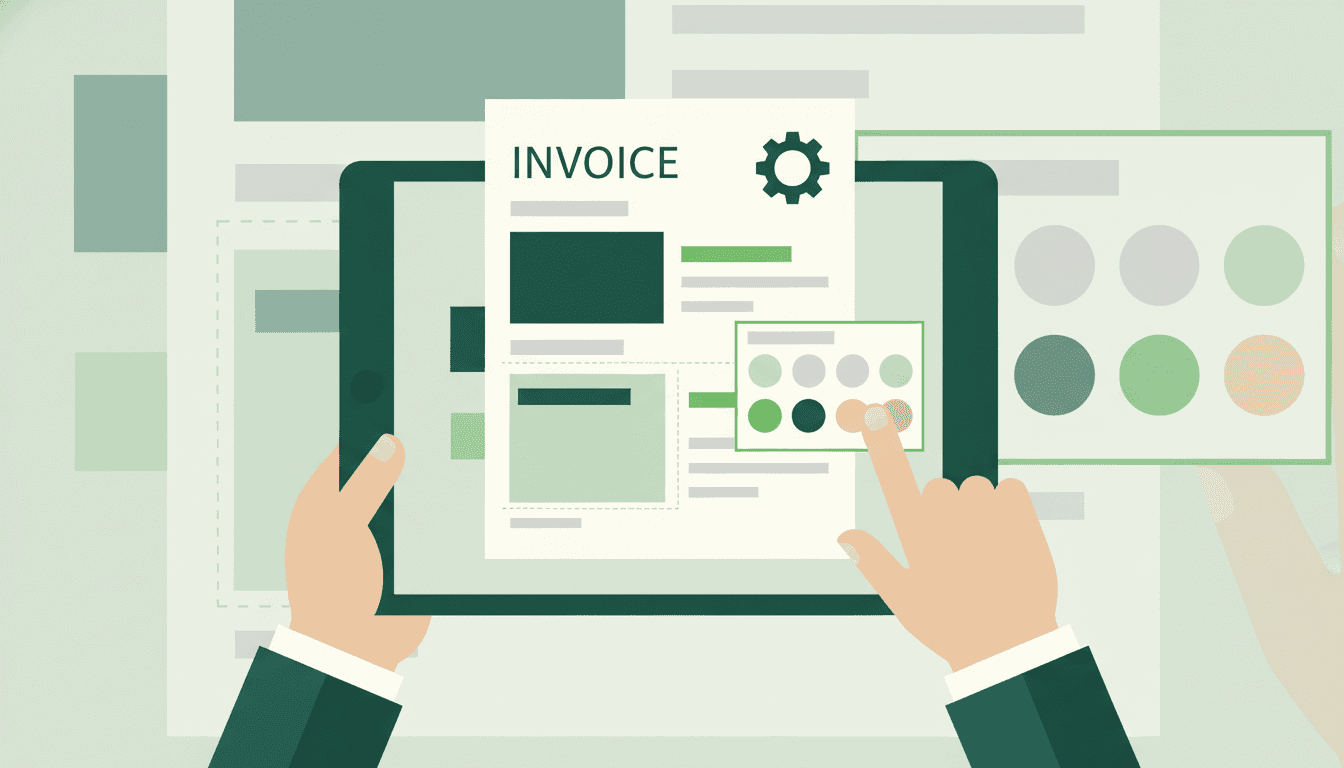
Customise the look of your invoices in Futuria CRM so that they match your brand and your workflow. This article shows you how to change button colours and text, rename sections and edit line item labels. Use these tools to create professional invoices that are consistent with your brand and build customer trust.
Layout customisation lets you control the design and the section text of your invoices at account level. Instead of a fixed template, you can change the branding, the business and contact information sections, and the line item labels. That way every invoice reflects your brand and the specifics of your industry.
Key benefits of layout customisation
- Brand consistency: Align colours and text with your brand to create professional, trustworthy invoices.
- Clarity for customers: Rename sections and labels so that customers immediately understand what they are reading.
- Flexibility: Show or hide fields and add up to 3 custom values in the business information to suit regional or industry requirements.
- Efficiency: Edit the layout once and reuse it. Your saved template appears in the invoice preview and in the PDFs.
Branding settings
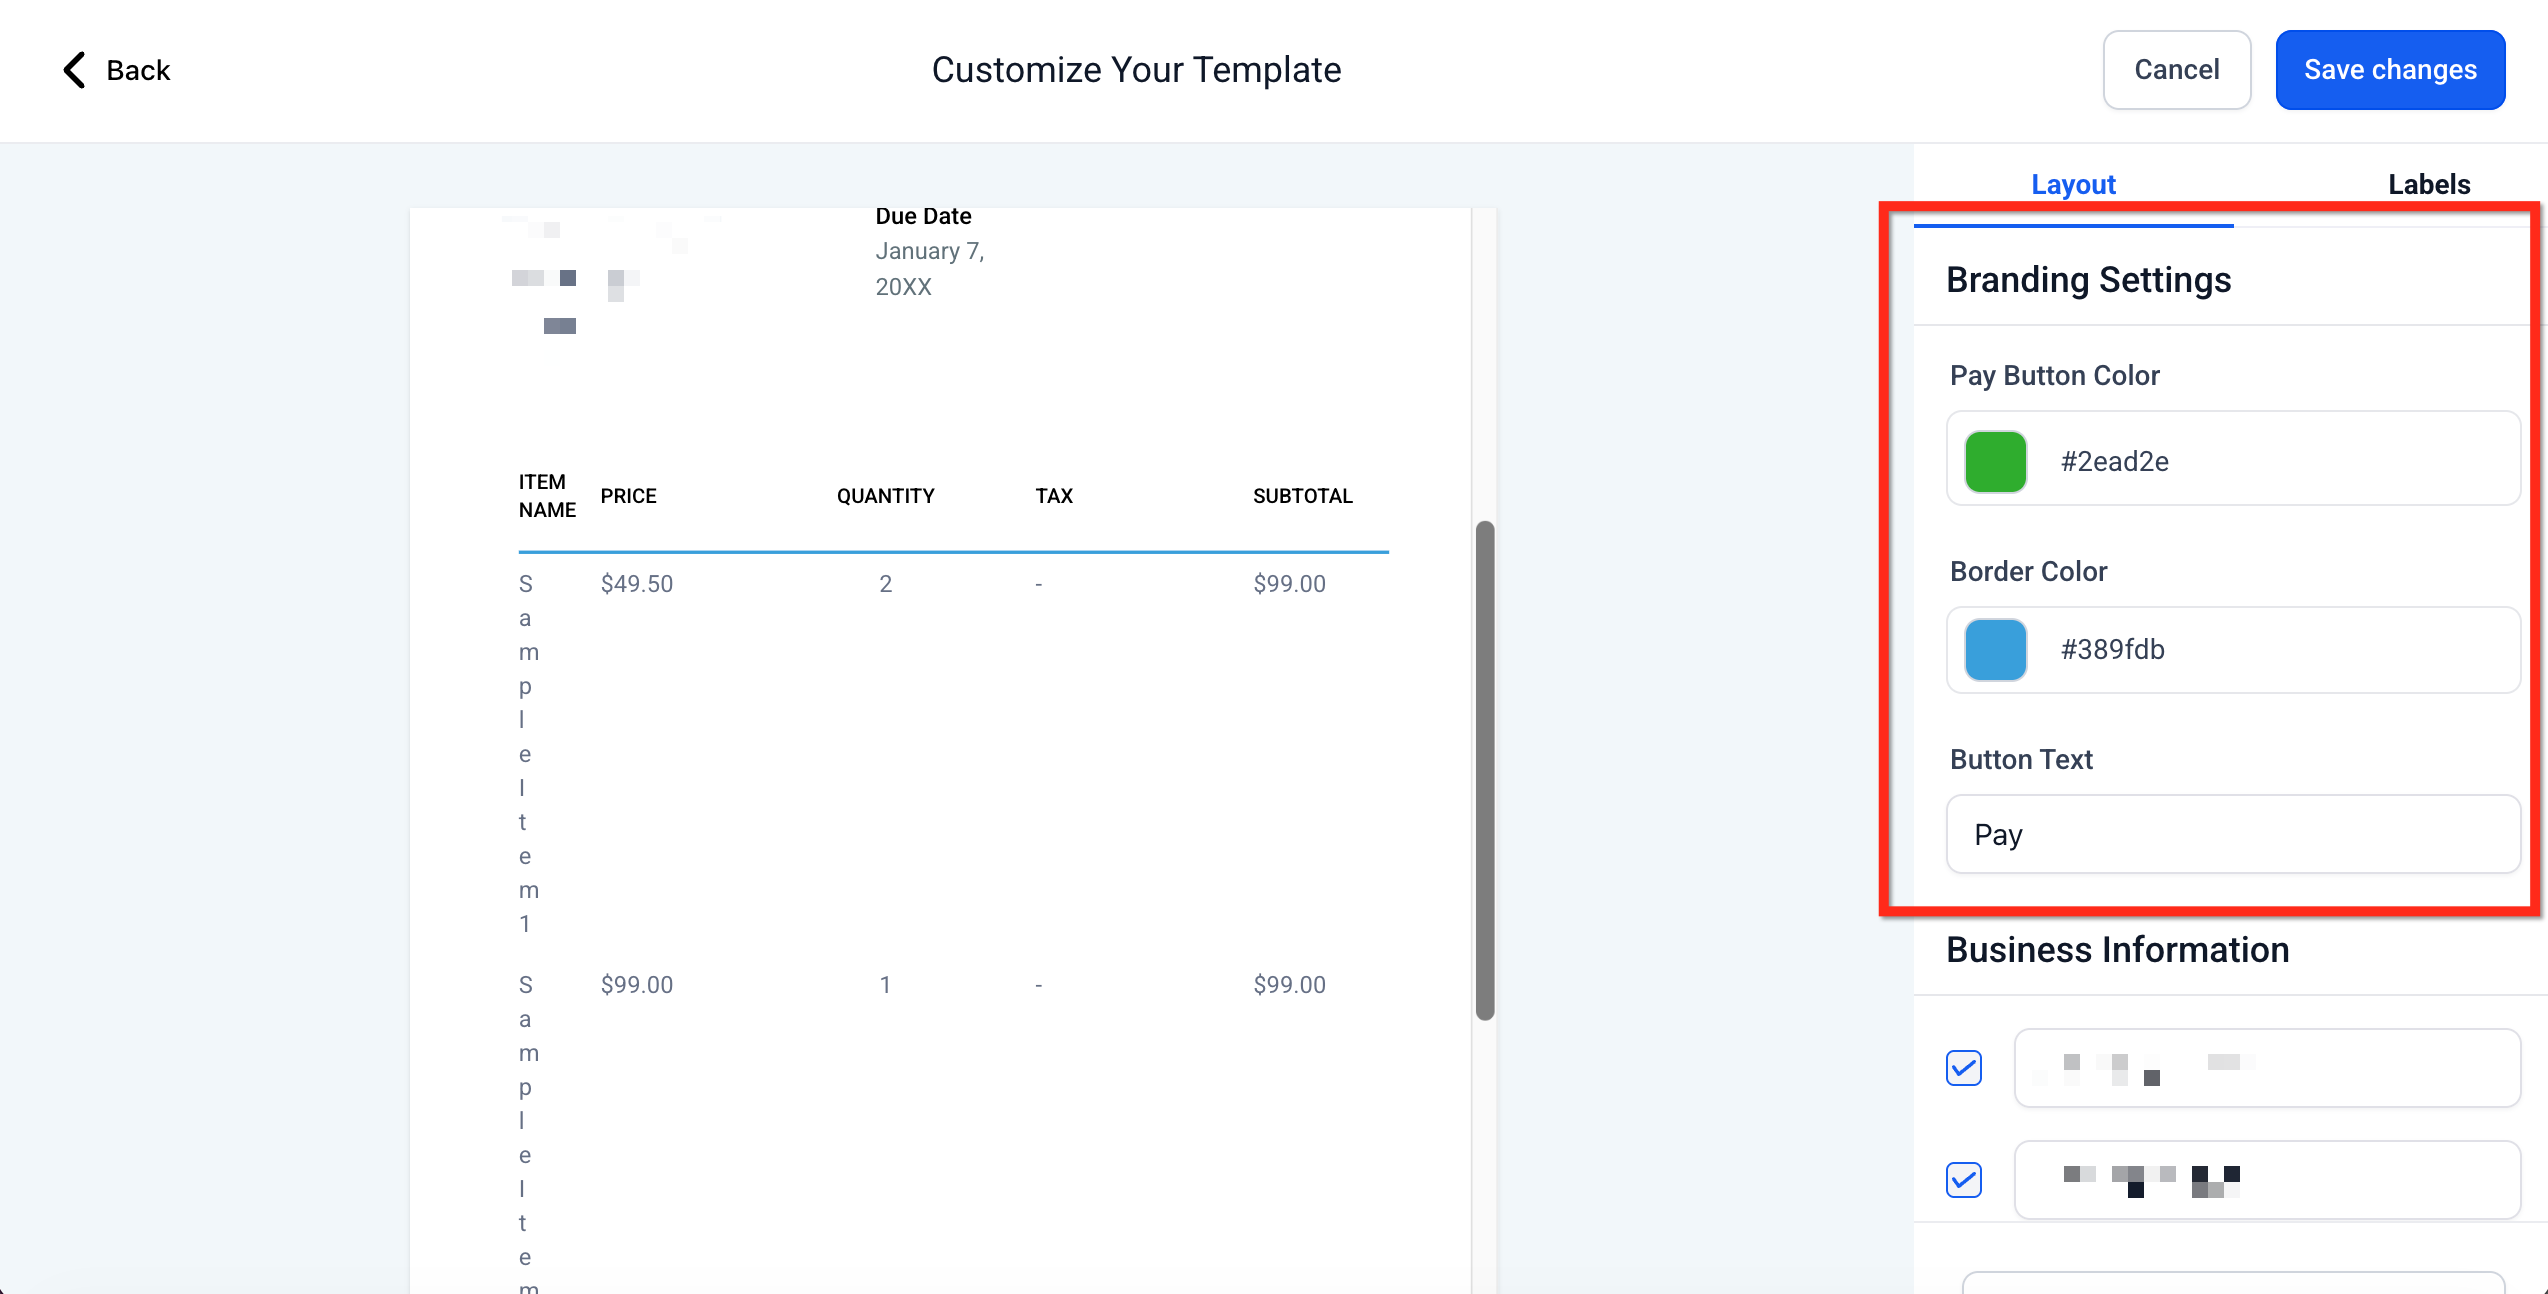
The branding settings define the first impression, letting you change the colour, the border and the text of the payment button. These choices help reinforce your brand and set the right context (for example, “Pay now” instead of “Donate”).
What you can customise:
- Payment button colour (use the colour picker)
- Border colour (use the colour picker)
- Button text (for example, change Pay to Donate)
Business information
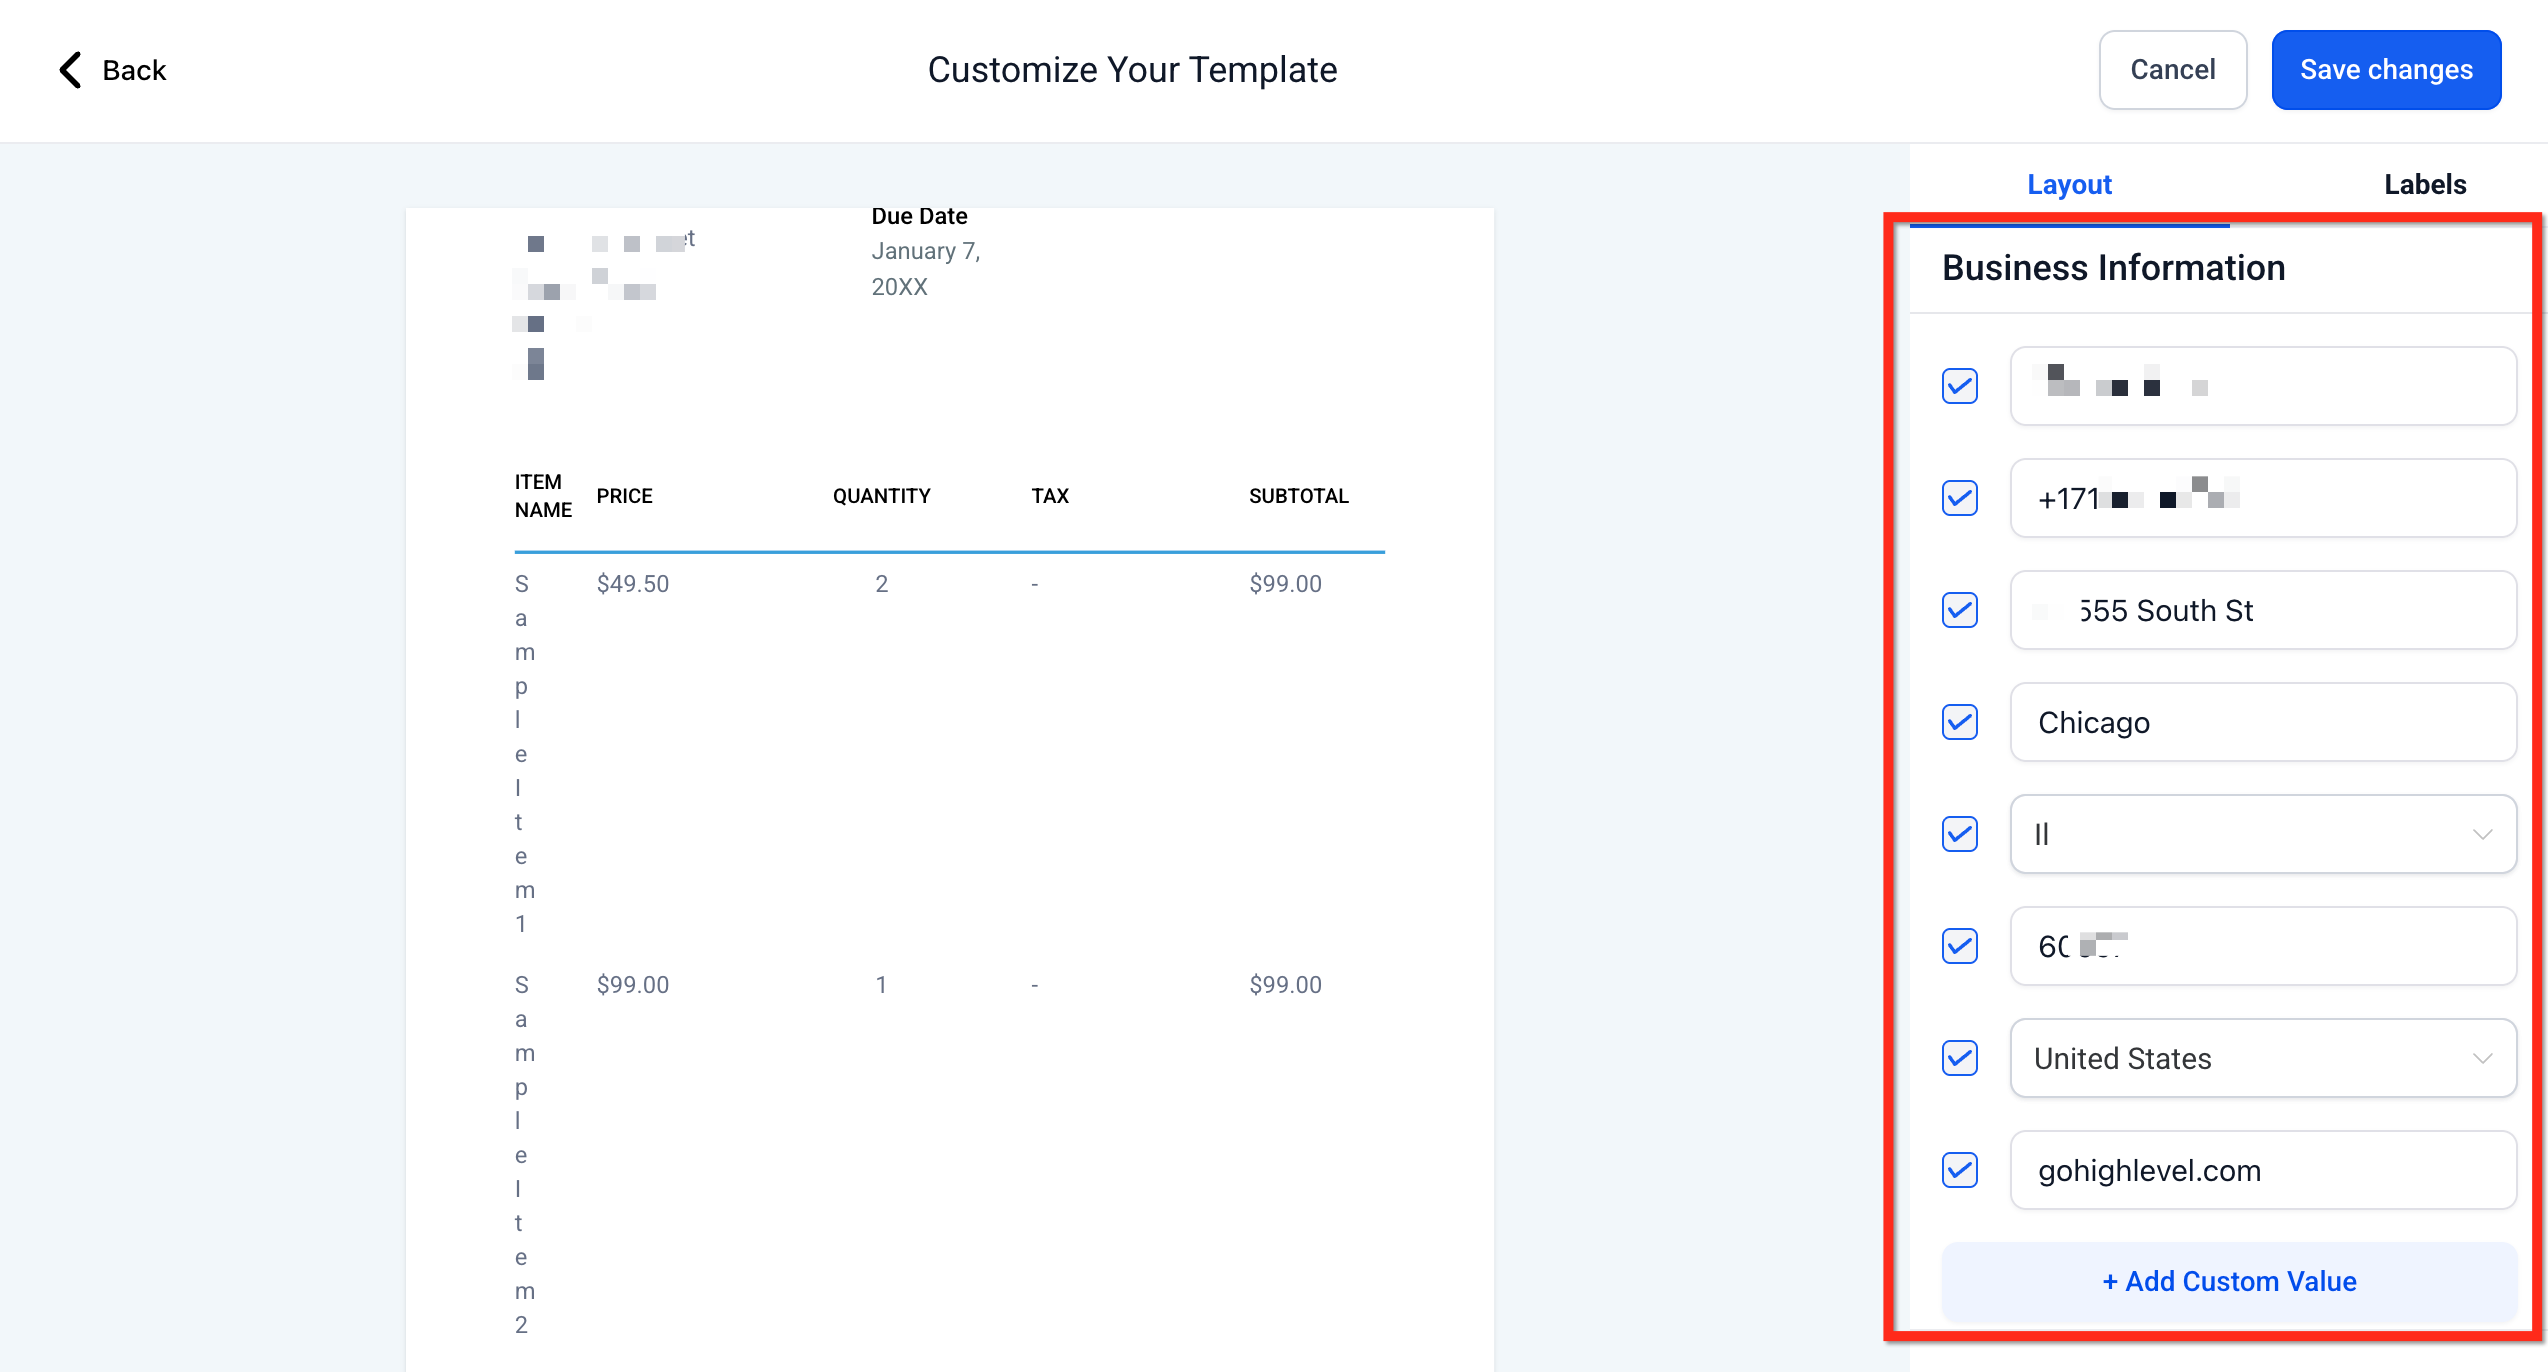
The “Business information” section identifies who is issuing the invoice. You can show or hide fields and add custom values to keep your documents compliant with local regulations, while avoiding unnecessary information.
What you can do:
- Show or hide standard fields such as company name, phone, address and VAT number.
- Add up to 3 custom values (for example, registration number, website).
- Reorder or remove the custom values as you need.
Tip: deselected fields are hidden from recipients, but your team can still edit their values while creating an invoice.
Contact information
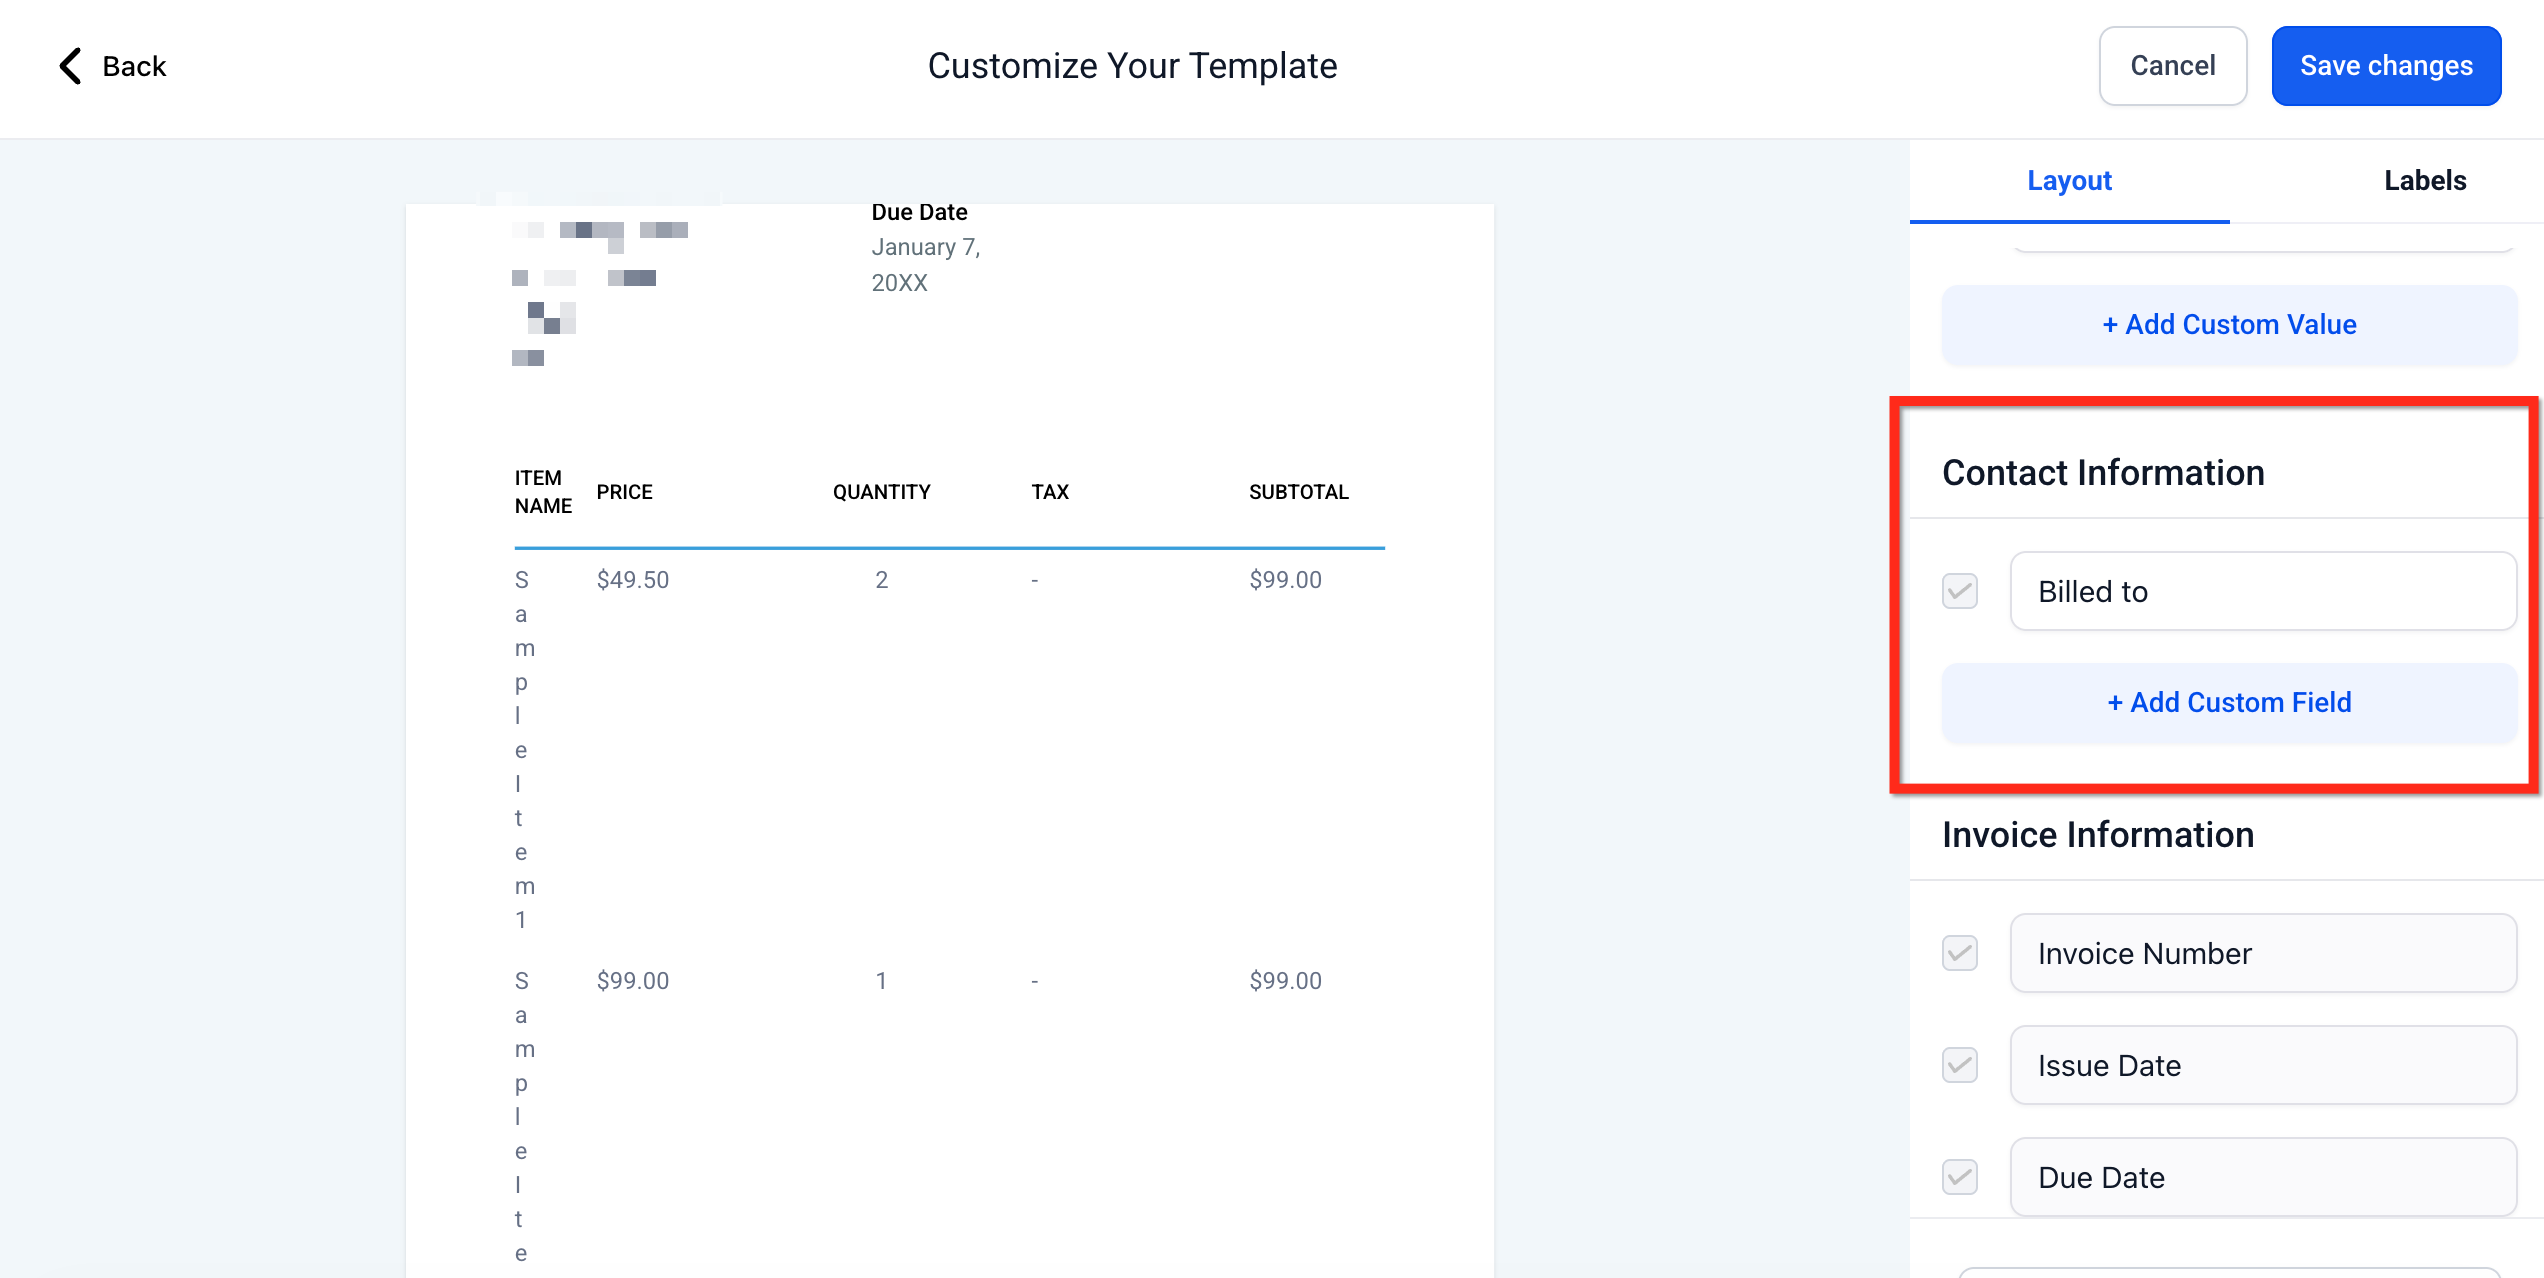
This area defines the recipient block (for example, “Billed to” or “Shipping details”). Renaming the section improves clarity for your particular use case (non-profit organisation, shipping, B2B and so on).
What you can do:
- Rename the section heading (for example, Billed to → Shipping details).
- Add custom fields to collect further details about the recipient.
Invoice information
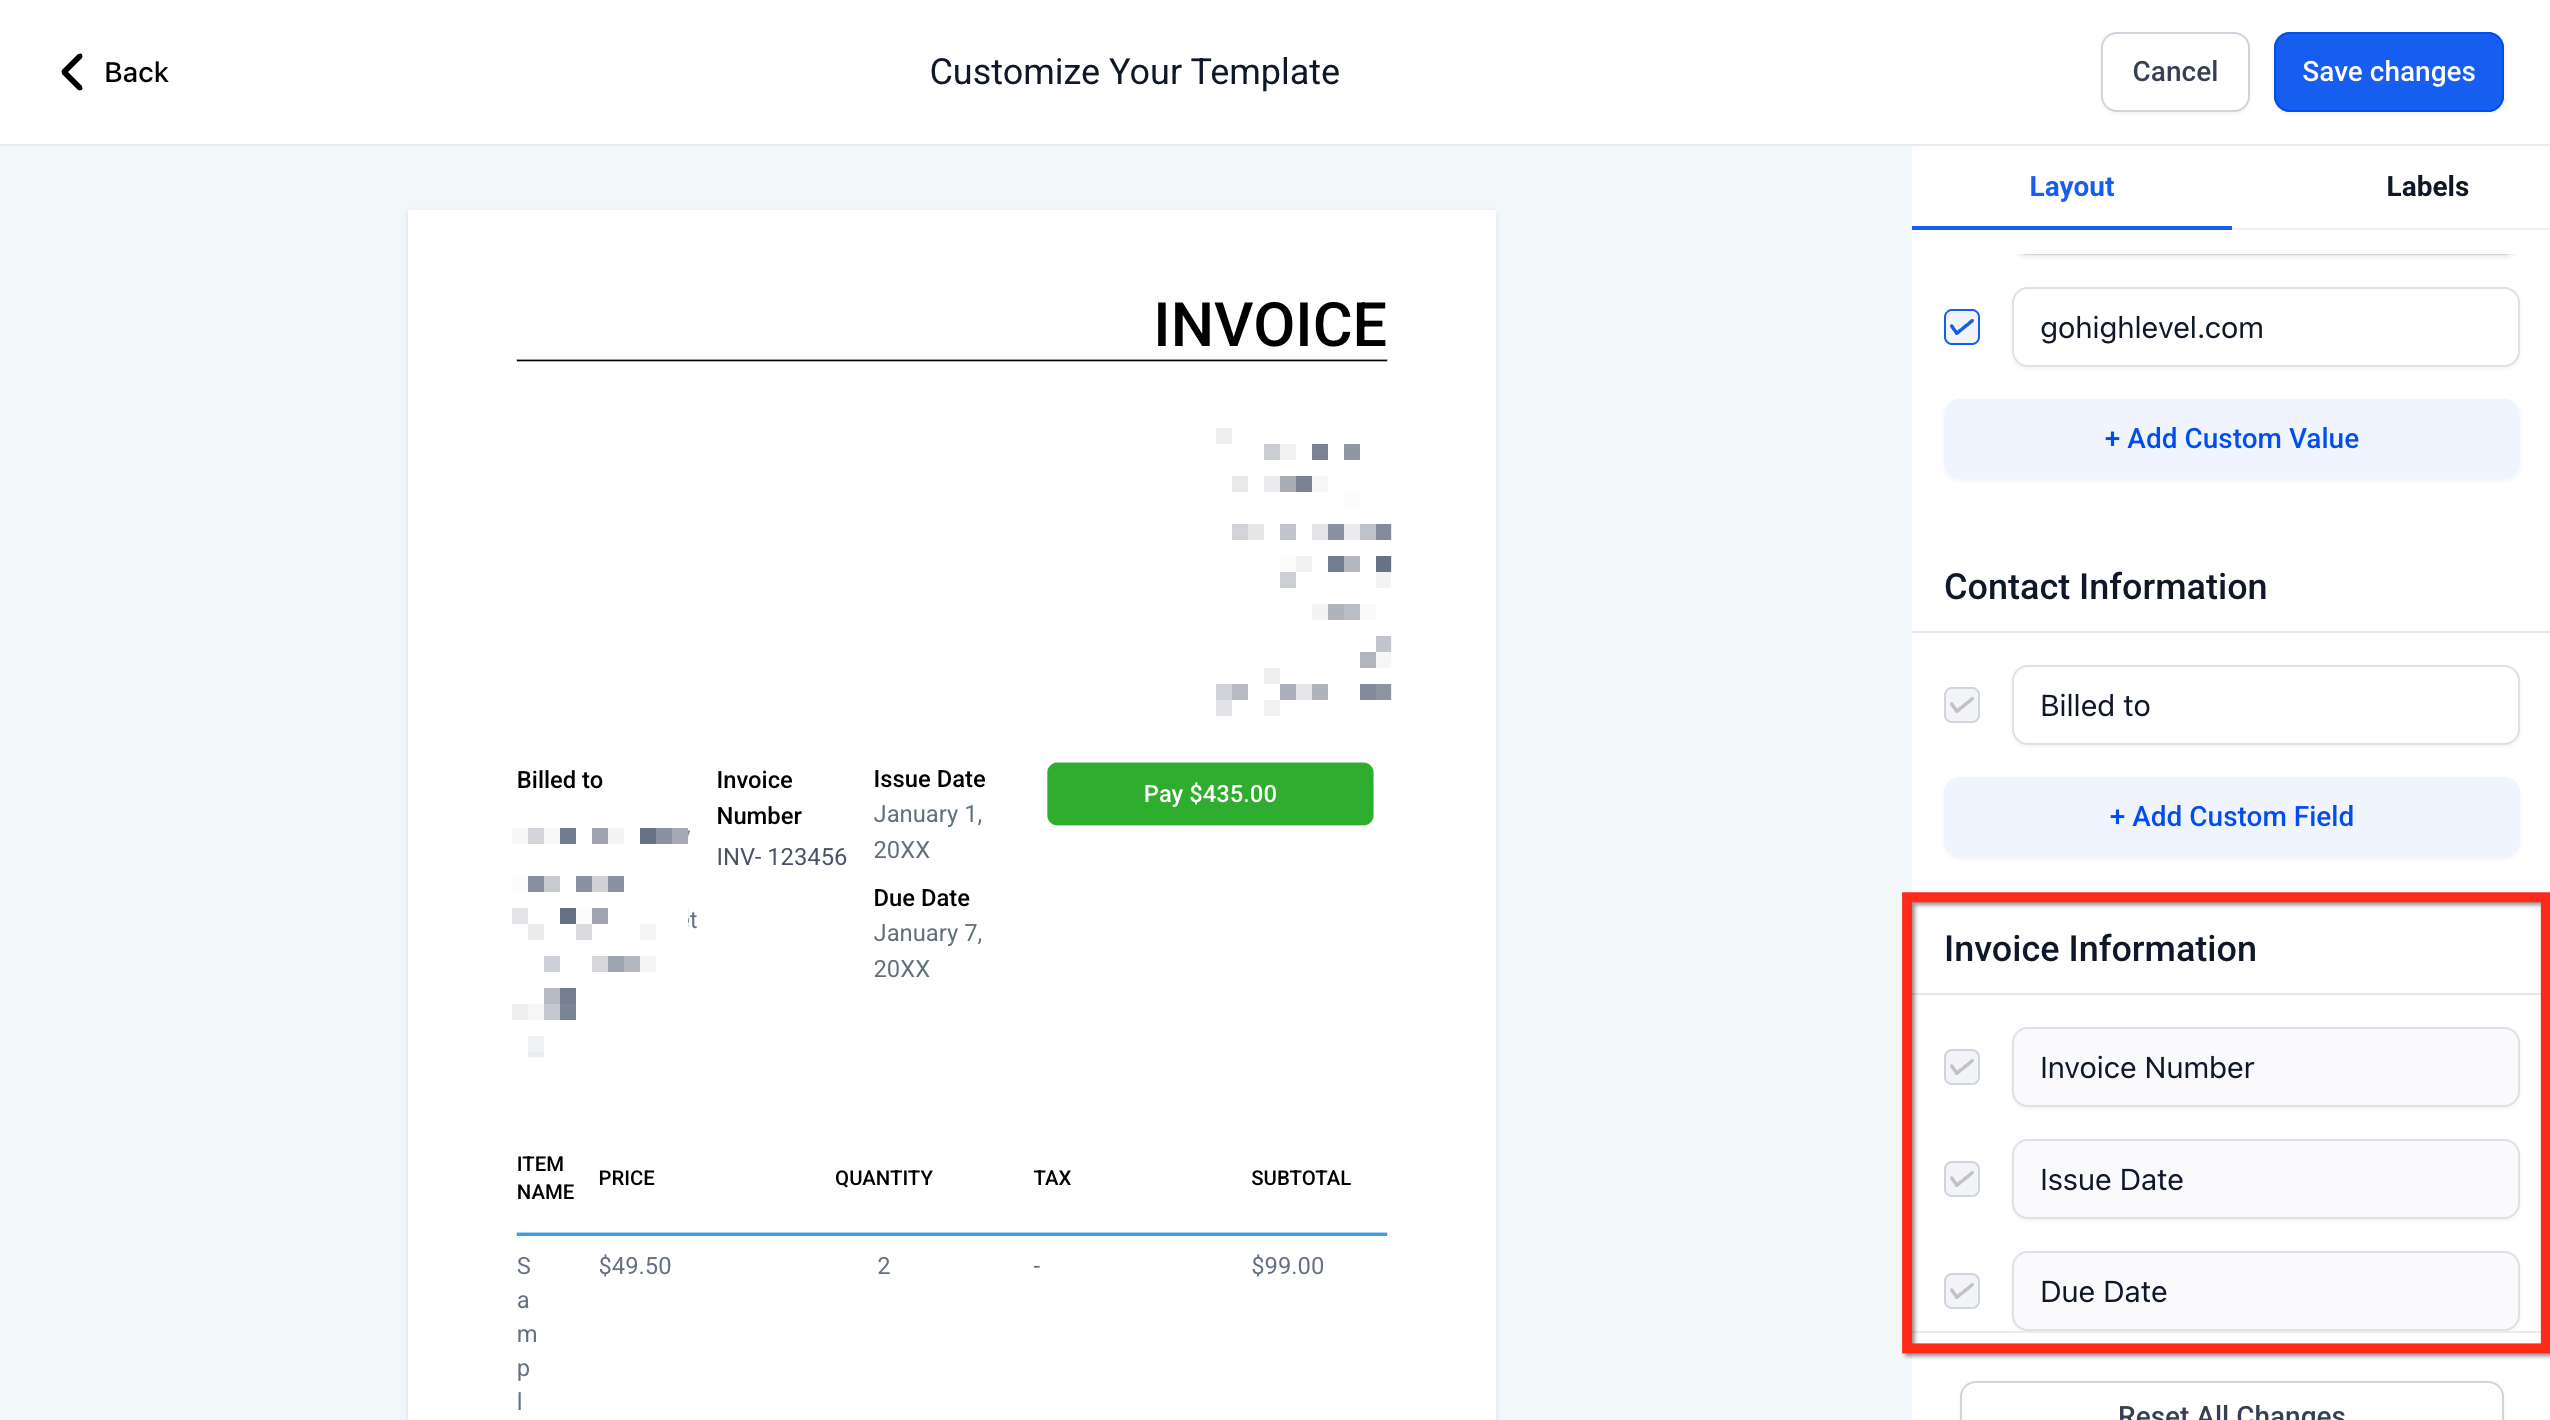
This section covers the main details of the document, such as the invoice number and the dates. Keeping only the information you need simplifies the layout for customers.
What you can do:
- Show or hide Invoice number, Issue date, Due date and similar fields.
- Keep internal fields editable while creating the invoice, even when they are hidden in the recipient’s view.
Labels
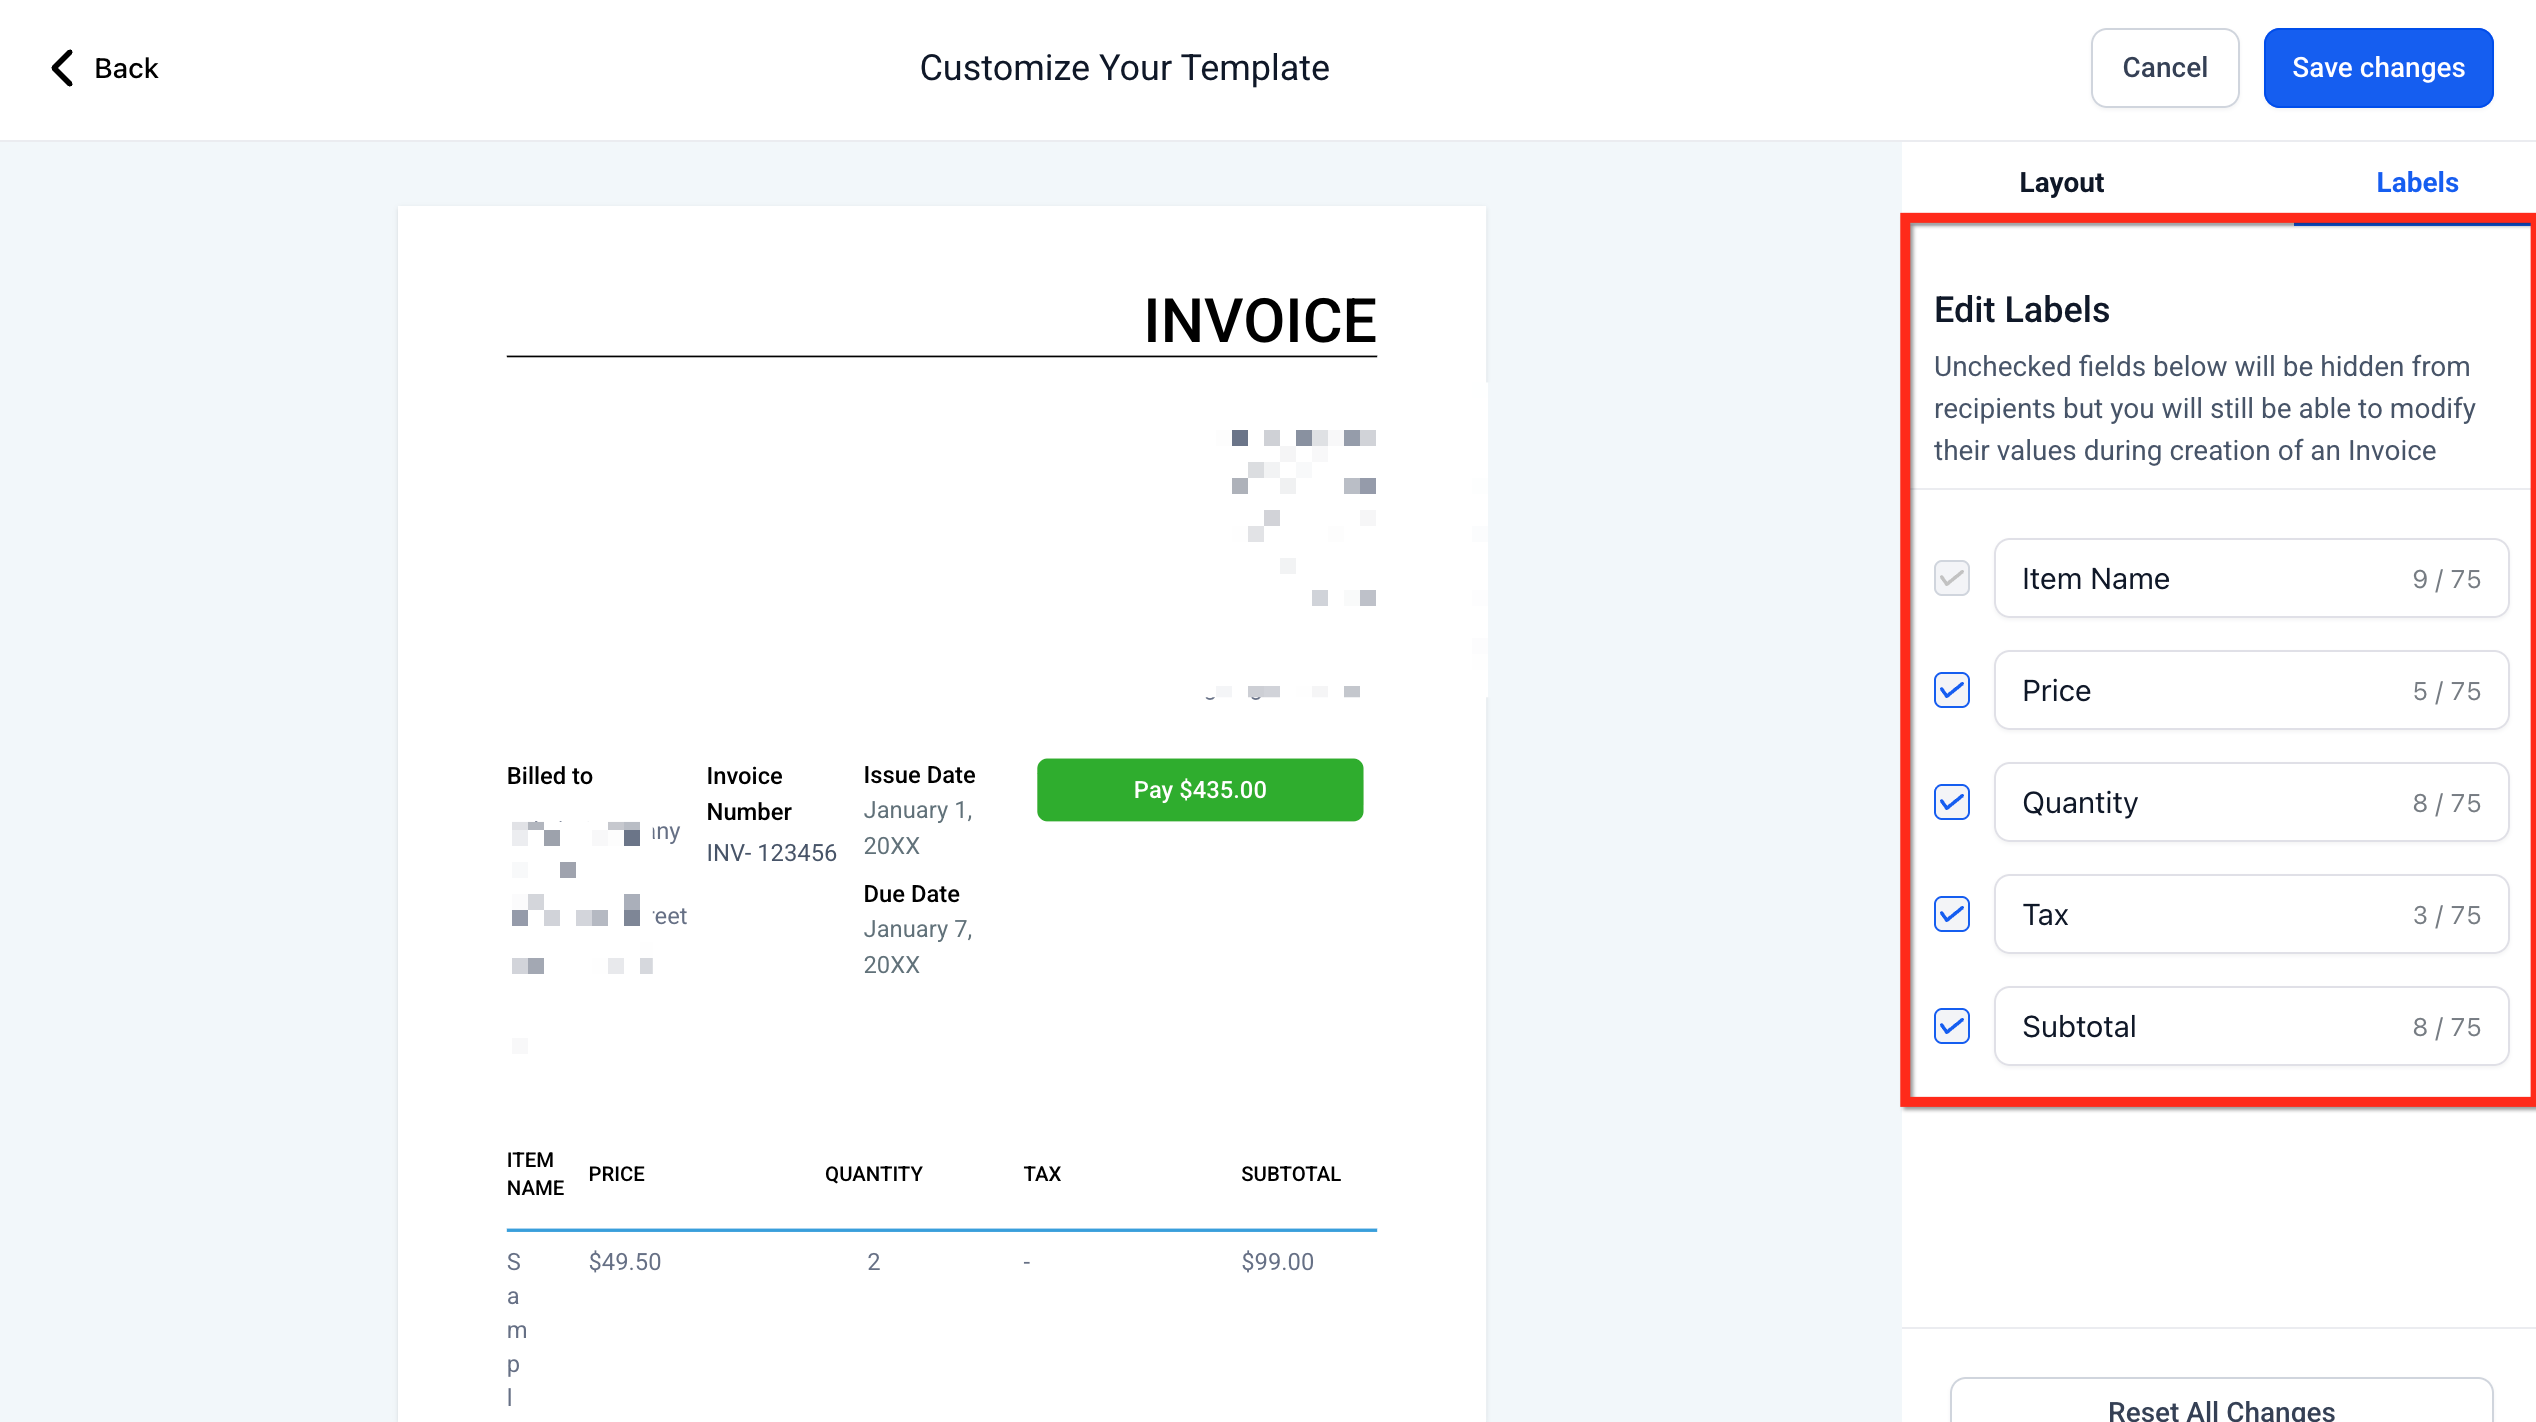
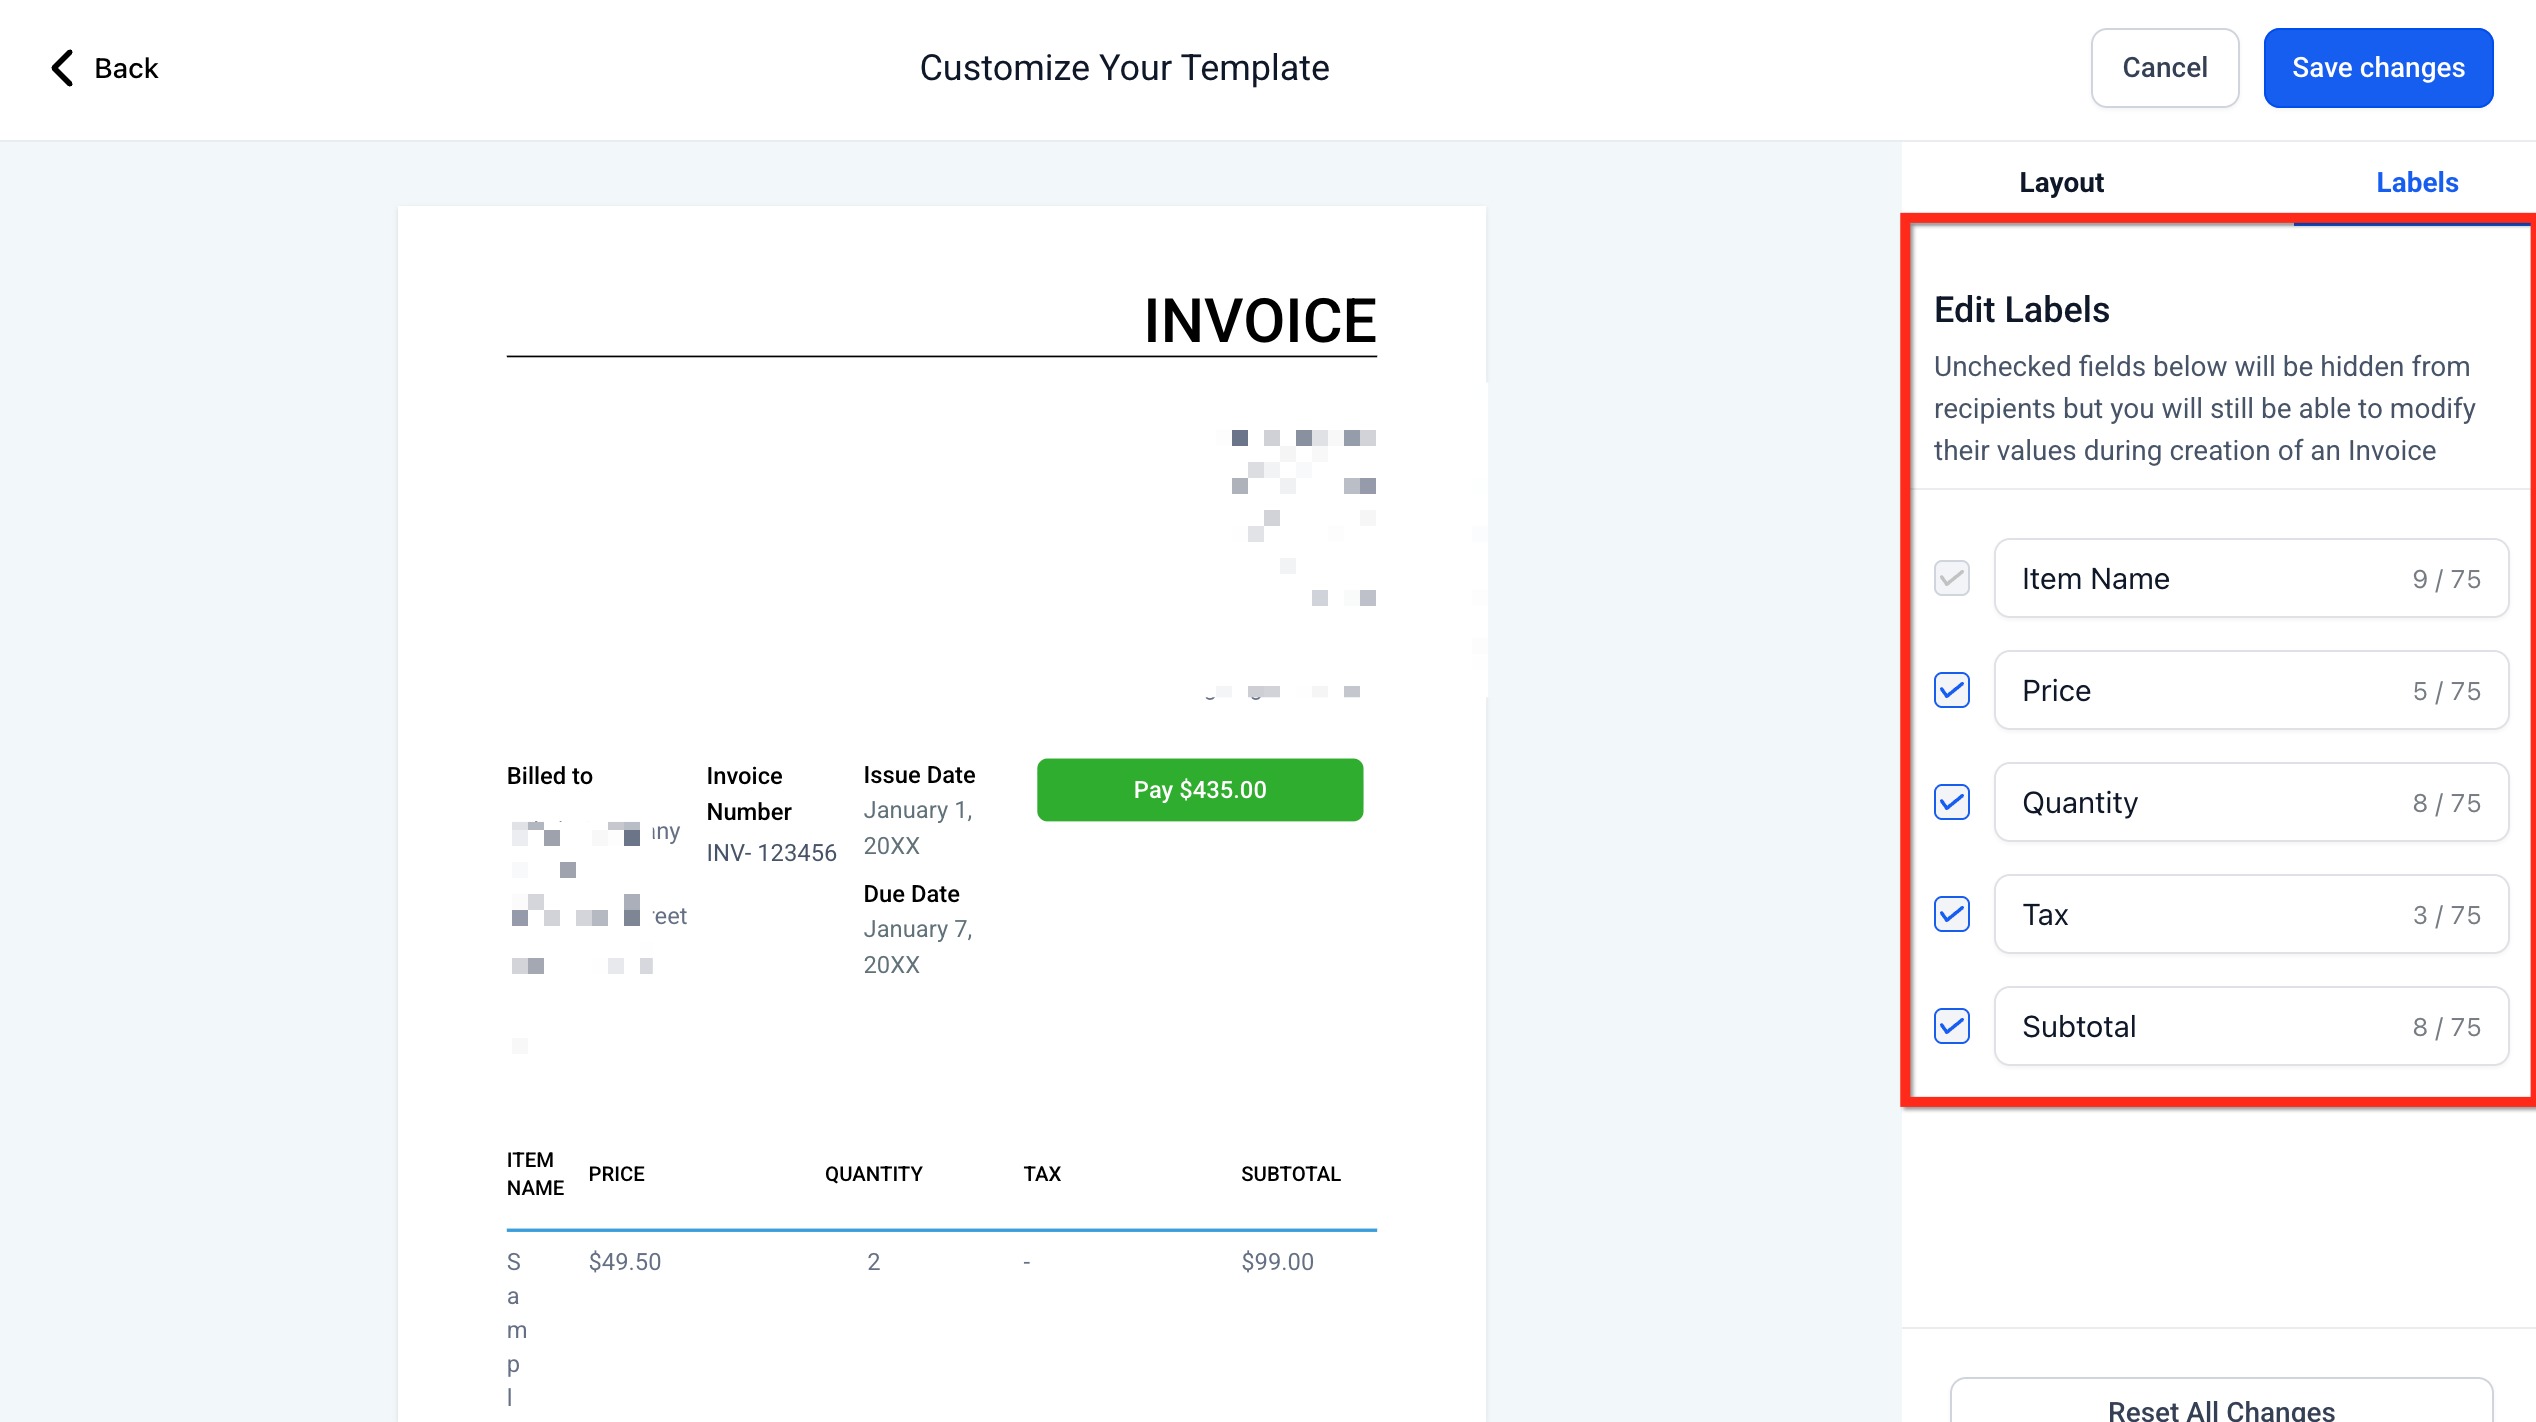
Labels define the column headings for the line items, which is what customers read at a glance. Clear labels reduce questions and speed up payments.
What you can do:
- Rename the column headings (for example, Item name → Product name).
- Show or hide Price, Quantity, VAT, Subtotal and so on.
- Respect the character counters (for example, up to 75 characters) so that the text does not wrap.
Tip: if you deselect a label, the corresponding column is hidden from recipients; your team can still enter the values while creating the invoice.
How to set up layout customisation
Follow these steps to find the controls, edit the layout and save your design, so that every new invoice uses the style you prefer.
Step 1: go to the invoices section
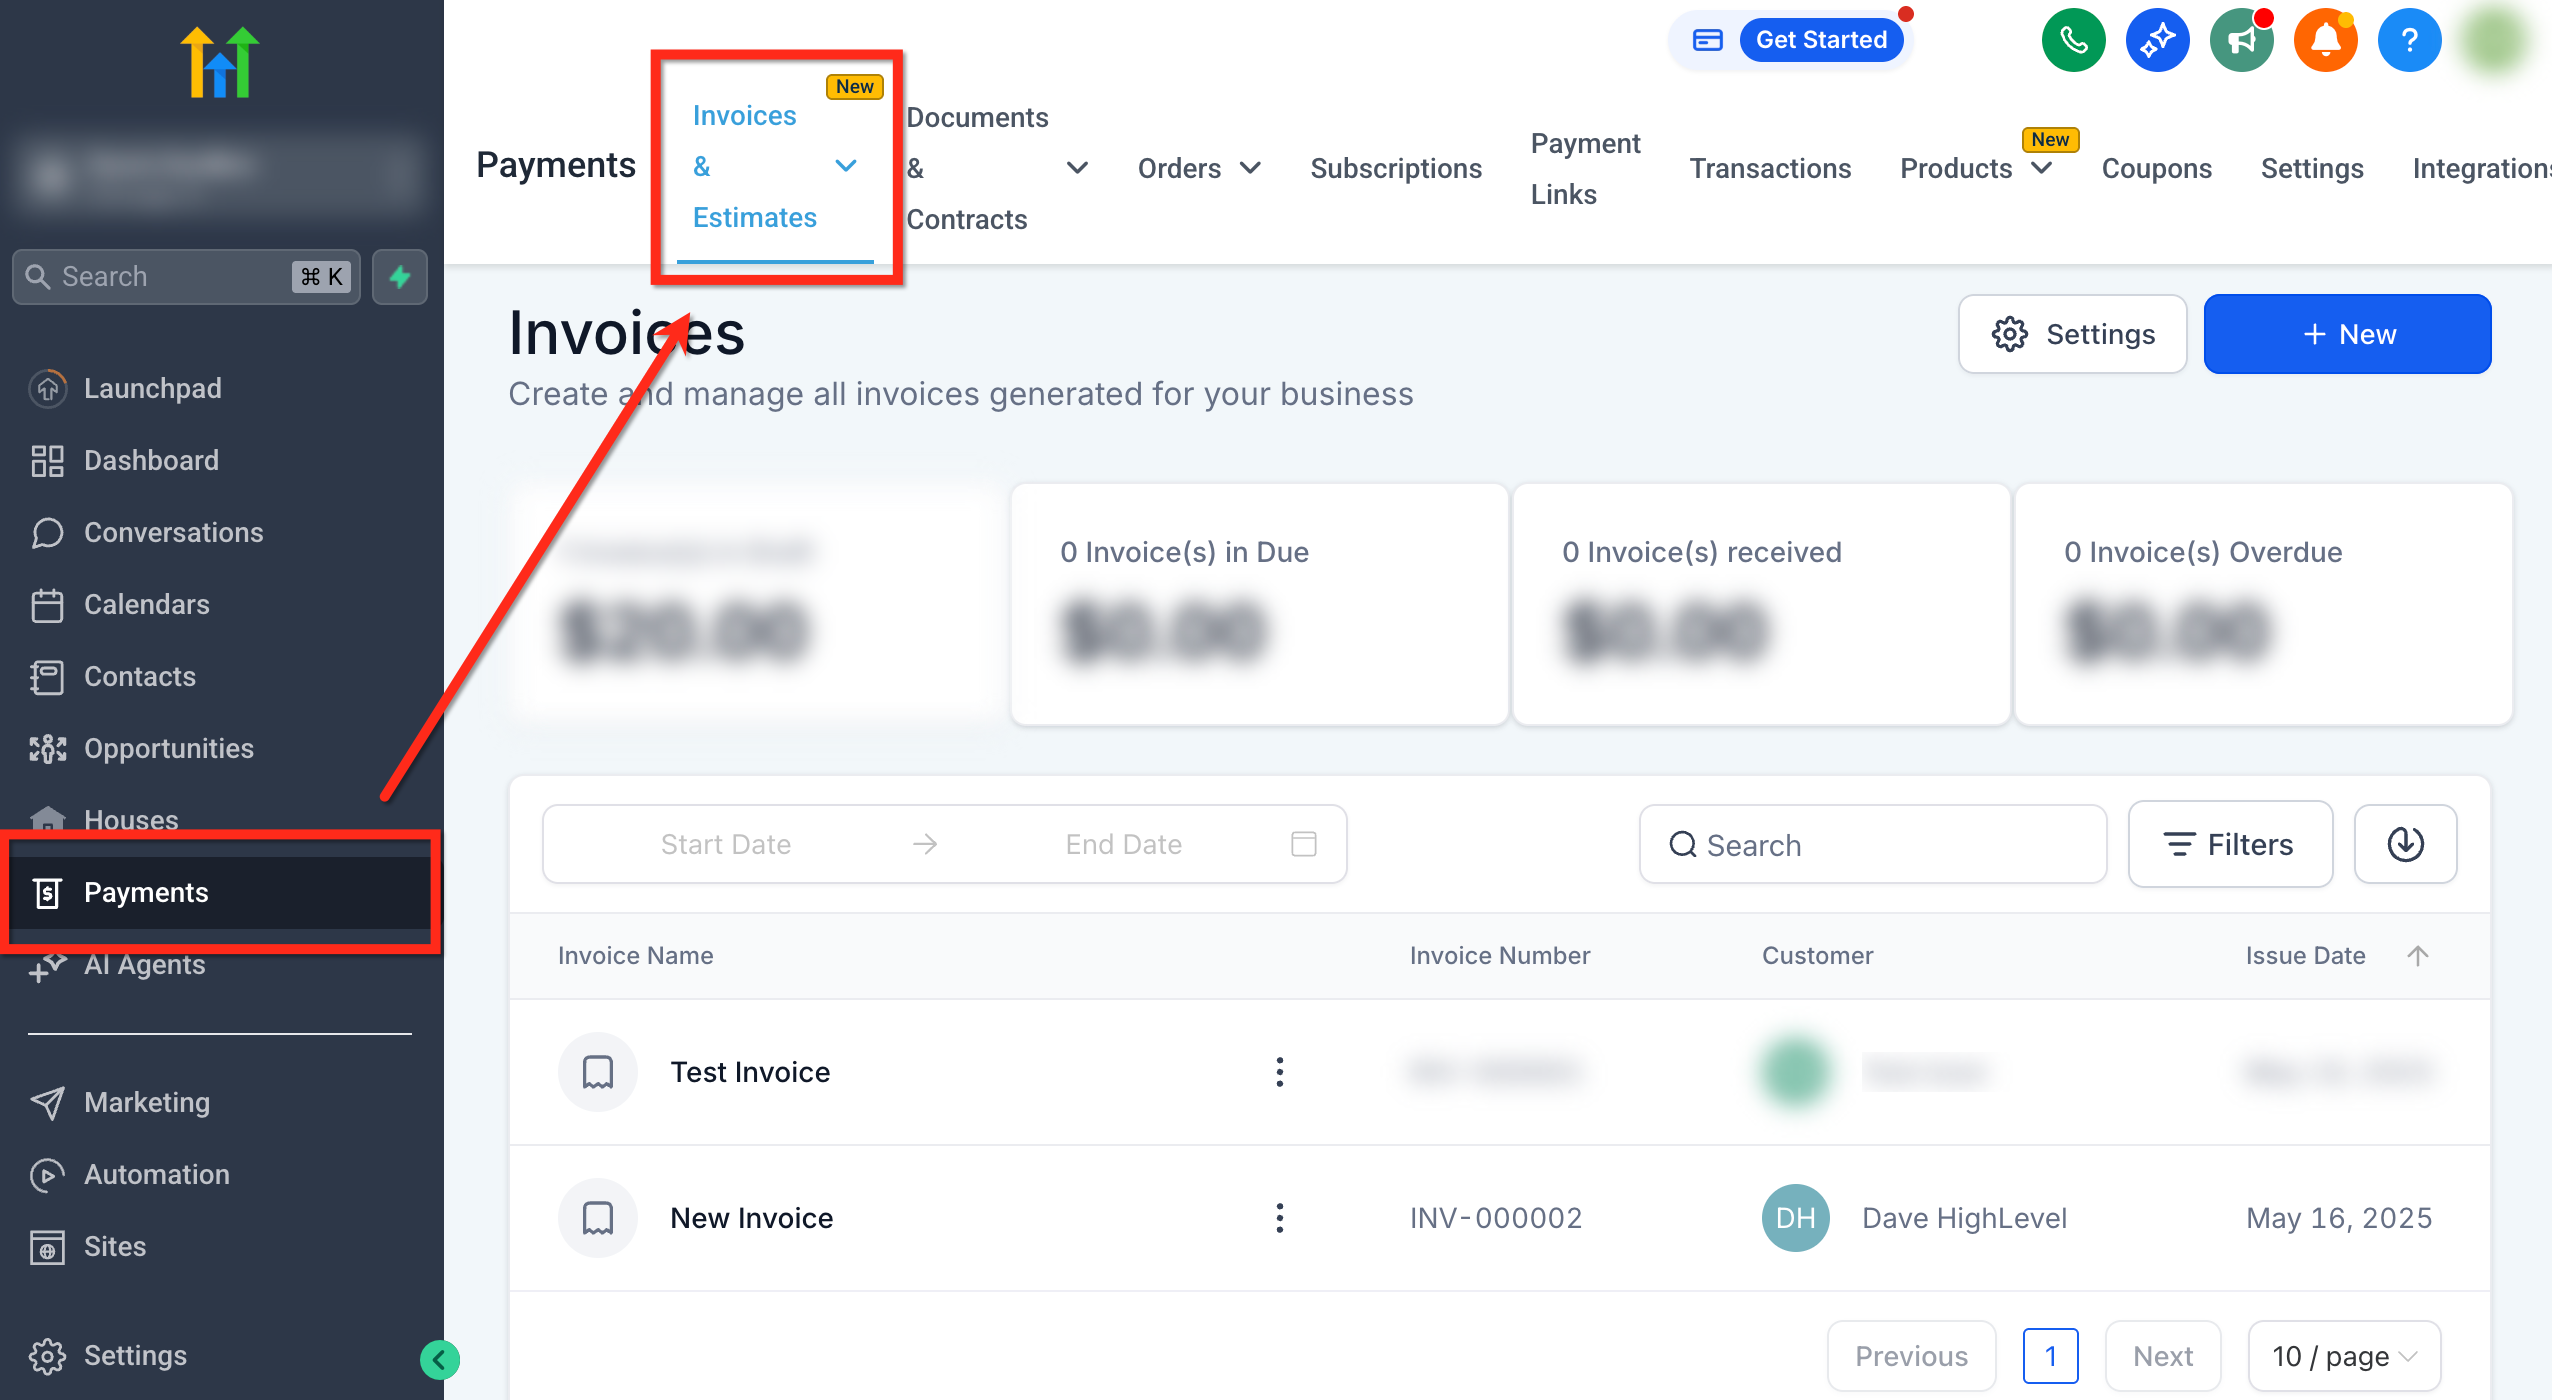
From your account dashboard, go to Payments → Invoices and estimates.
Step 2: settings
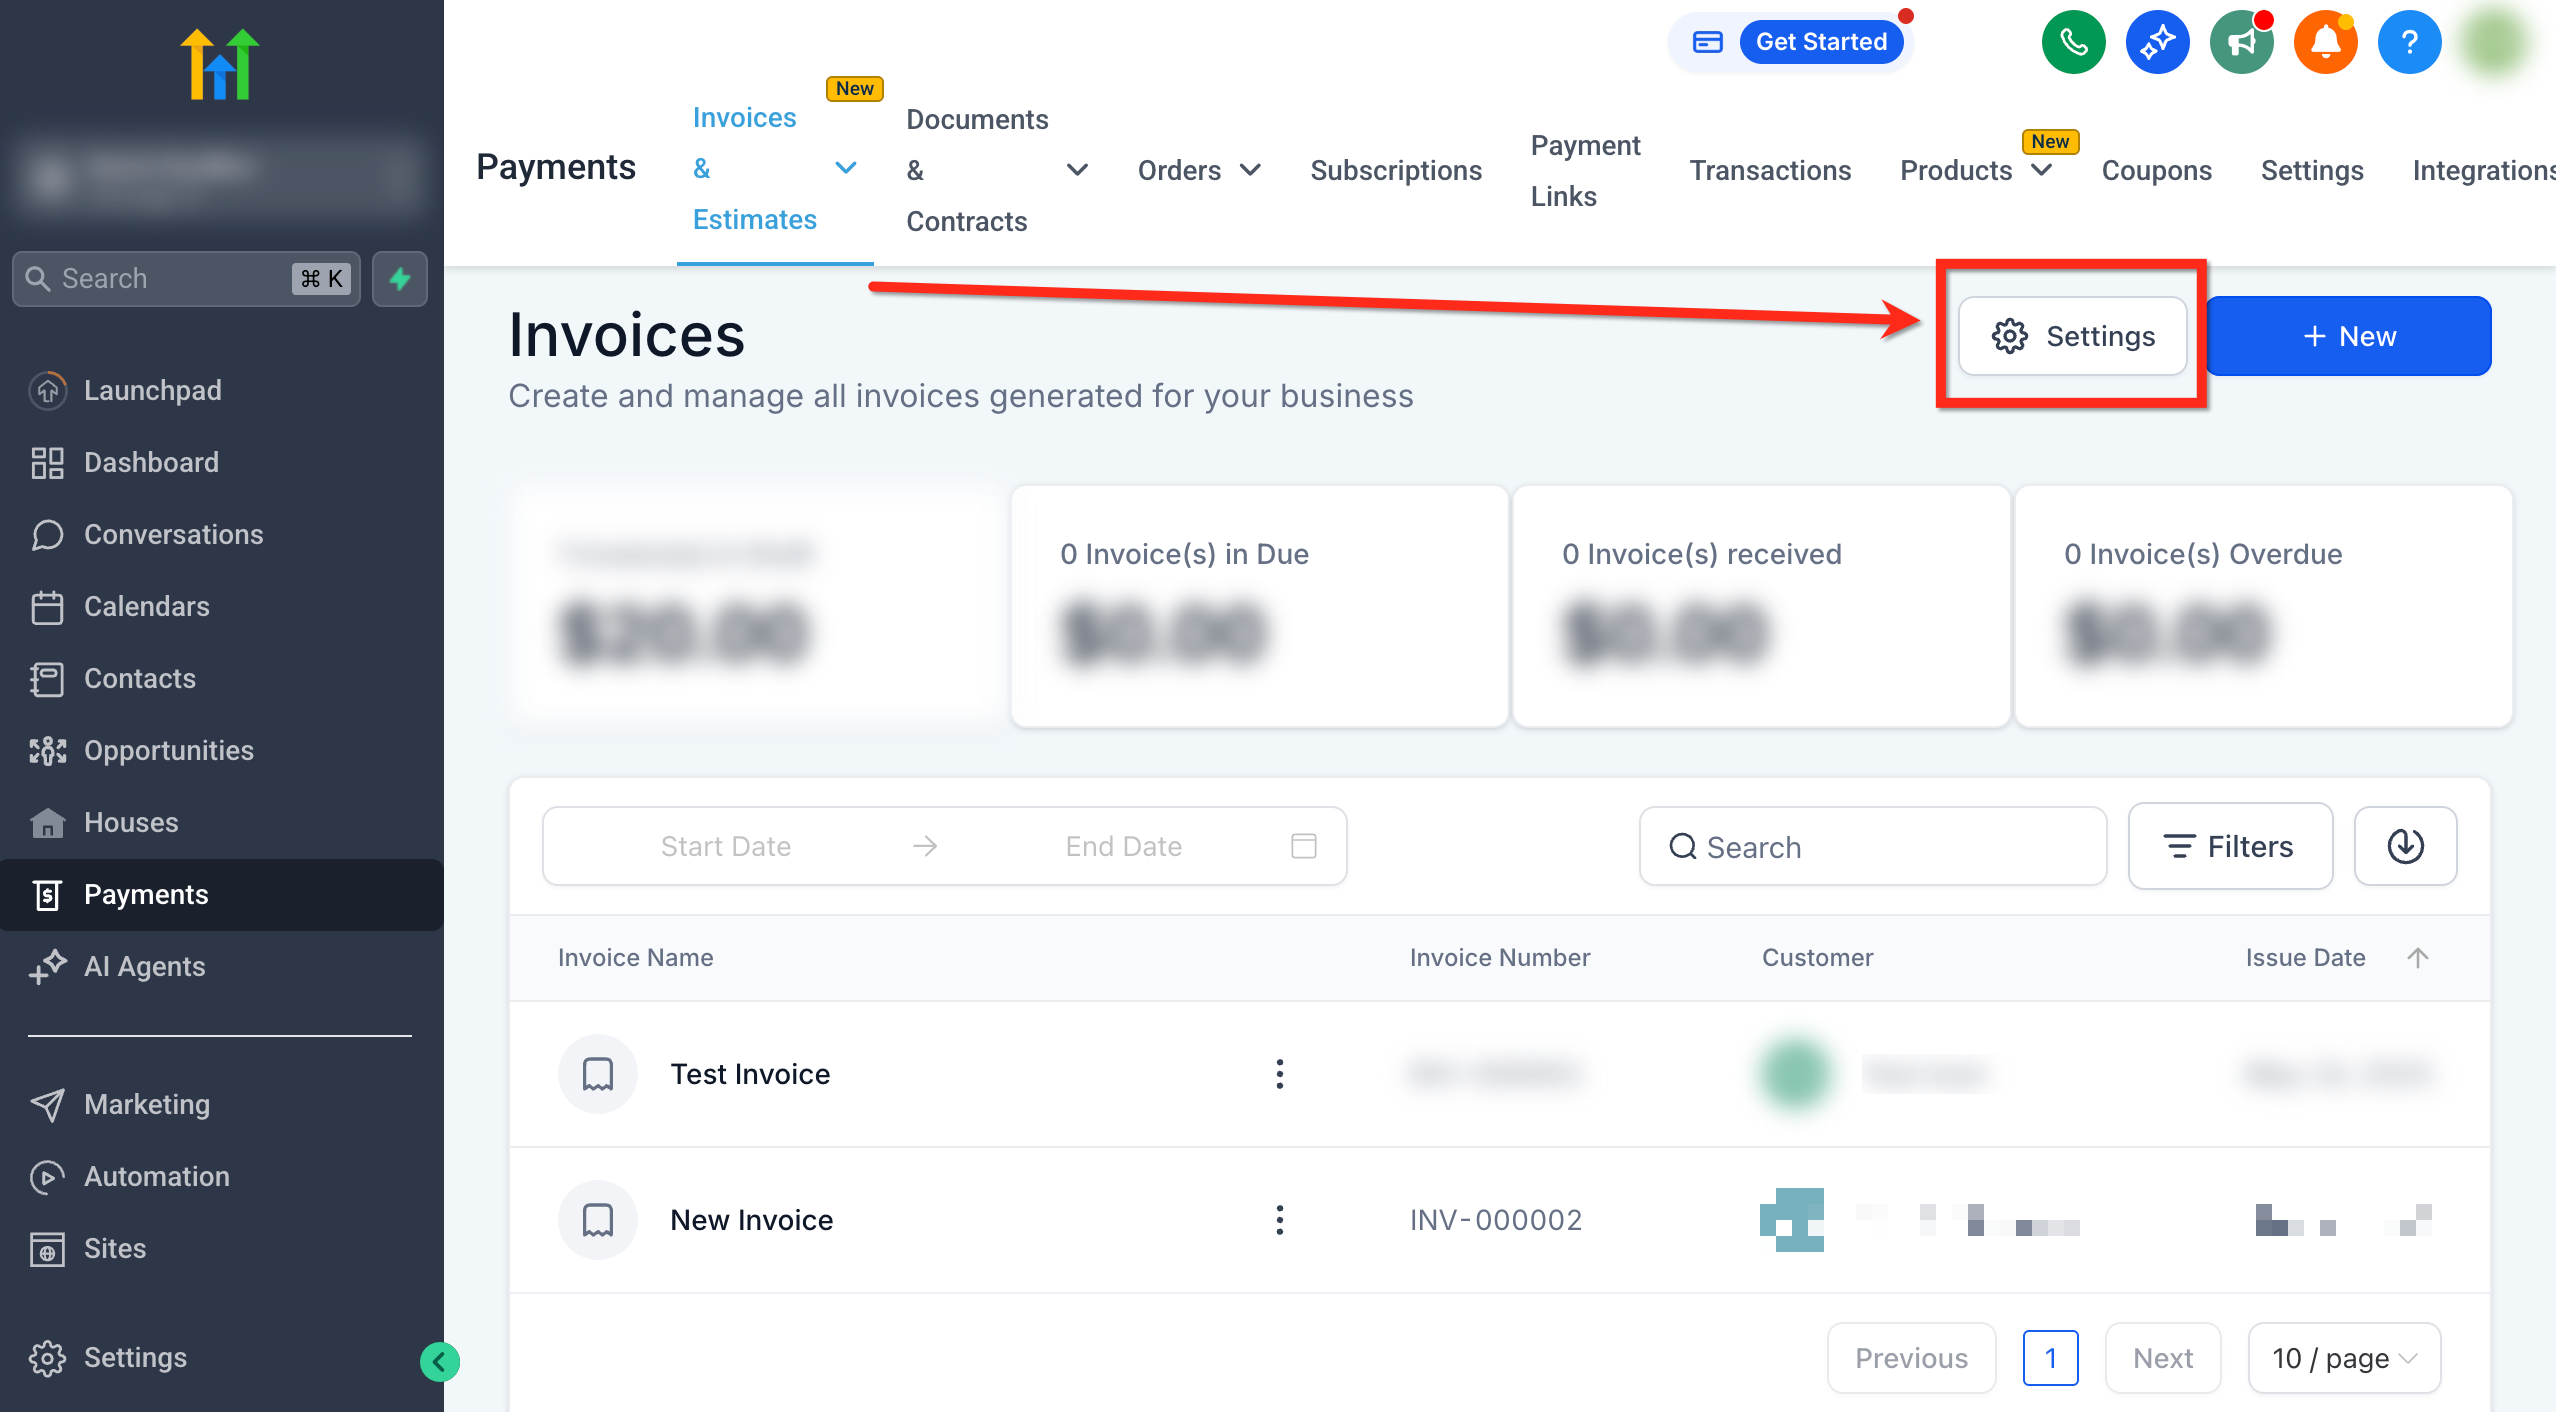
Click the Settings button (top right).
Step 3: go to layout
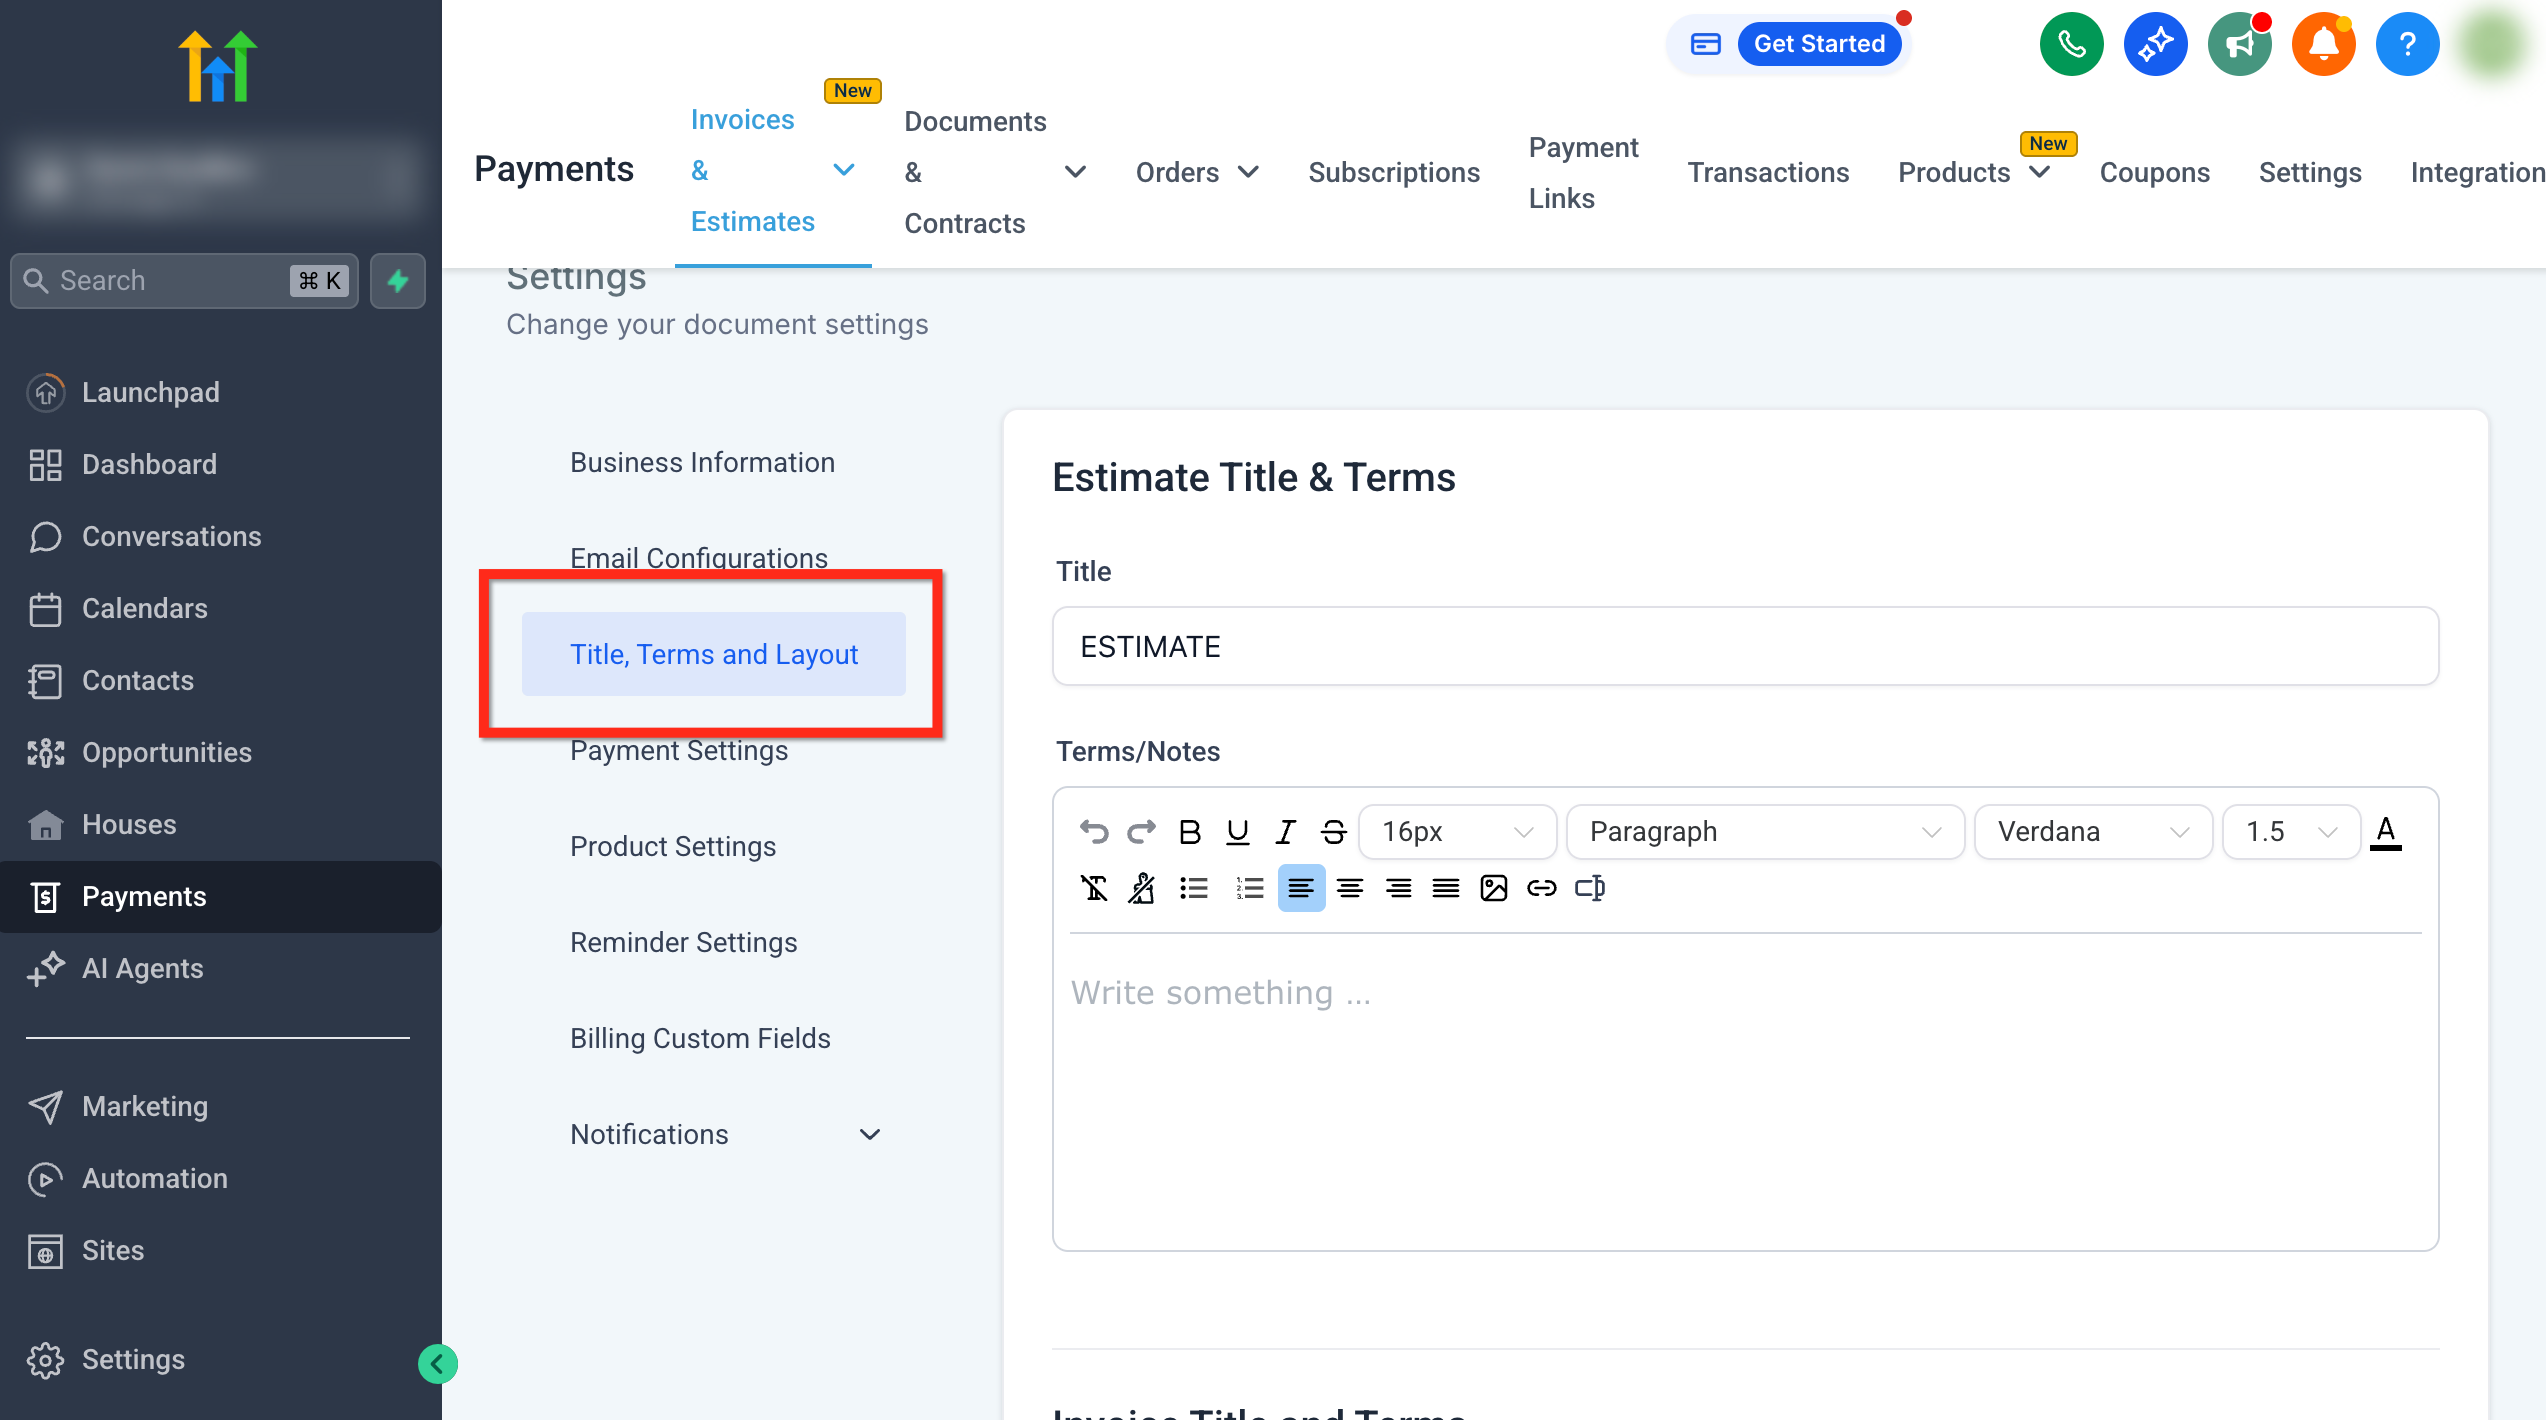
In the secondary navigation menu, choose Title, terms and layout.
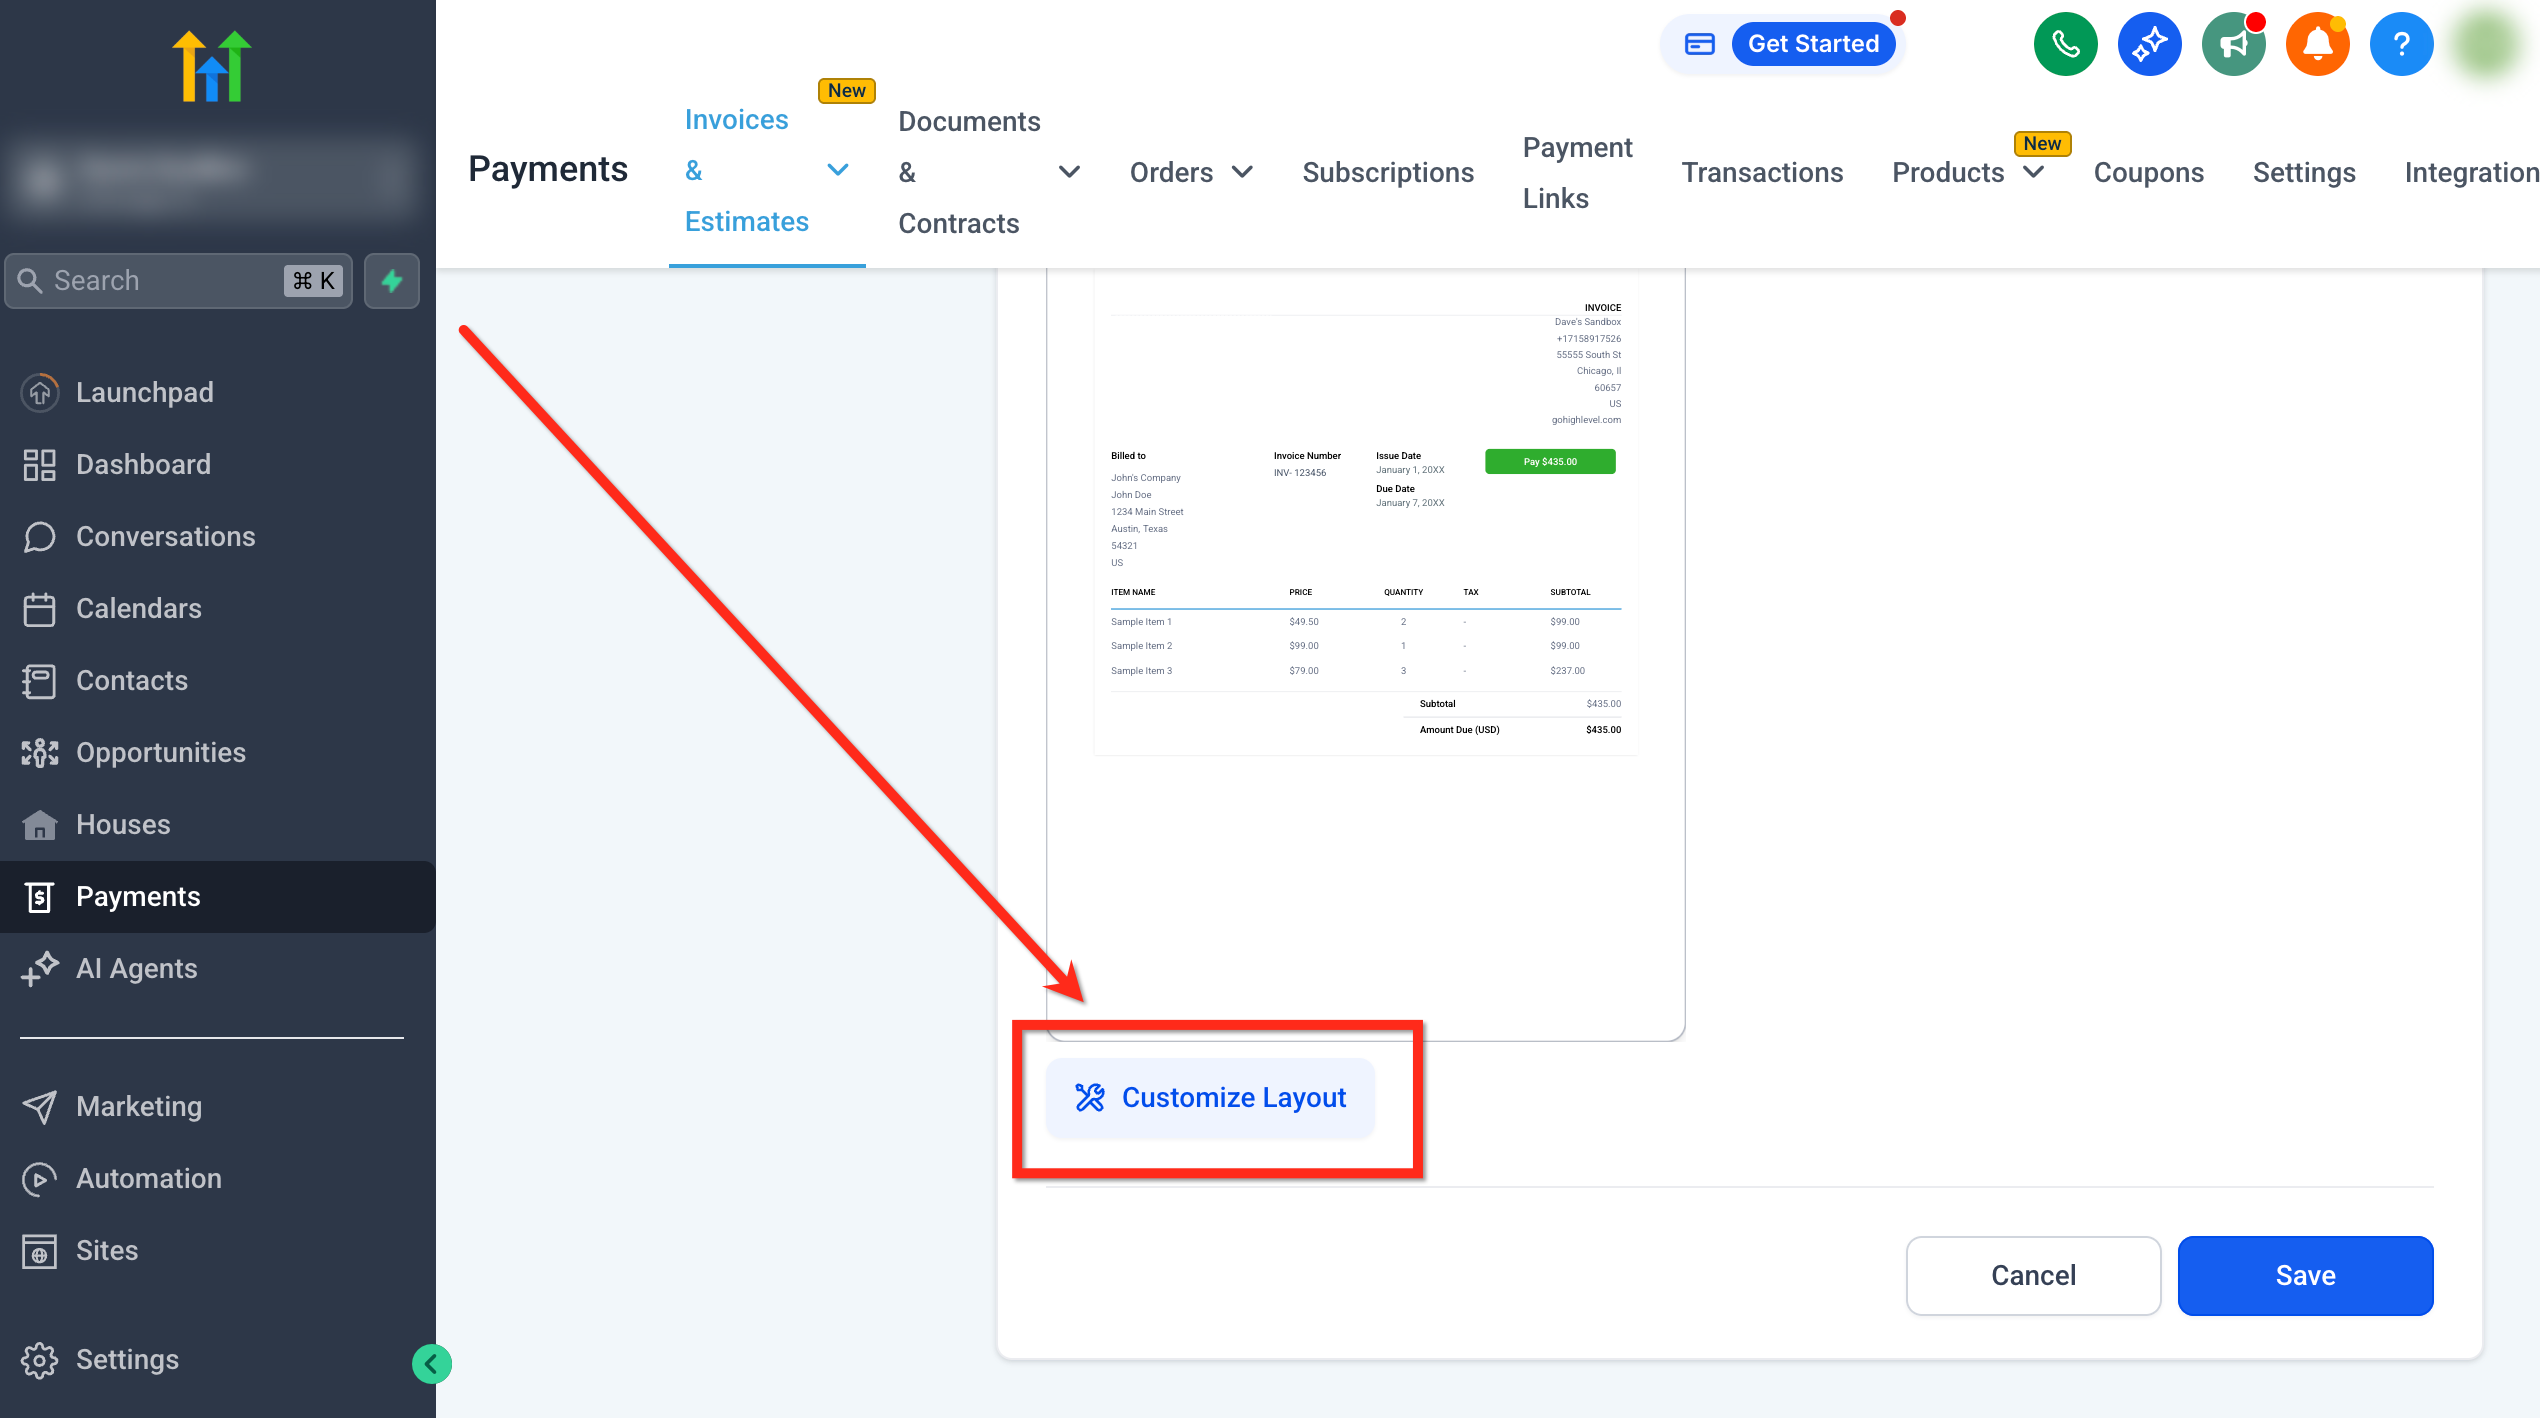
Step 4: click customise layout
Scroll to Invoice layout and click Customise layout.
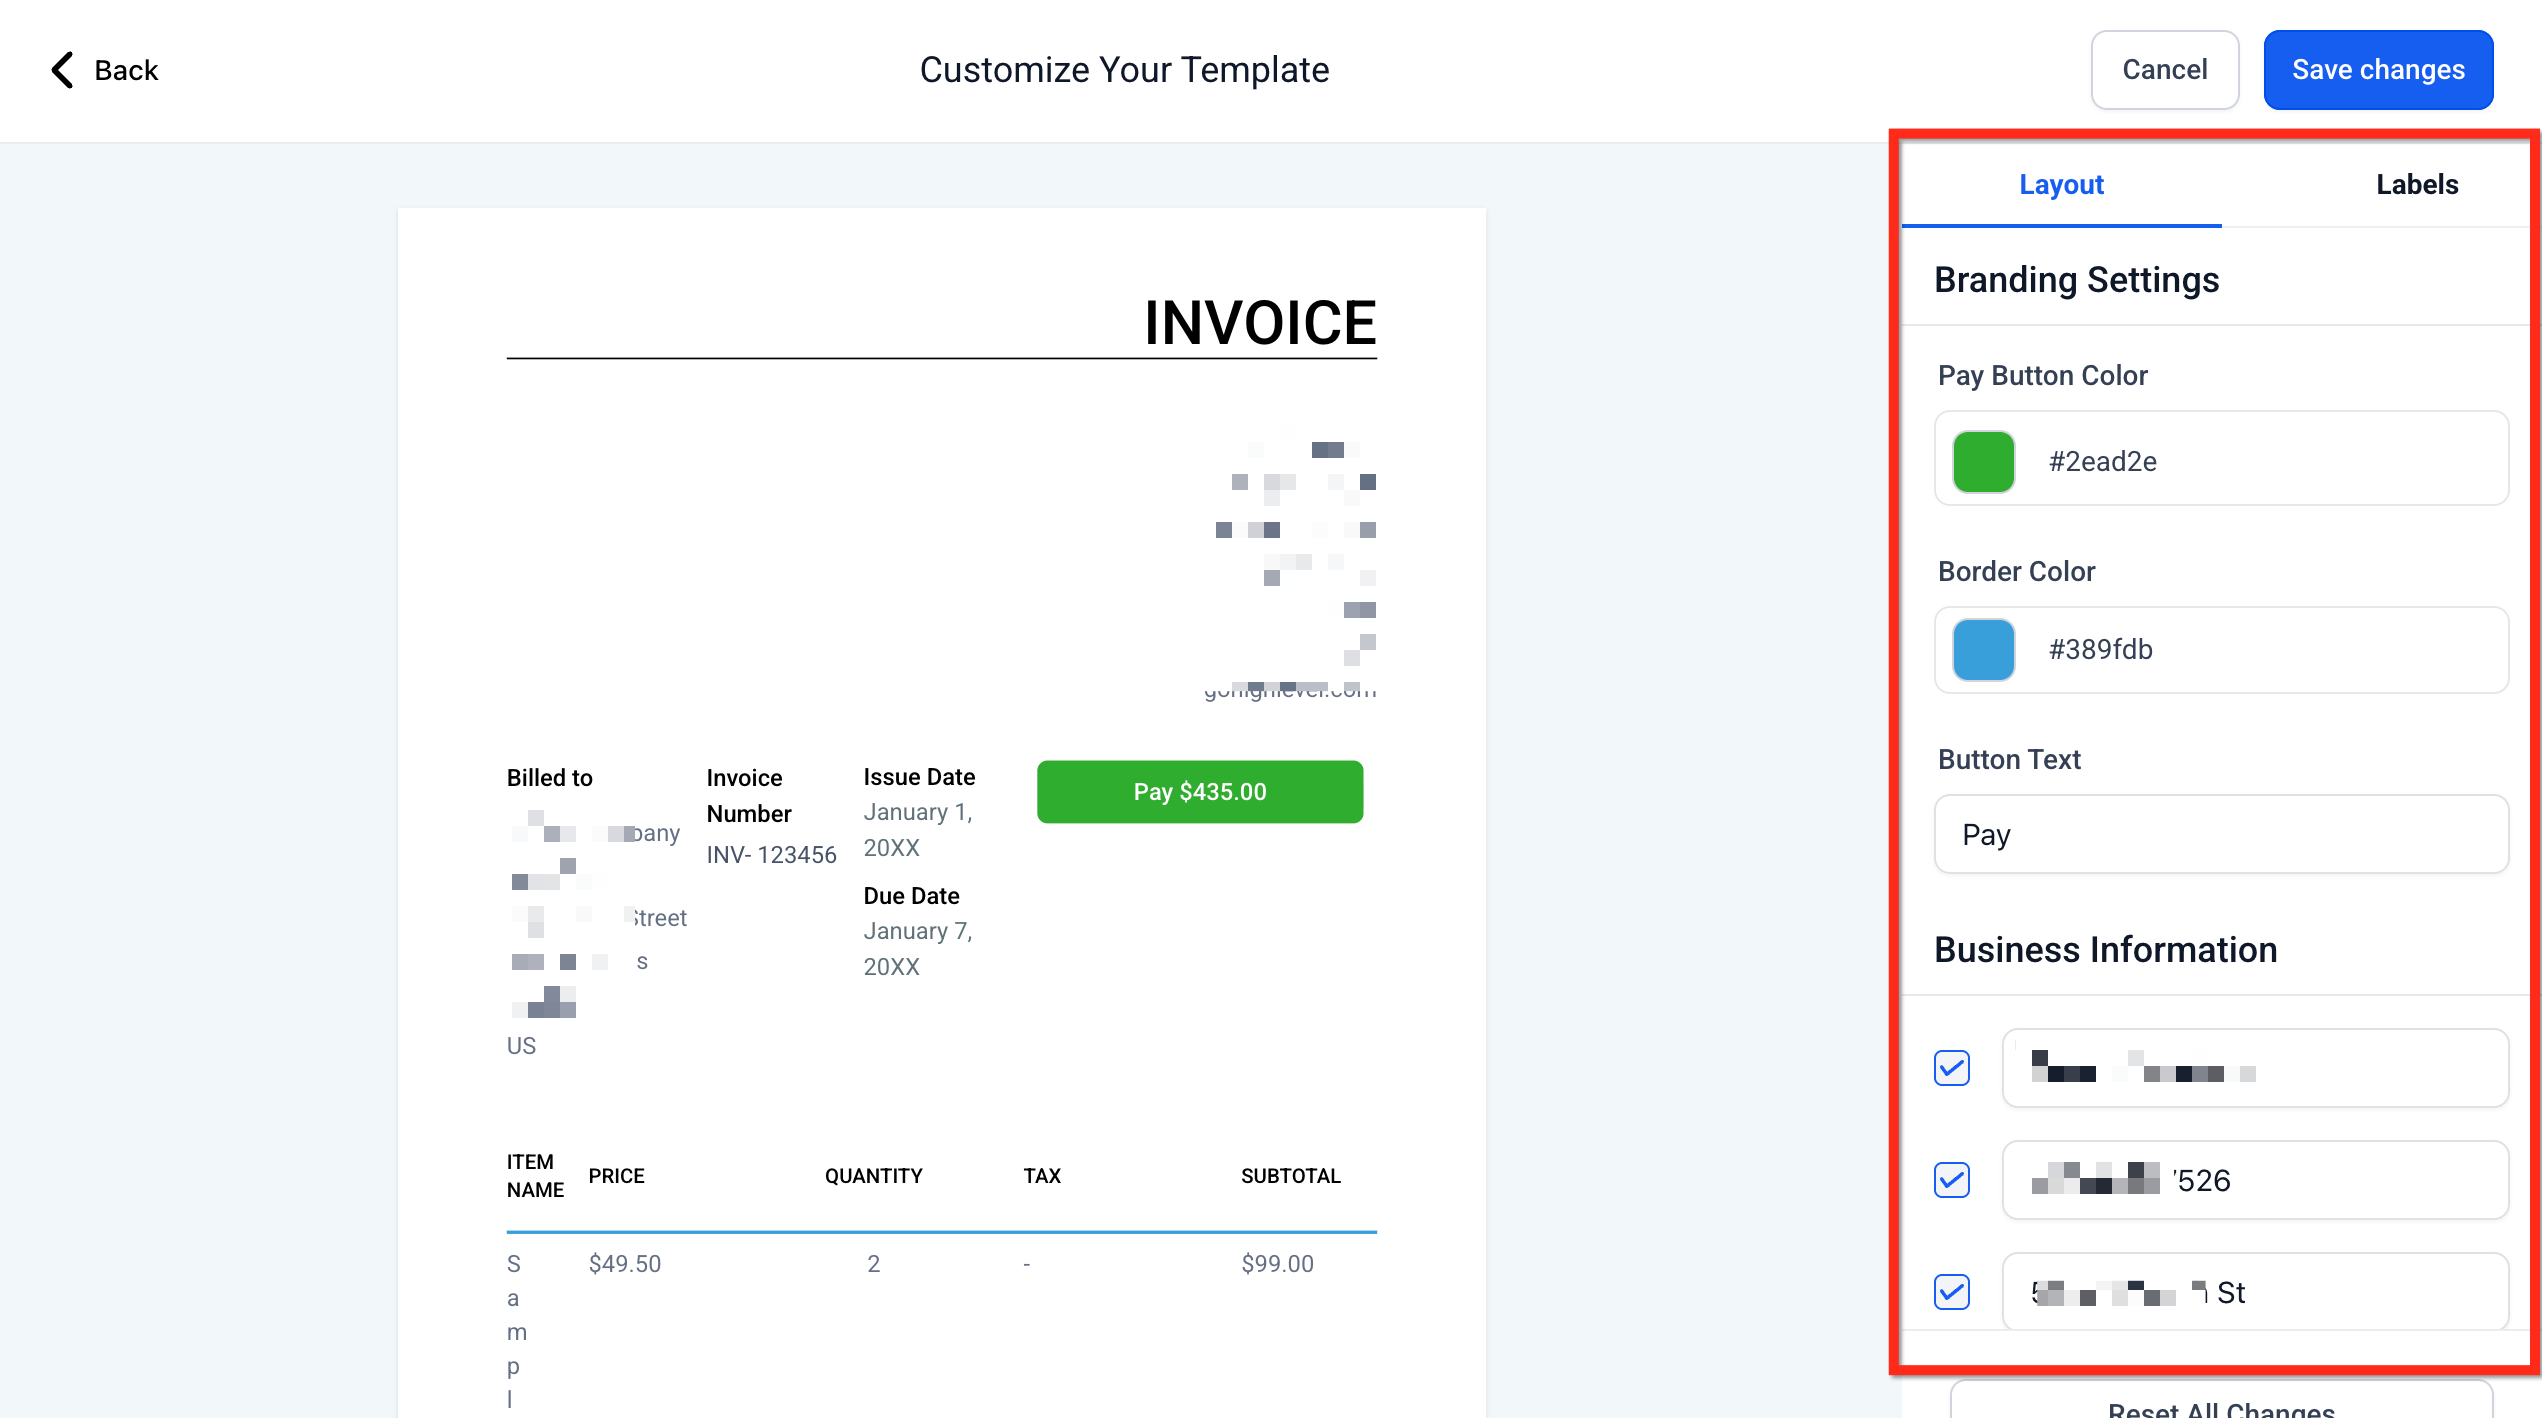
Step 5: layout tab
In the Layout tab:
- Open Branding settings → choose the payment button and border colour using the colour picker; update the button text if needed (for example, Donate).
- Expand Business information → select or deselect the fields; add up to 3 custom values.
- Expand Contact information → rename the section heading (for example, “Shipping details”) and add custom fields as needed.
- (Optional) Expand Invoice information → show or hide invoice number, issue date and due date.
Step 6: update the labels
Switch to the Labels tab → rename or hide the line item columns (Item name, Price, Quantity, VAT, Subtotal).
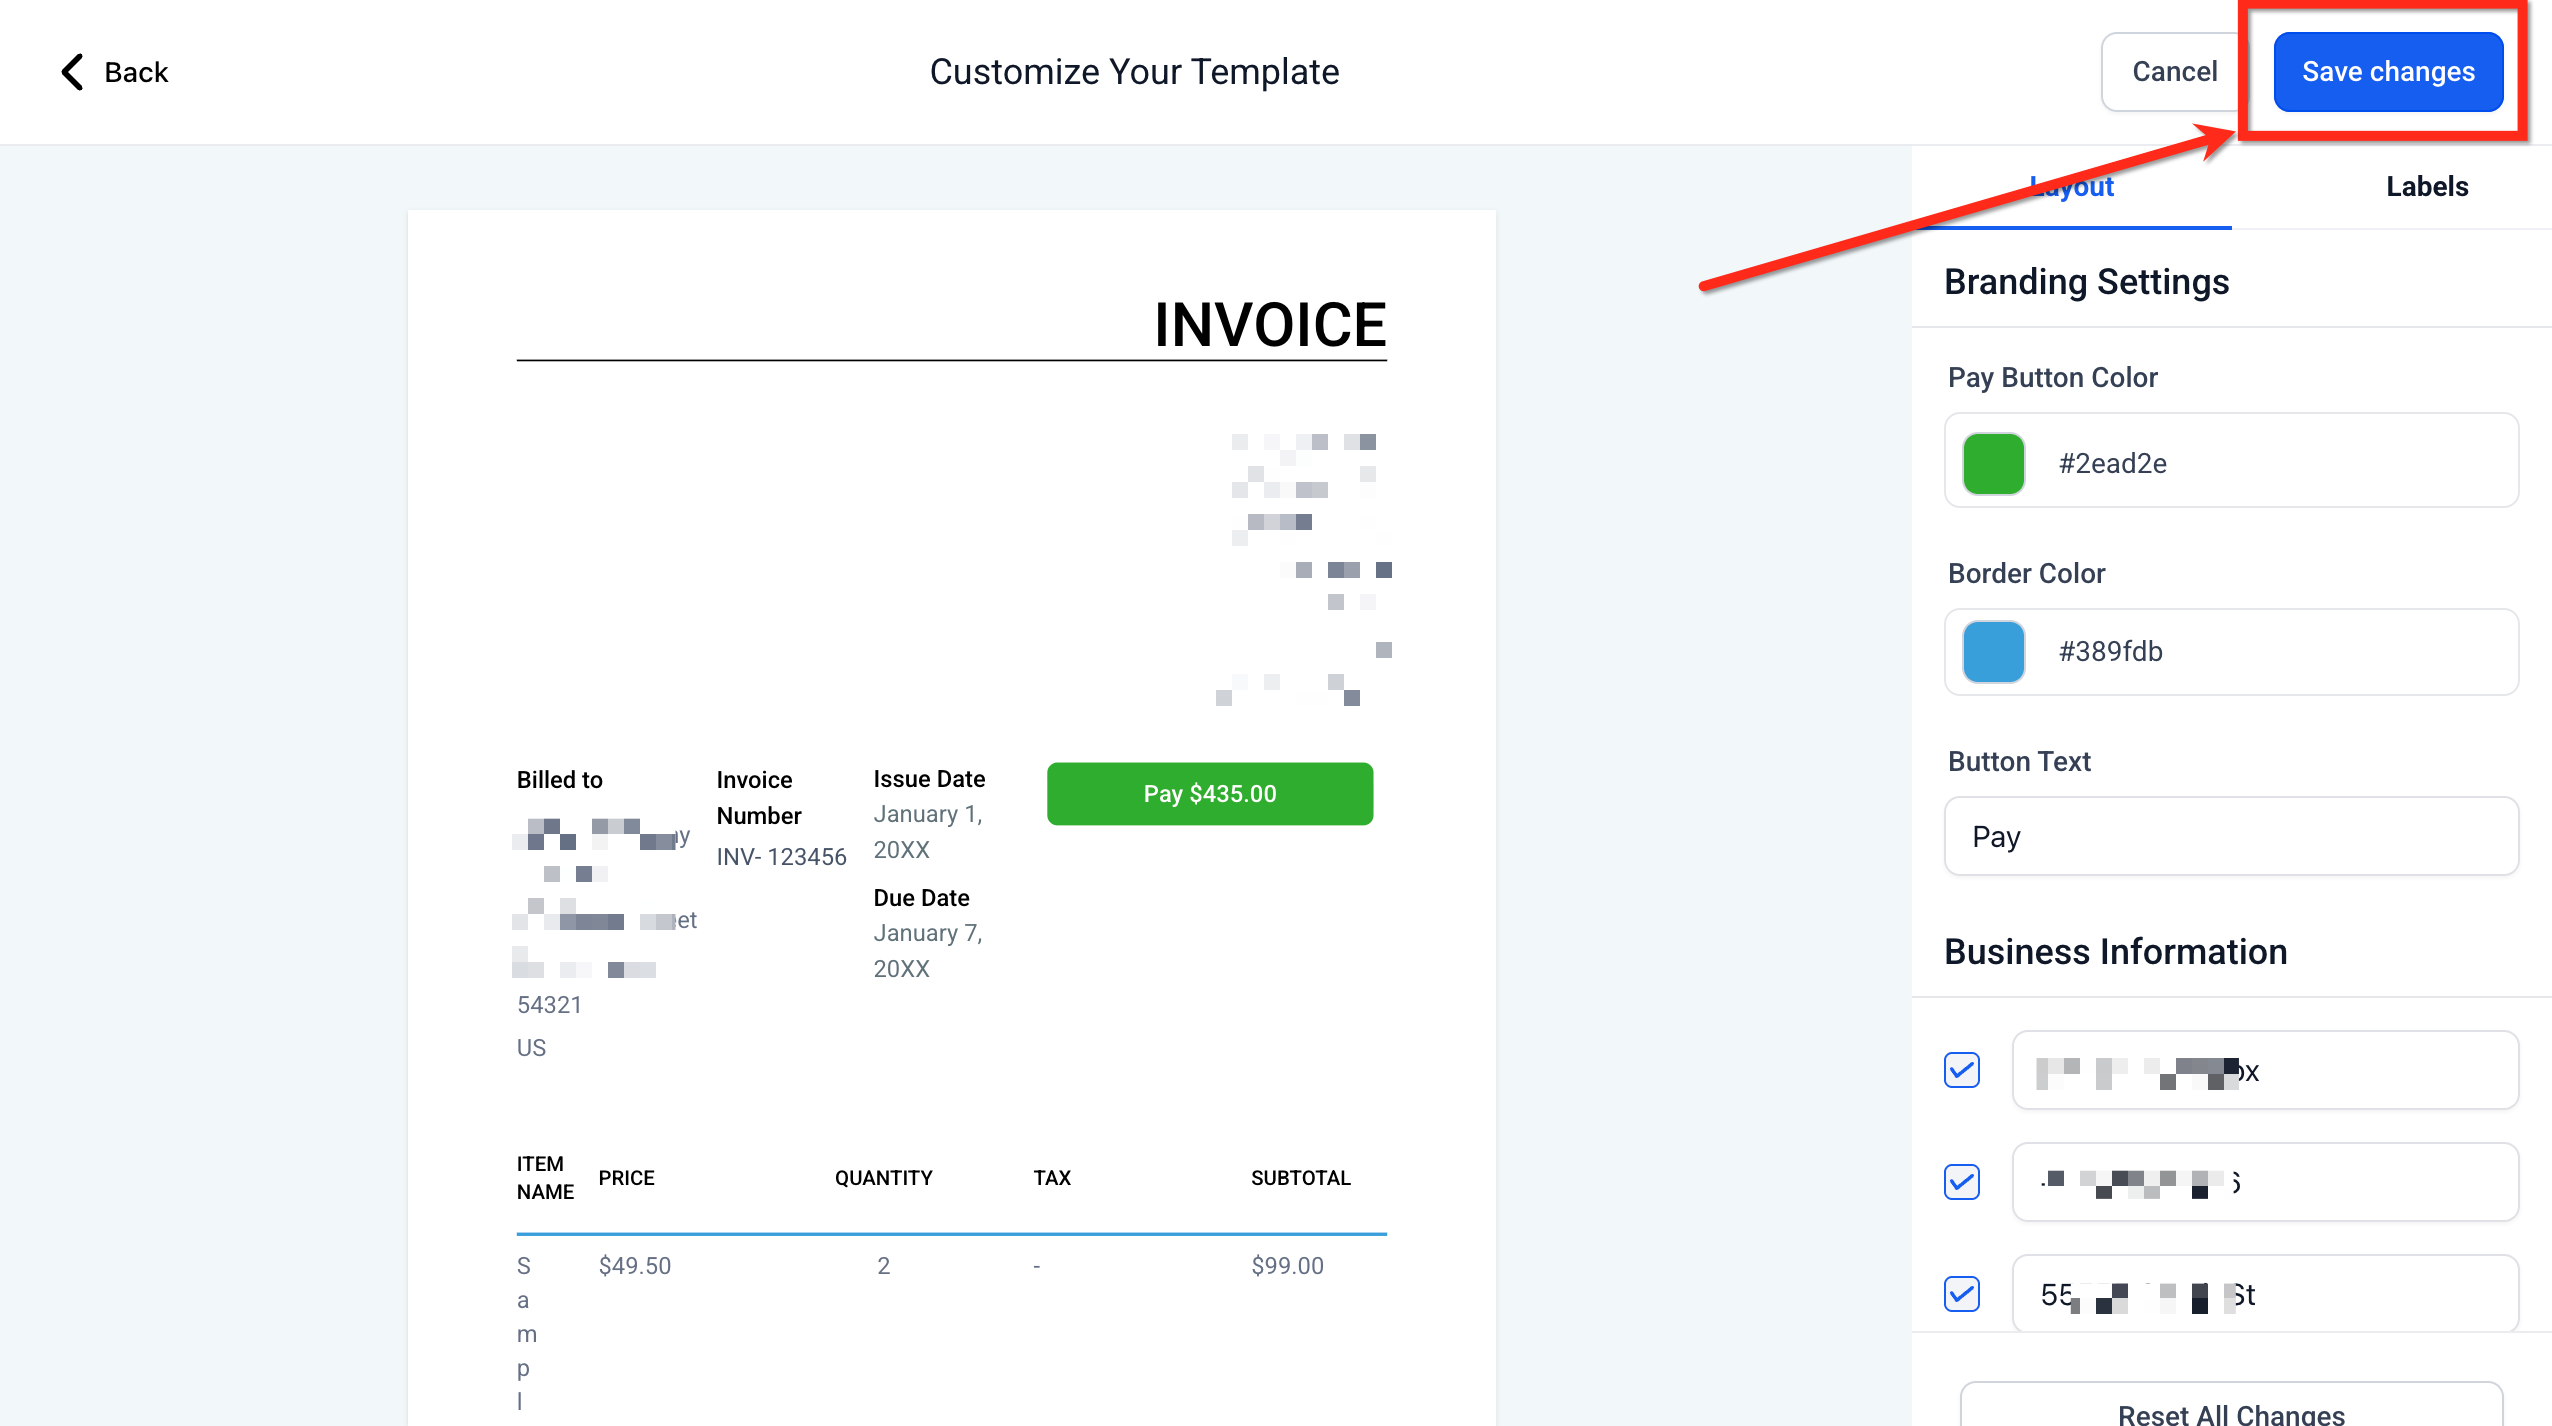
Step 7: check the preview and save your changes
Check the live preview to make sure everything is correct. Click Save changes (top right) to apply your design.
Tip: to start again from scratch, click Reset all changes to return to the default settings.
Frequently asked questions
Do these changes apply to every invoice in my account?
Yes. Layout customisations are saved at account level and used for all the new invoices you create in that account.
Will PDFs sent previously update after I change the layout?
No. PDFs that have already been sent will not change automatically. Create a new PDF or resend the invoice to show recipients the updated layout.
Can I hide a column and still enter the values while creating an invoice?
Yes. Hiding a label only makes it invisible to the recipient; your team can still edit the values while creating the invoice.
How many custom values can I add to the business information?
You can add up to 3 custom values.
Do layout changes appear in PDFs that are downloaded or sent by email?
Yes. PDFs reflect the layout saved at the moment they are generated or resent.