


Table of contents
- Step-by-step procedure for connecting your domain
- 1. Automatic method (for supported providers)
- 2. Adding a domain manually
- Manual DNS configuration by provider
- Troubleshooting domain connection problems
- Products you can connect a domain to
- Useful tips
Step-by-step procedure for connecting your domain
Connecting your domain to Futuria CRM ensures that your brand presence is consistent across websites, funnels, emails and customer-facing tools. This guide walks through the process and explains how each product works with a connected domain.
There are two main ways to connect a domain to Futuria CRM:
1. Automatic method (for supported providers)
If your domain is registered with a supported provider (such as GoDaddy, Google Domains or Cloudflare), you can connect it automatically through API-based authentication.
Recommended if your domain is managed by one of our integrated providers.
- Go to Sites > Settings > Domains in your Futuria CRM account.
- Choose “Connect a domain”.
- Choose the product you want to connect (for example a funnel, website or email).
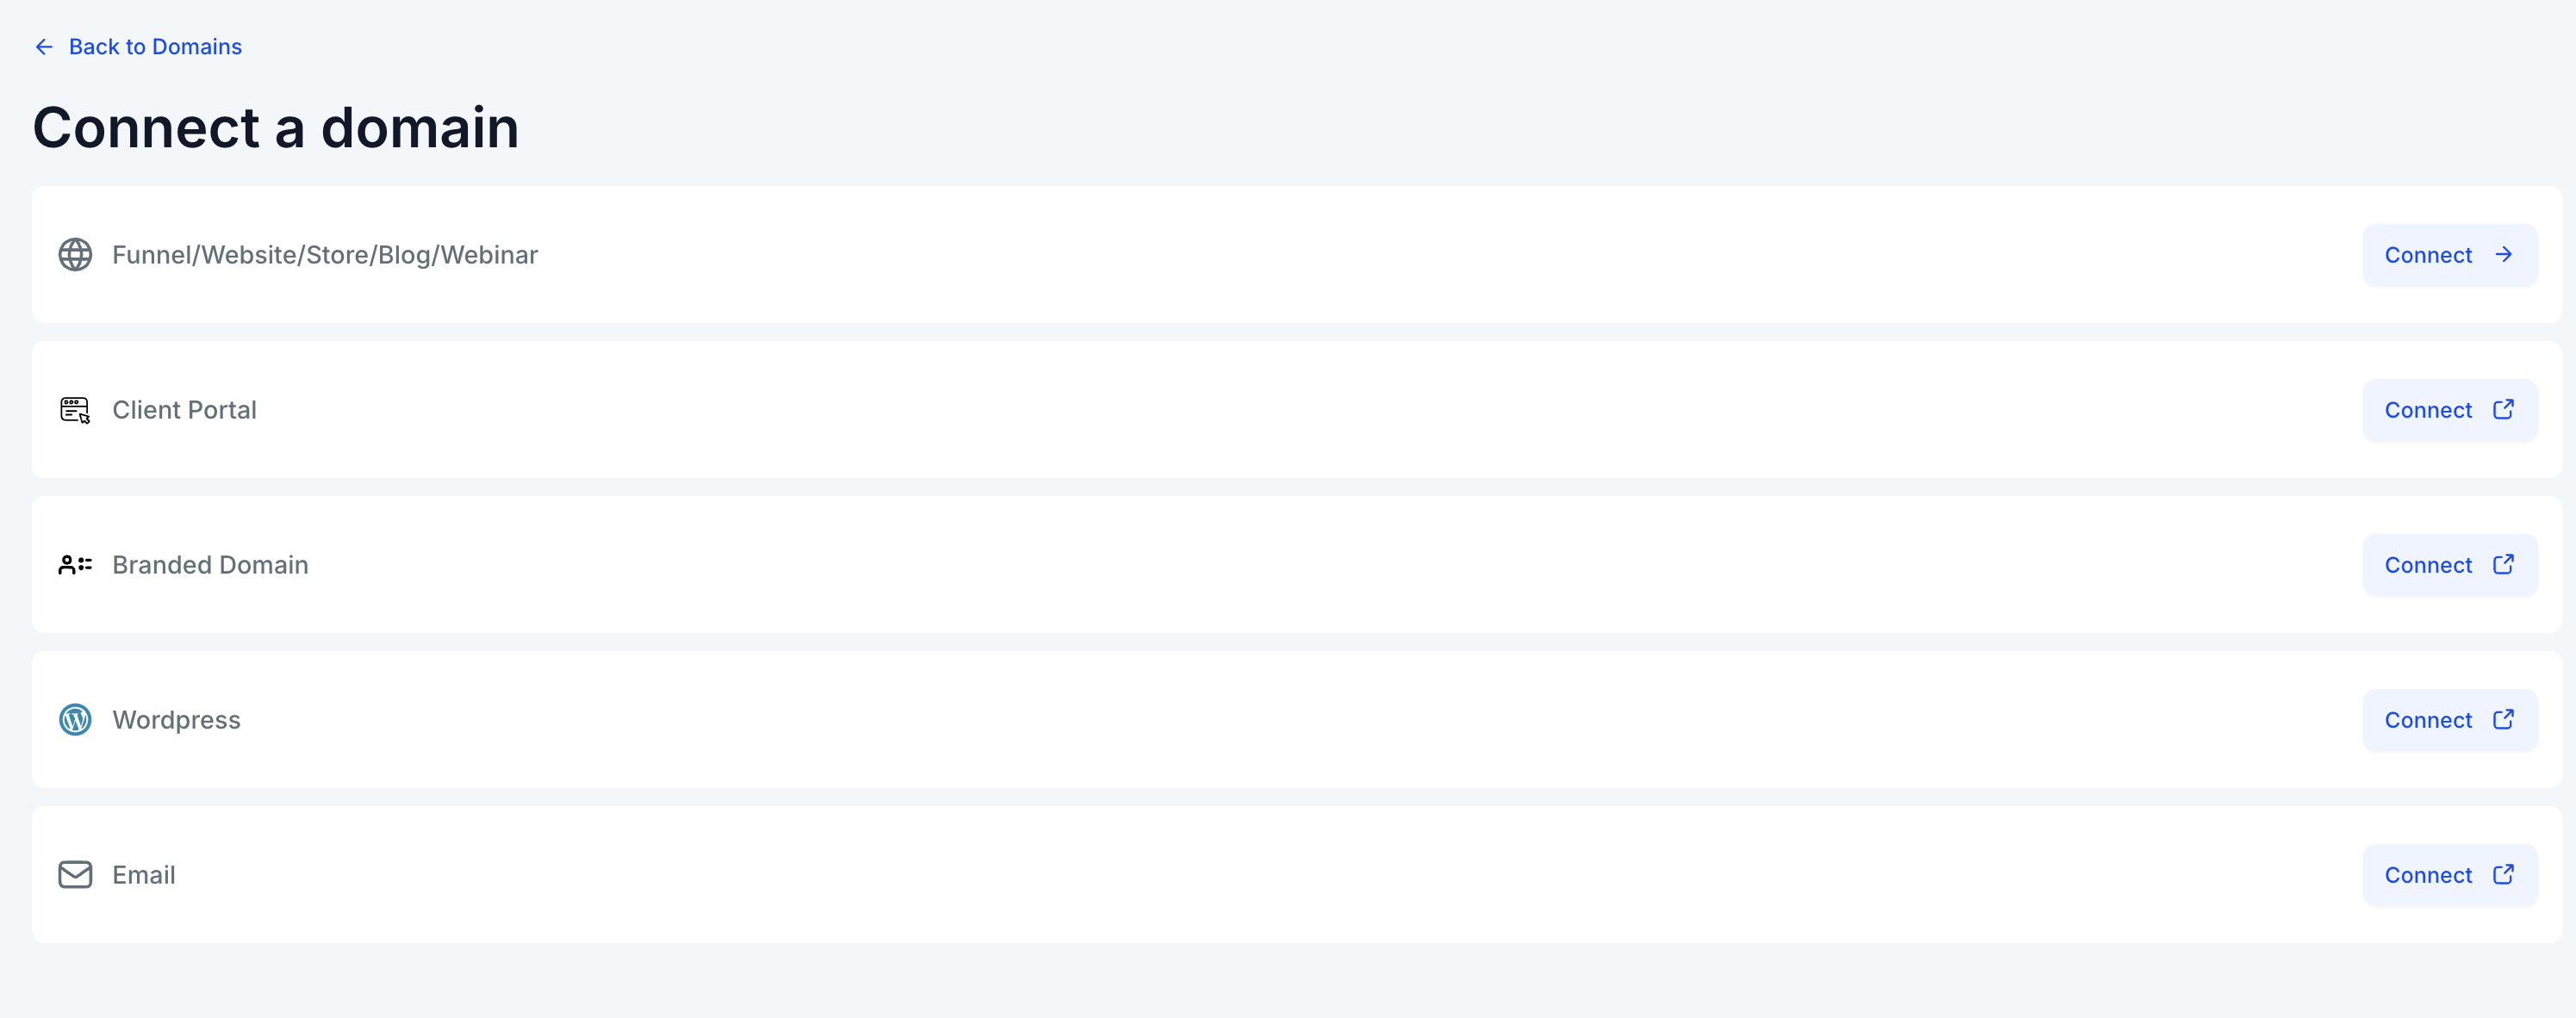
- Enter your main domain or a subdomain in the field provided. If you also add the "www" subdomain, you will see an option to add the main domain.
- If your domain is with Google Domains, GoDaddy or Cloudflare, you will see an "Authorise" button. Click it to allow Futuria CRM to access your DNS settings.
- Follow the on-screen instructions to complete the authorisation process in your domain provider's interface. This will automatically add or connect the necessary DNS records.
- Once authorisation is complete, close that tab and return to the domain connection interface.
2. Adding a domain manually
If your domain is hosted with Namecheap, Bluehost or any other provider not listed, you will need to add the DNS records manually.
Use this option if your provider is not supported directly.
- Go to Sites > Settings > Domains.
- Choose “Connect a domain”.
- Choose the product you want to connect (for example a funnel, website or email).
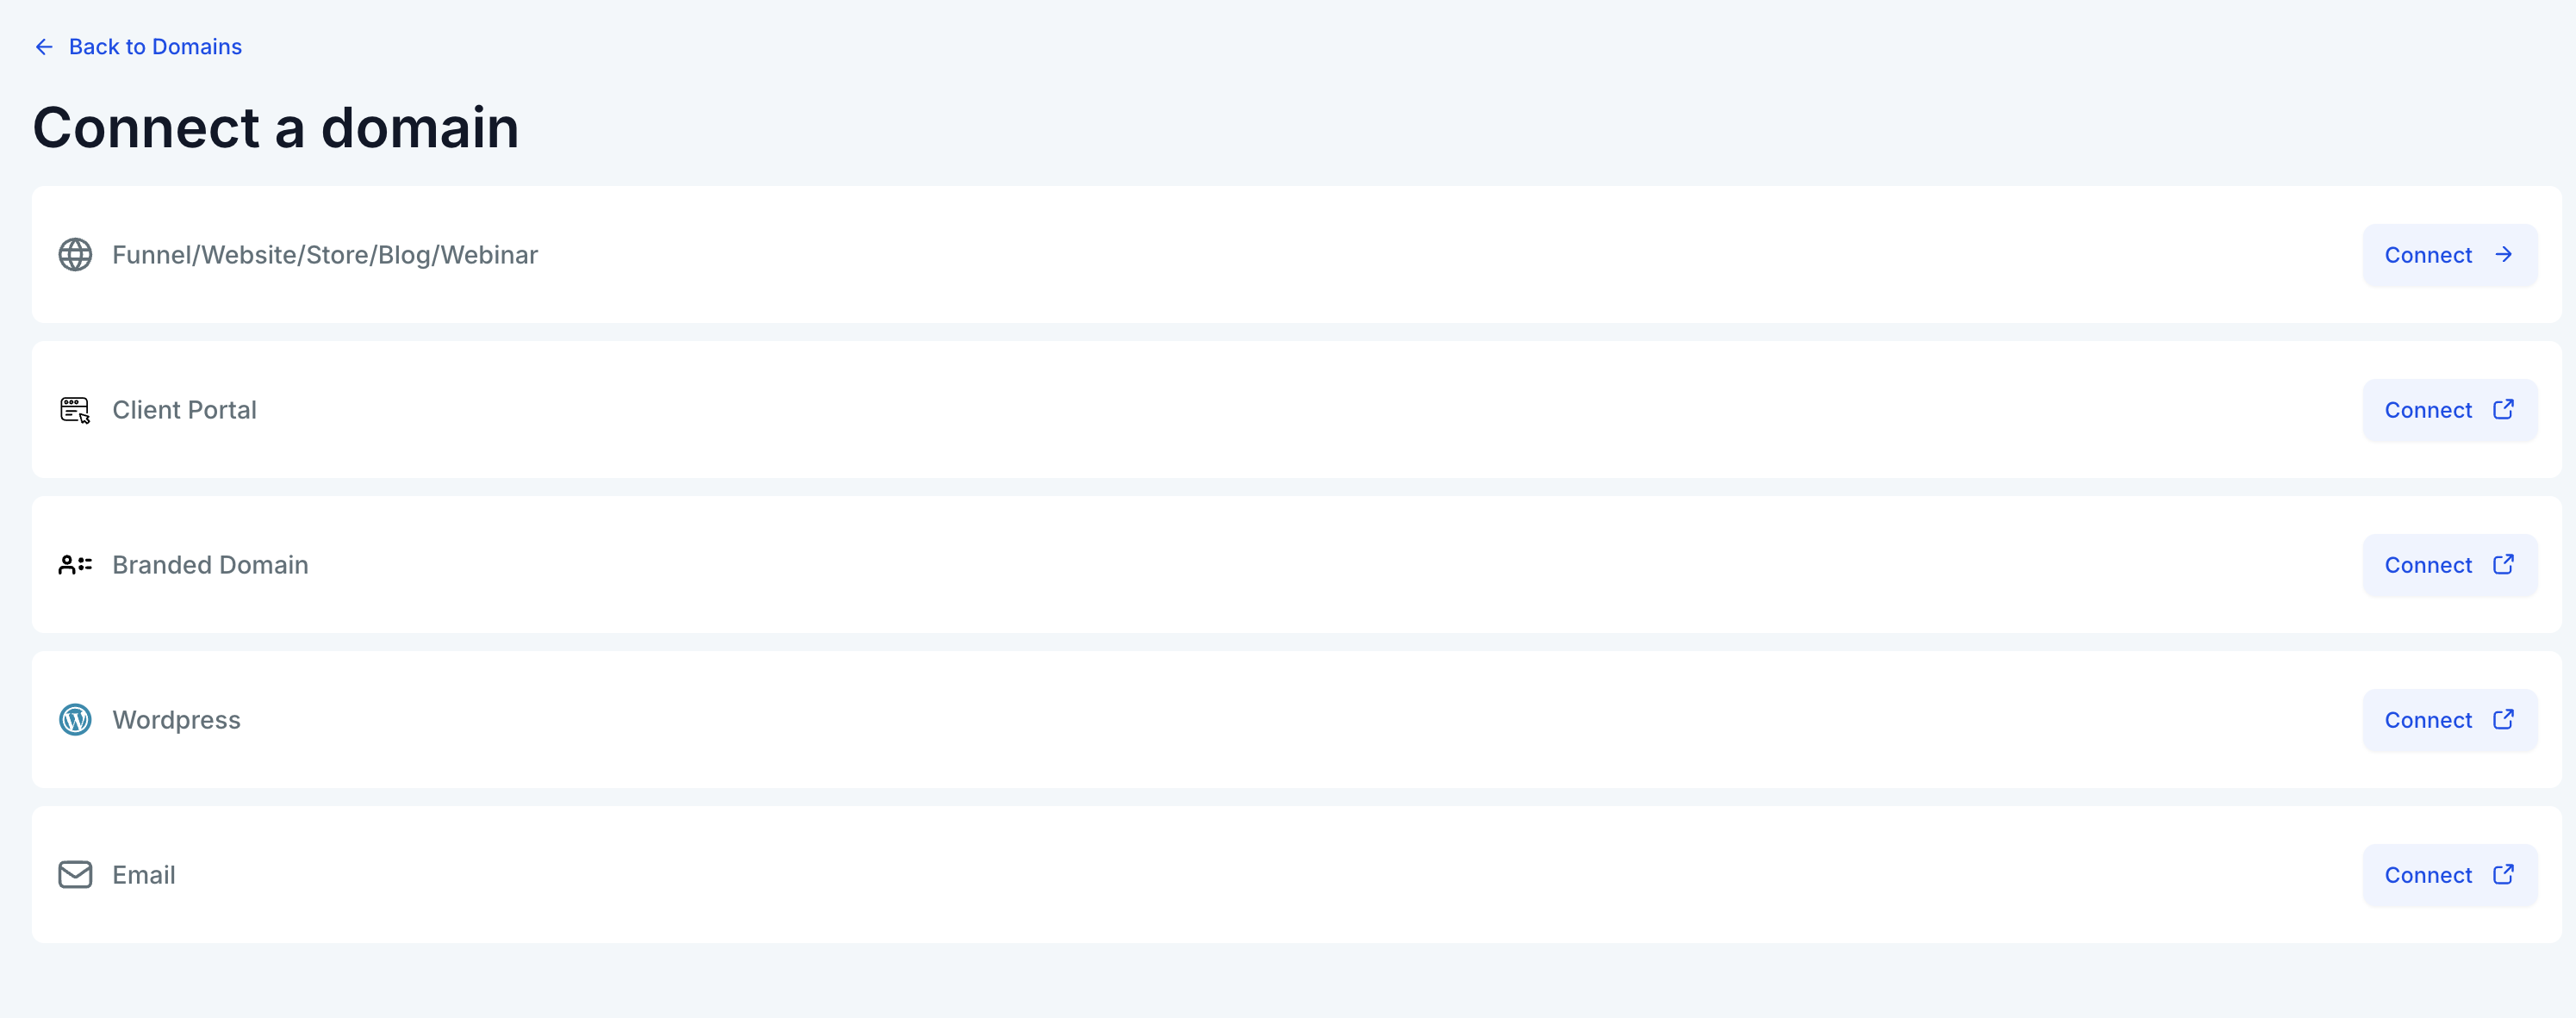
- If you want to connect the domain to a funnel, website, blog or webinar, enter the domain name as requested.
- Click the option to add the records manually.
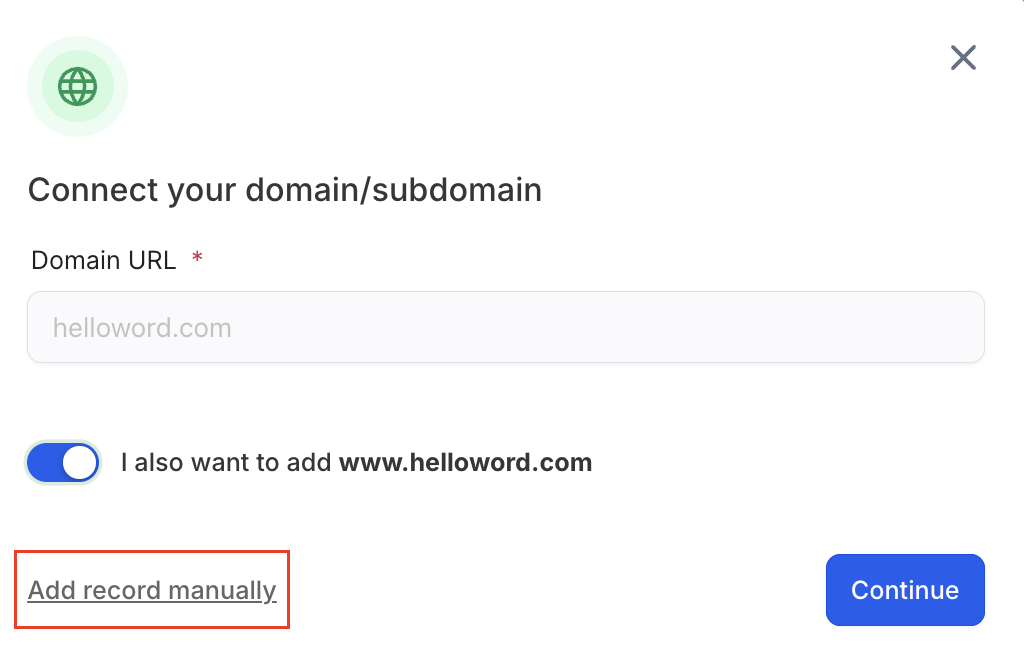
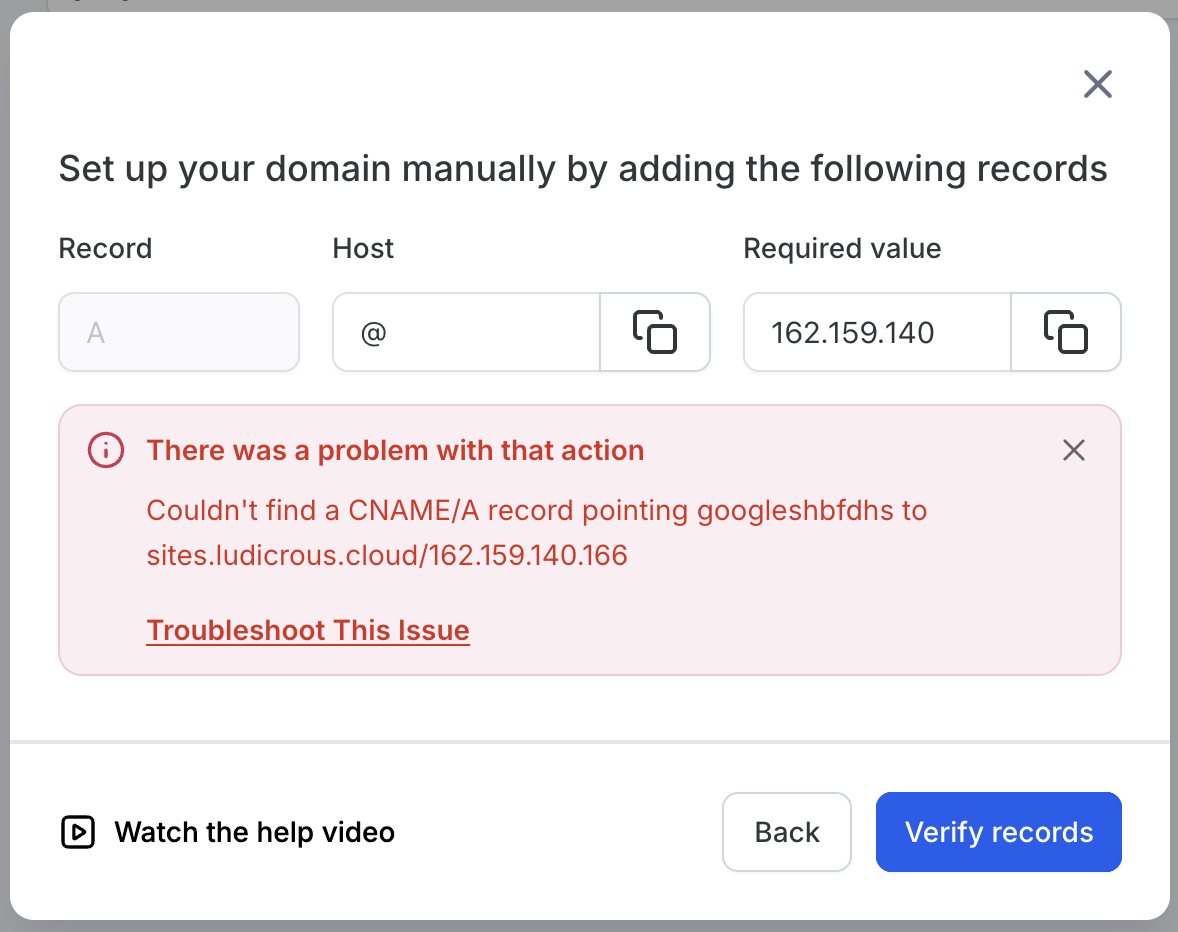
- You will be given specific DNS records (A, CNAME and TXT records) that need to be added at your domain registrar.
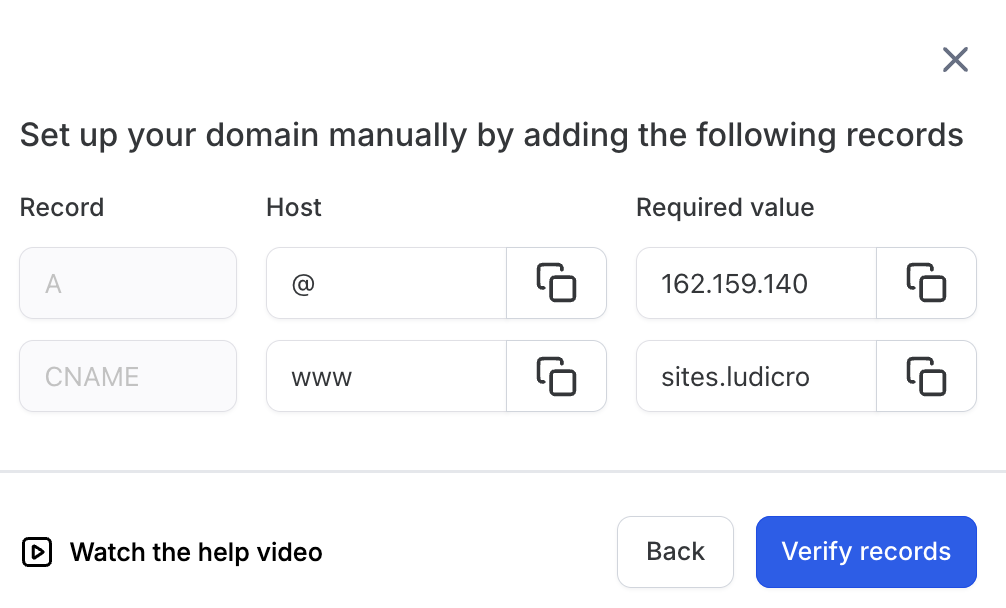
- Log in to your domain provider (e.g. Namecheap) and go to the DNS settings.
- Add the records exactly as shown.
- Save your changes and wait for DNS propagation (this can take up to 24 hours).
Manual DNS configuration by provider
Cloudflare
- Log in to your Cloudflare dashboard.
- Select your domain and click the DNS tab.
- Click Add record.
- For each record required by Futuria CRM:
- Choose the type: A, CNAME or TXT.
- A record for
@(main domain) → Points to the IP address. - CNAME for
wwwor subdomains (where applicable). - TXT for email verification (e.g. SPF/DKIM).
- Important: Set the Proxy status to "DNS only" (grey cloud) for the A and CNAME records.
- Click Save for each record.
- Wait for propagation (from a few minutes to 24 hours).
GoDaddy
- Log in to your GoDaddy account.
- Go to My Products > Domains, then click Manage DNS next to your domain.
- In the Records section, click Add:
- Select the type: A, CNAME or TXT.
- Use
@for the main domain andwwwfor the subdomain.
- Enter the record values exactly as provided by Futuria CRM.
- Click Save after adding each record.
- Allow the necessary time for the changes to propagate.
Namecheap
- Log in to your Namecheap dashboard.
- Go to Domain List > Manage next to your domain.
- Go to the Advanced DNS tab.
- Under Host Records, click Add New Record:
- A record for
@ - CNAME record for
www - TXT record for verification or email (e.g. SPF/DKIM)
- A record for
- Paste the exact values from the Futuria CRM instructions.
- Click Save All Changes.
- Allow up to 24 hours for DNS propagation.
Squarespace
- Log in to your Squarespace account.
- Go to Settings > Domains and select your domain.
- Click DNS Settings (Advanced).
- Add the following:
- A record for
@(use the IP provided) - CNAME for
www(if required) - TXT for email verification
- A record for
- Click Save after each record.
- Go back to Futuria CRM and reconnect the domain once the changes have been saved.
Troubleshooting domain connection problems
While connecting your domain, either manually or automatically, you may come across some common problems such as:
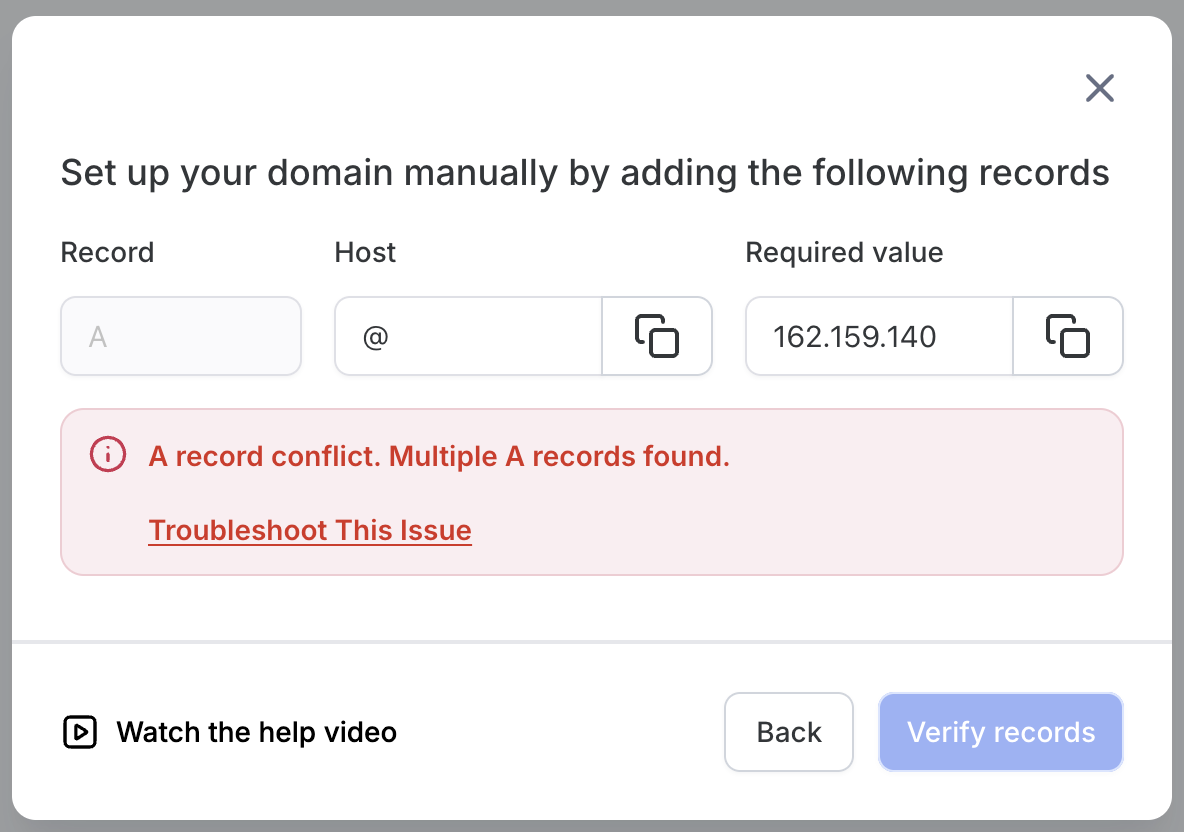
- Record conflicts: multiple A records
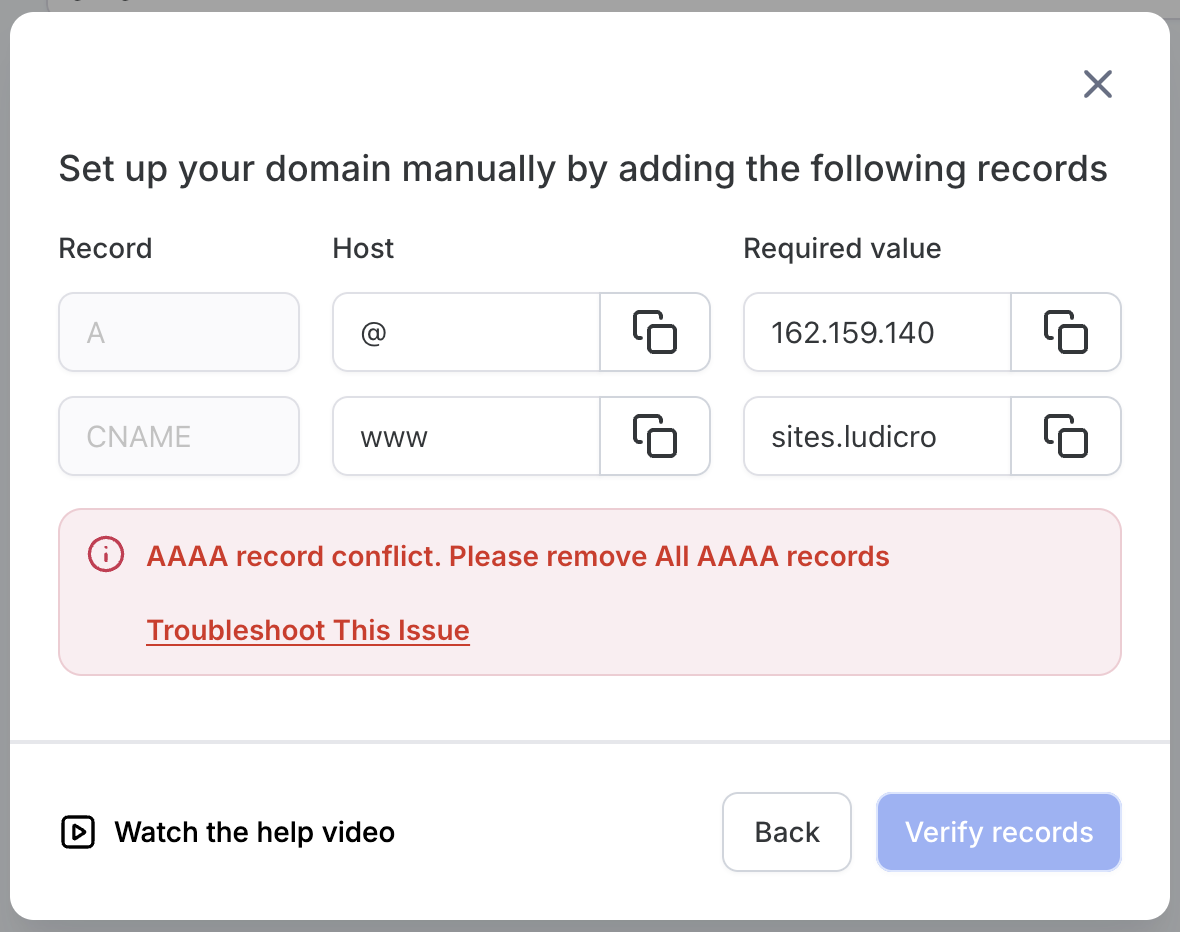
- Conflict with an AAAA record
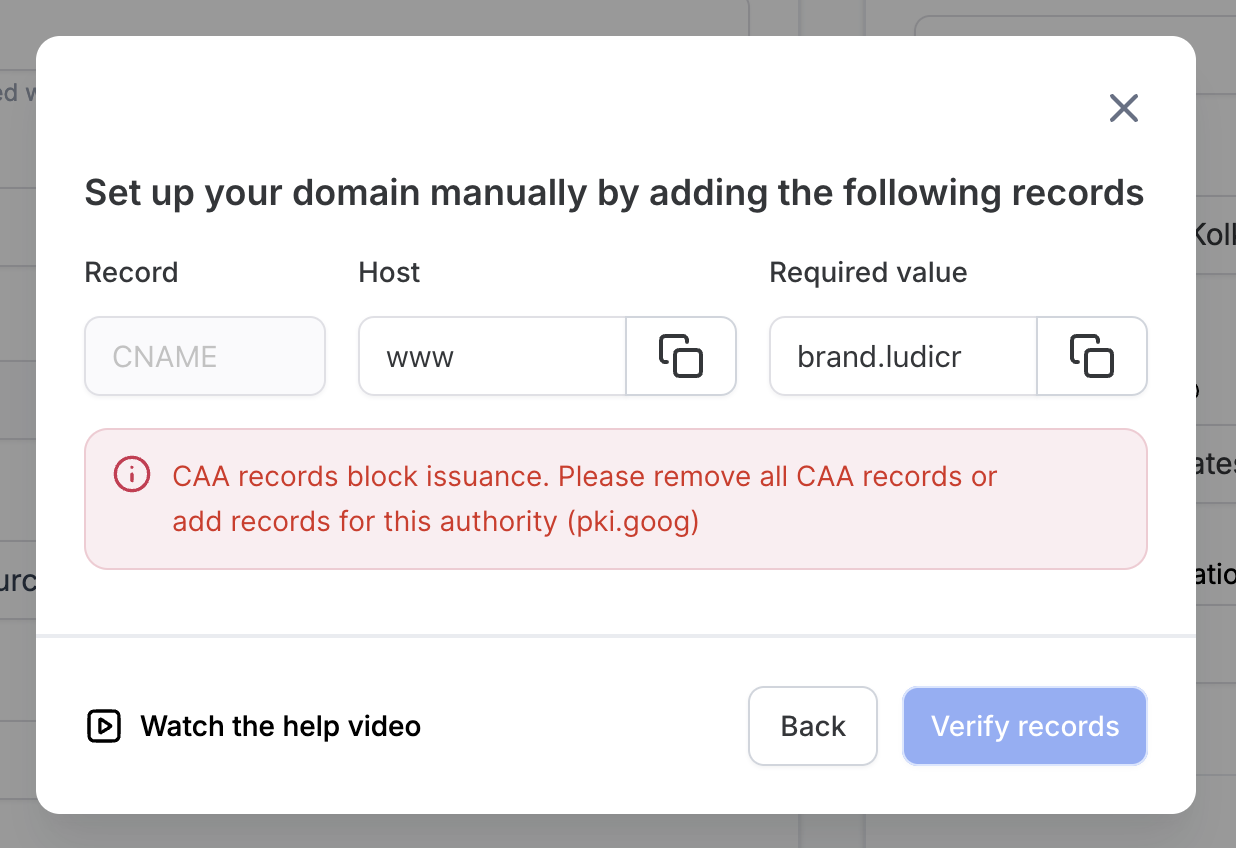
- Conflict with a CAA record
- The DNS records do not match
- The domain is connected elsewhere
Products you can connect a domain to
Funnel / Website / Store / Webinar / Blog
- Use your domain to host customer-facing pages such as funnels, e-commerce stores, webinars or blogs.
WordPress
- If you use Futuria CRM WordPress hosting, point your domain at your WordPress site using the DNS records provided.
- The system will automatically detect and validate the domain once the DNS configuration is complete.
- A domain is required to authenticate your email sending (for example through SPF, DKIM and DMARC).
- Connecting it improves email deliverability and ensures your messages are not flagged as spam.
Client portal
- Use your custom domain to host a portal dedicated to your clients.
- It gives your clients an experience personalised with your brand when they access resources, campaigns or reports.
Useful tips
- DNS propagation: Changes can take anywhere from a few minutes to 24 hours to propagate fully.
- The SSL certificate is provisioned automatically once the domain is connected and the records are correct.
- You can manage all your connected domains under Settings > Domains.
- If your domain stays in “Pending” status for more than 24 hours, double-check the DNS values or contact support.