


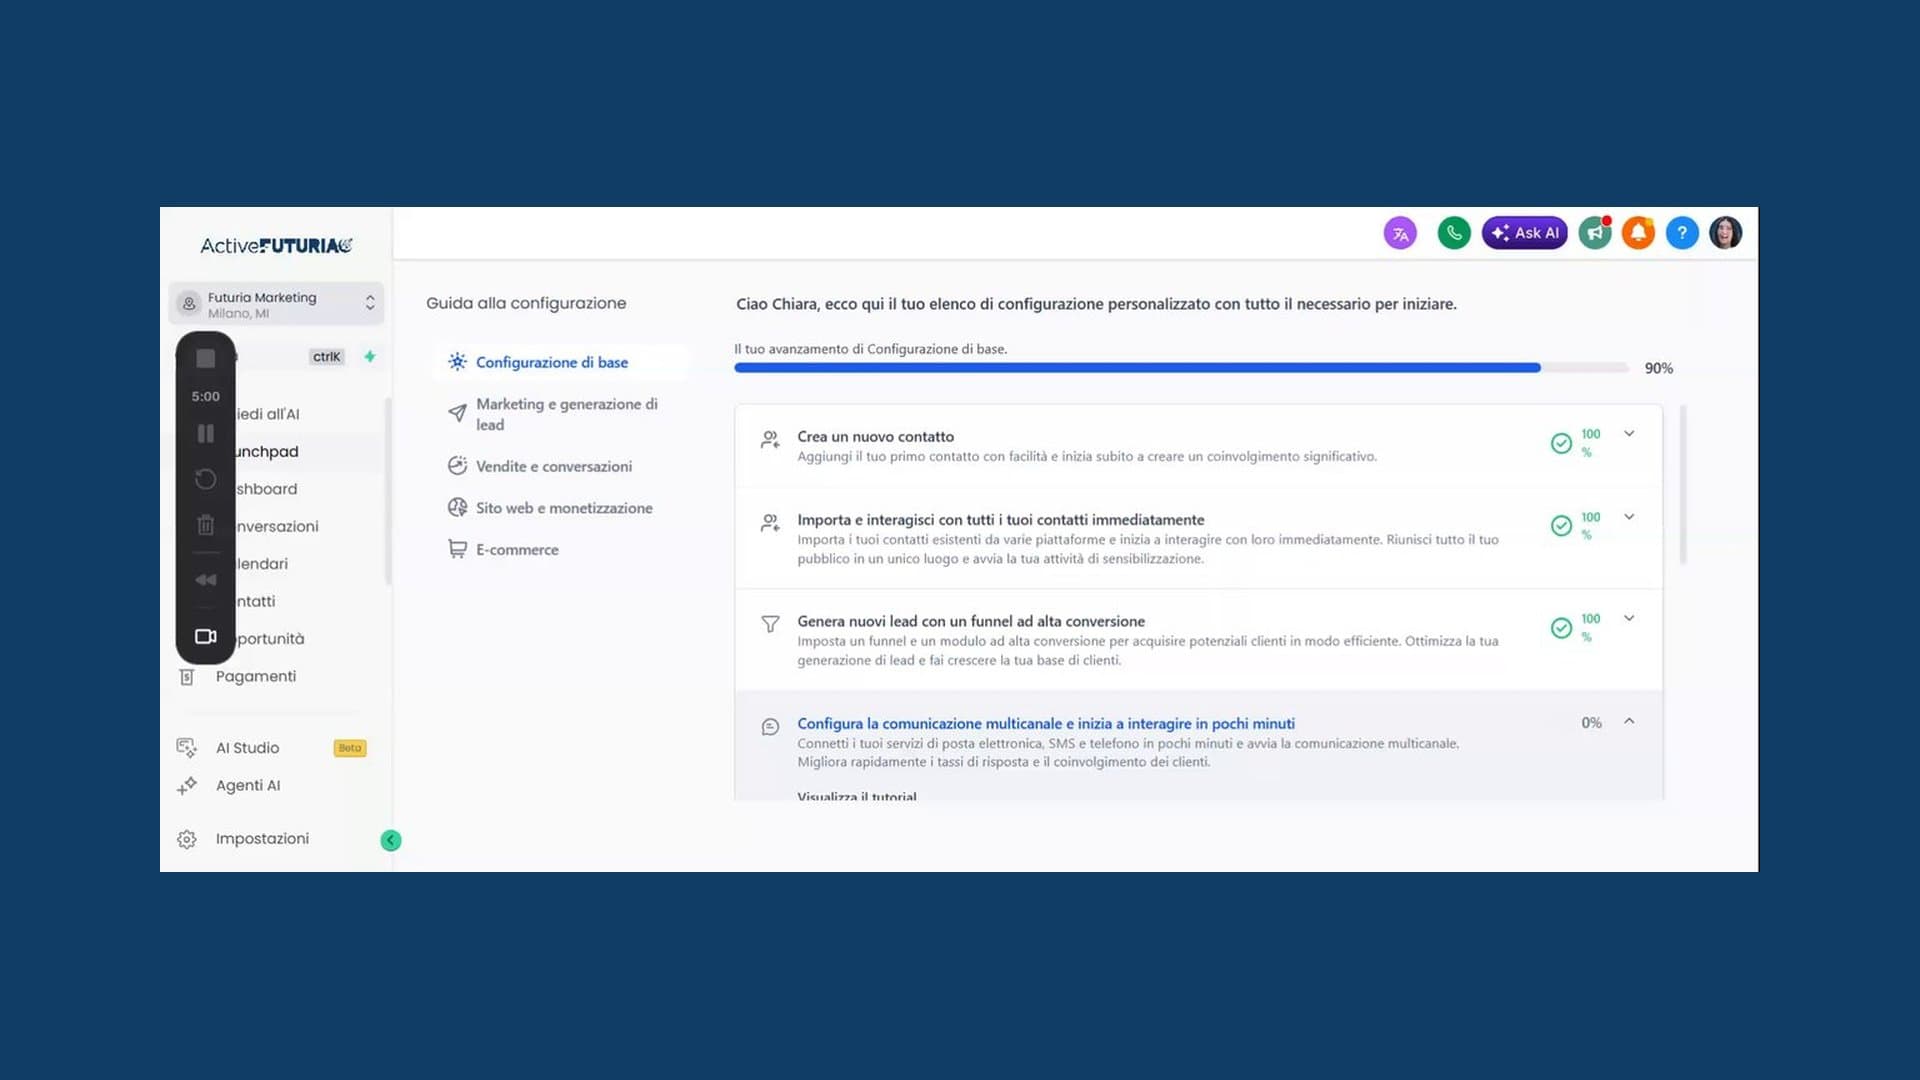
This is the step-by-step guide to using the social planner built into Futuria CRM — the Social Planner section inside the Marketing module. From here you can create posts, upload images or videos, prepare carousels, add a follow-up comment and decide whether to publish straight away, schedule for a future date or save as a draft so the content can be approved first.
If you are new to the platform, the video below shows the full flow in just over two minutes. Underneath you will also find every step described separately, so you can follow along while working in the CRM.
Table of contents
- 1. Open the Social Planner section
- 2. Start creating a new post
- 3. Choose the publishing platform
- 4. Write the post copy (and use AI if you want to)
- 5. Upload images or videos
- 6. Check the content preview
- 7. Add a follow-up comment (optional)
- 8. Choose where to publish the content
- 9. Save, publish or schedule
- 10. Check that the post has been saved as a draft
- In summary
1. Open the Social Planner section
- Go to Marketing from the main menu.
- Open the Social Planner section.
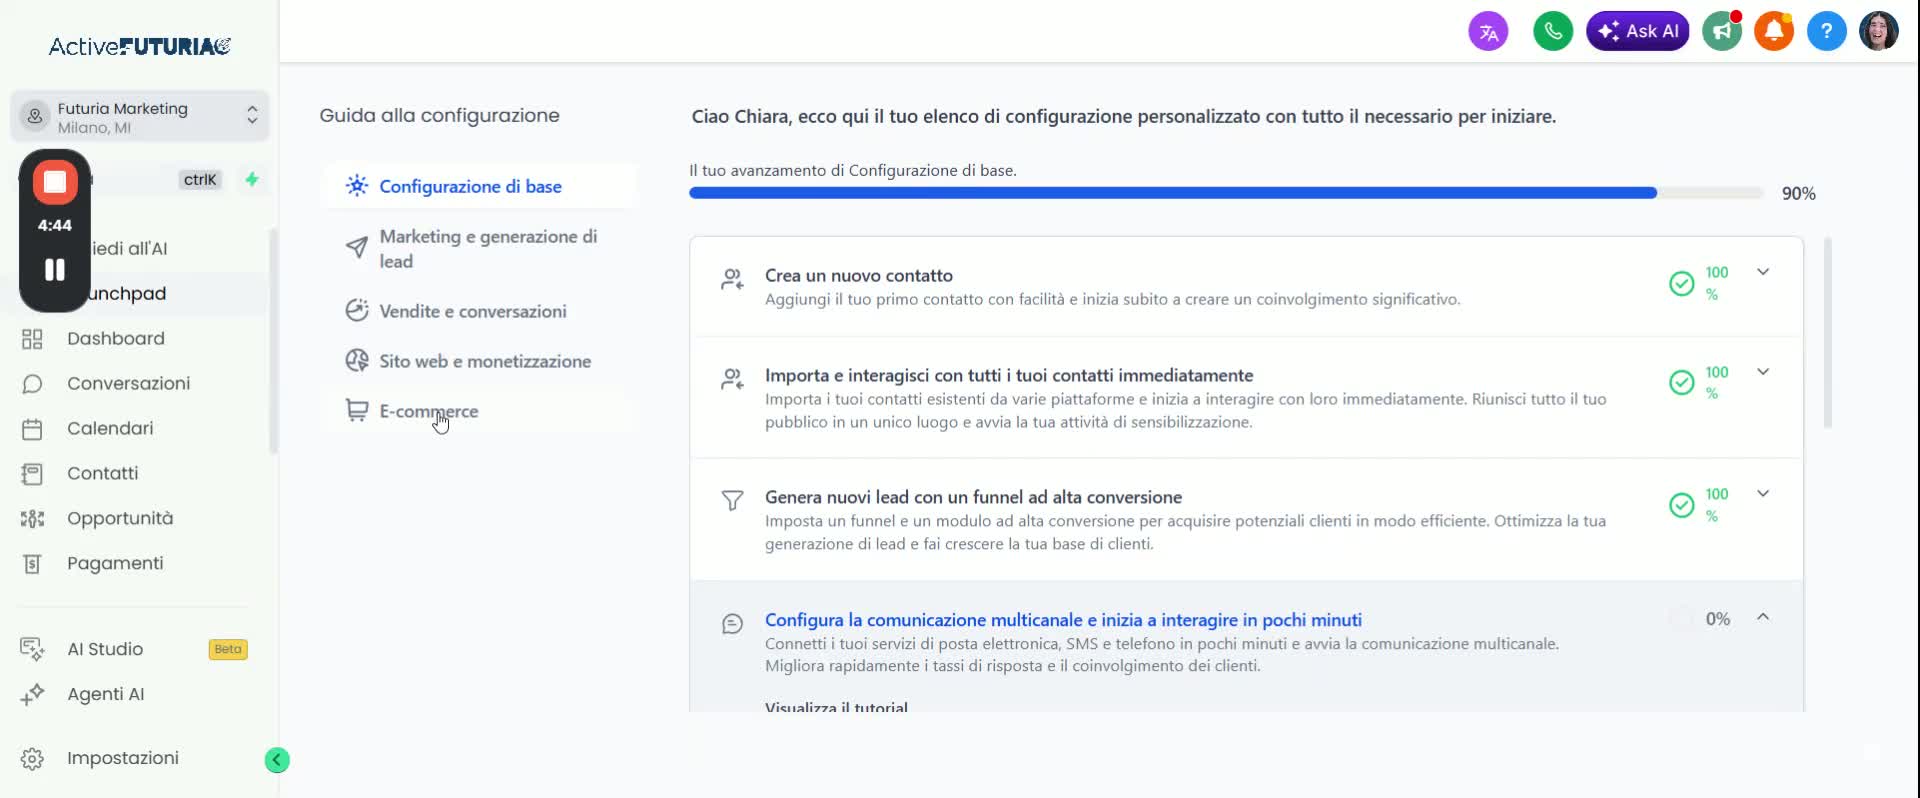
- You will find a dashboard with three columns: posts already published, scheduled posts and drafts awaiting approval.
2. Start creating a new post
- Click New post at the top right.
- Select Create new post to open the editor.
3. Choose the publishing platform
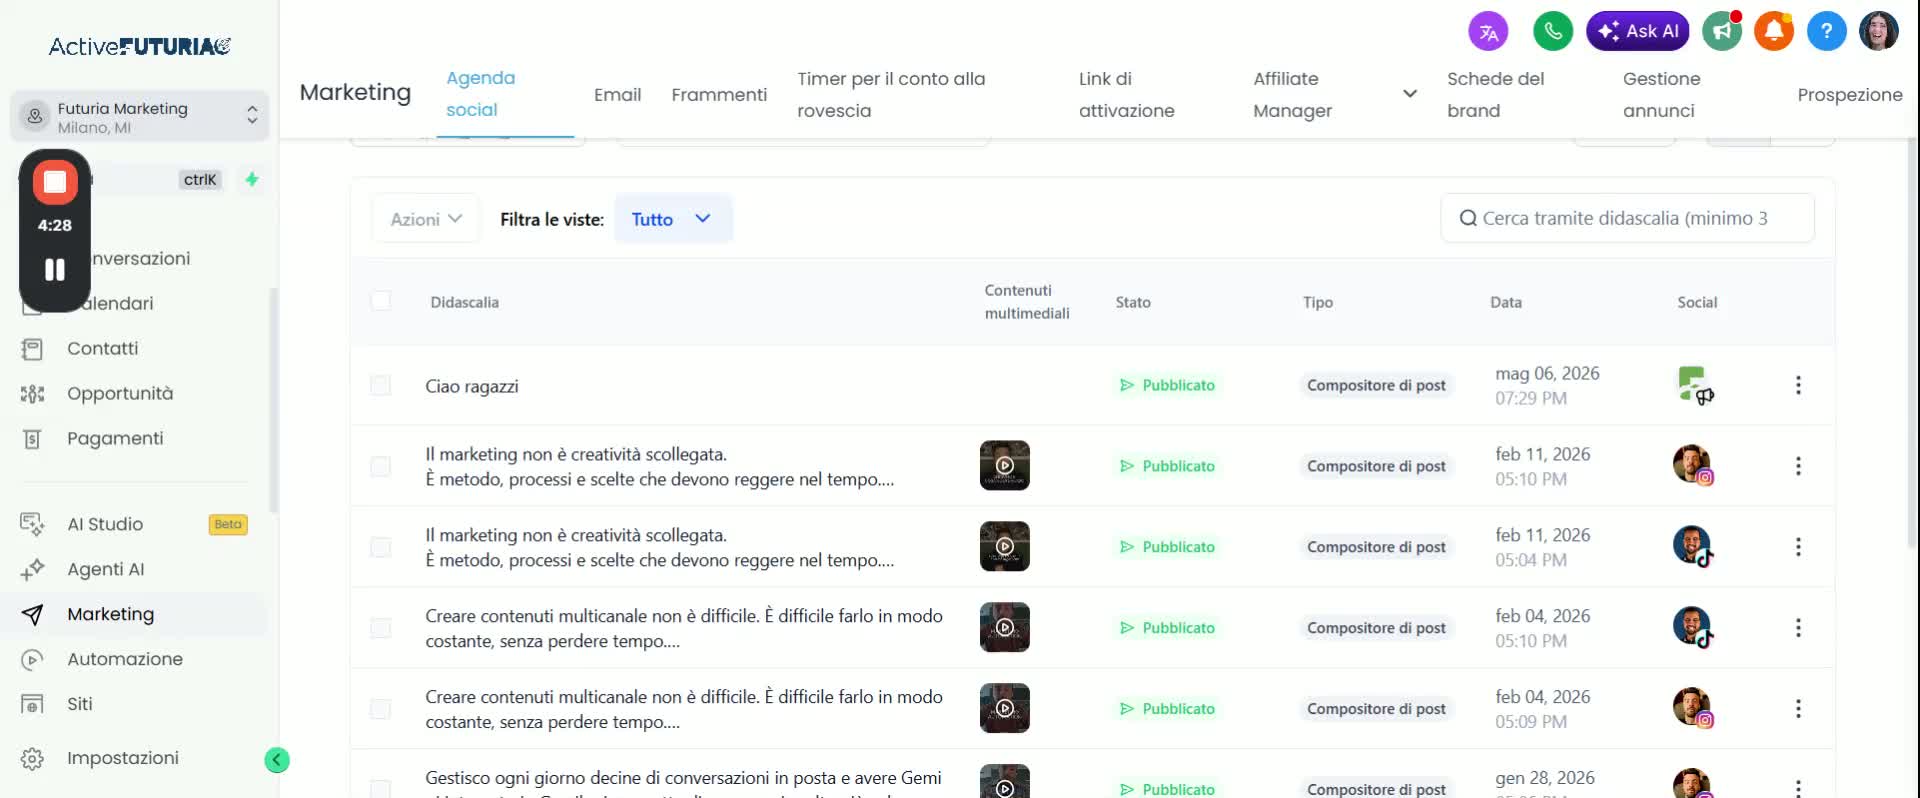
- Select the platform you want to publish on. In the video we use Facebook and Instagram as an example.
- This step is mandatory: without a connected platform you cannot move on to the editor.
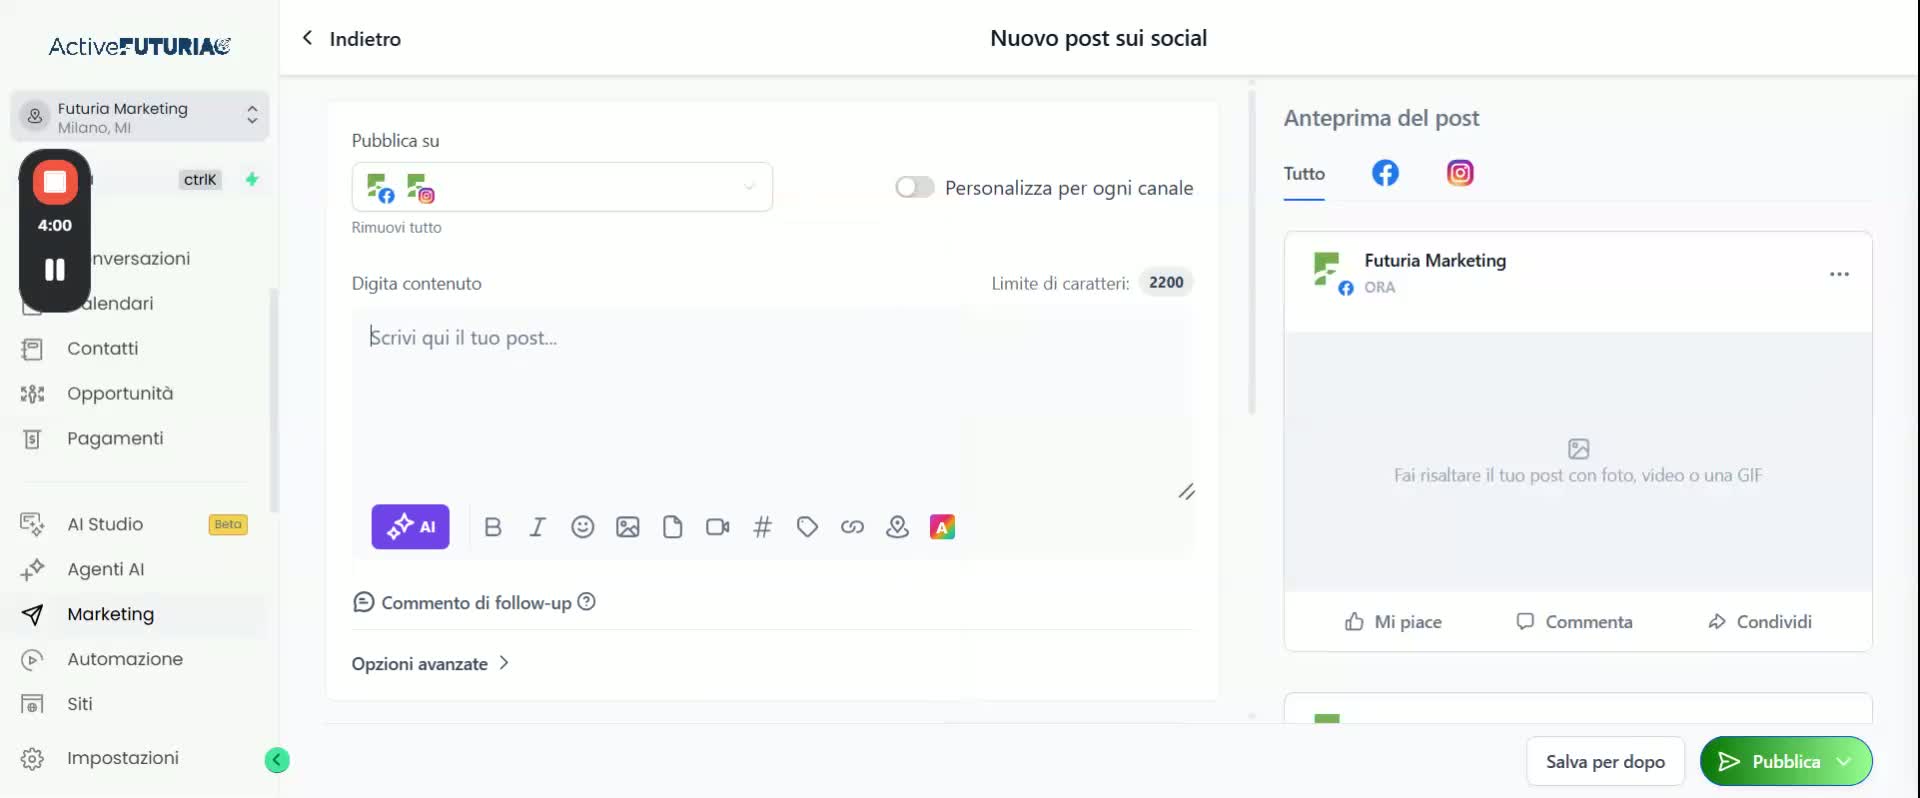
4. Write the post copy (and use AI if you want to)
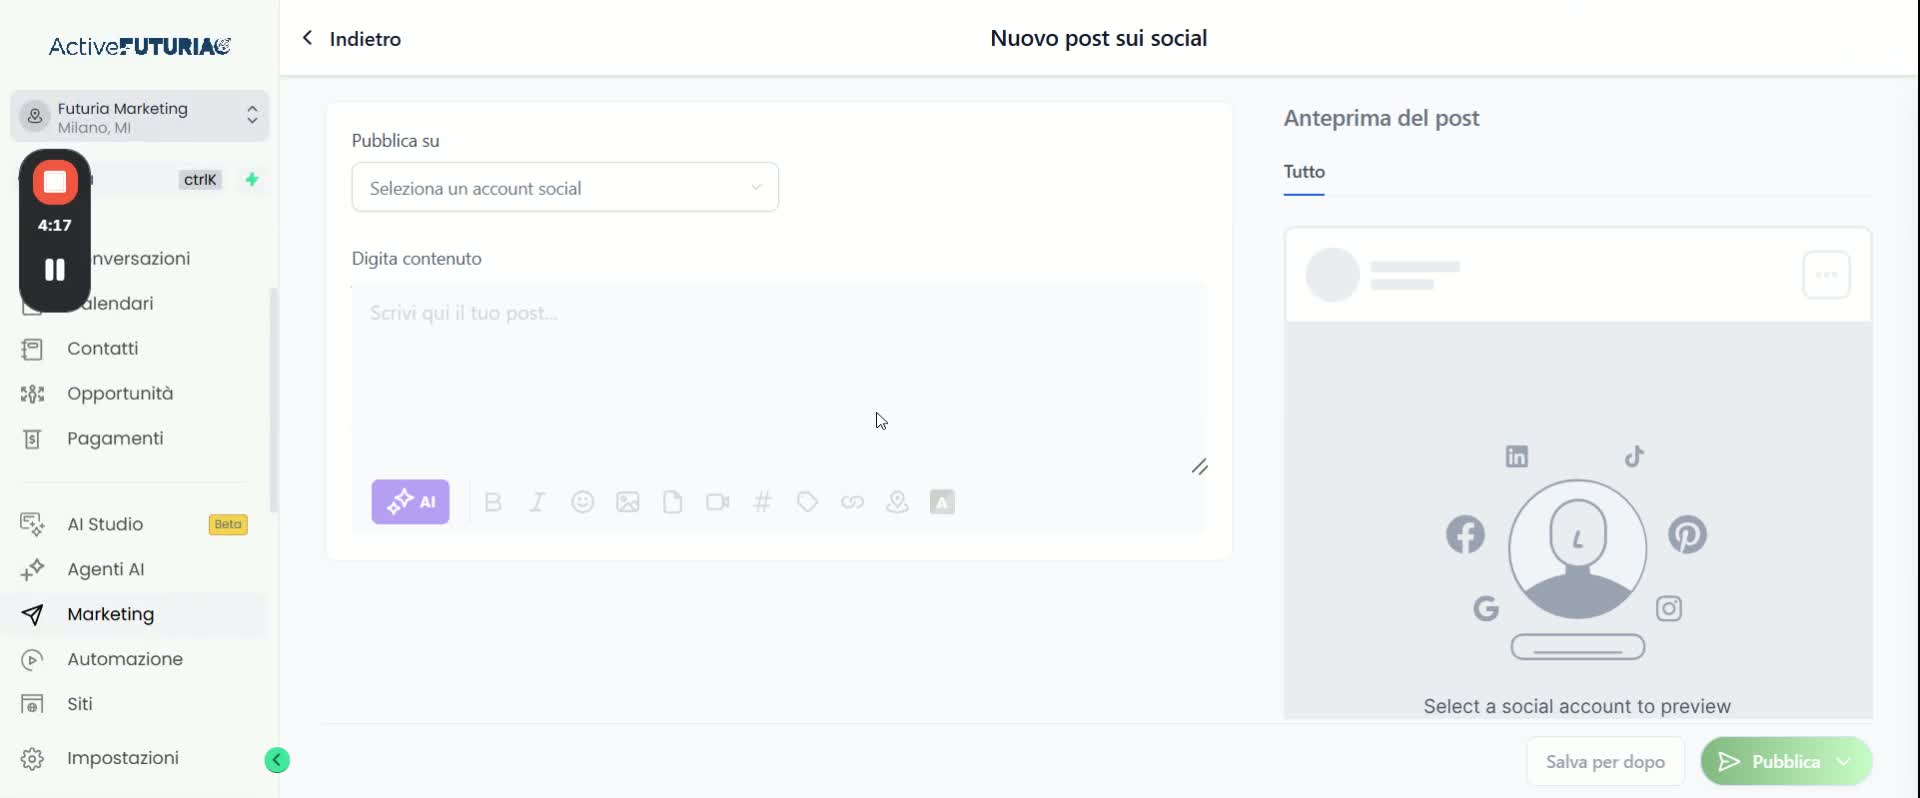
- Write the copy, in other words the text that will accompany the content.
- Alternatively, use the AI icon to generate a draft based on the context of the post.
- The text suggested by the AI is only a starting point: read it through and adapt it to your brand tone before publishing.
5. Upload images or videos
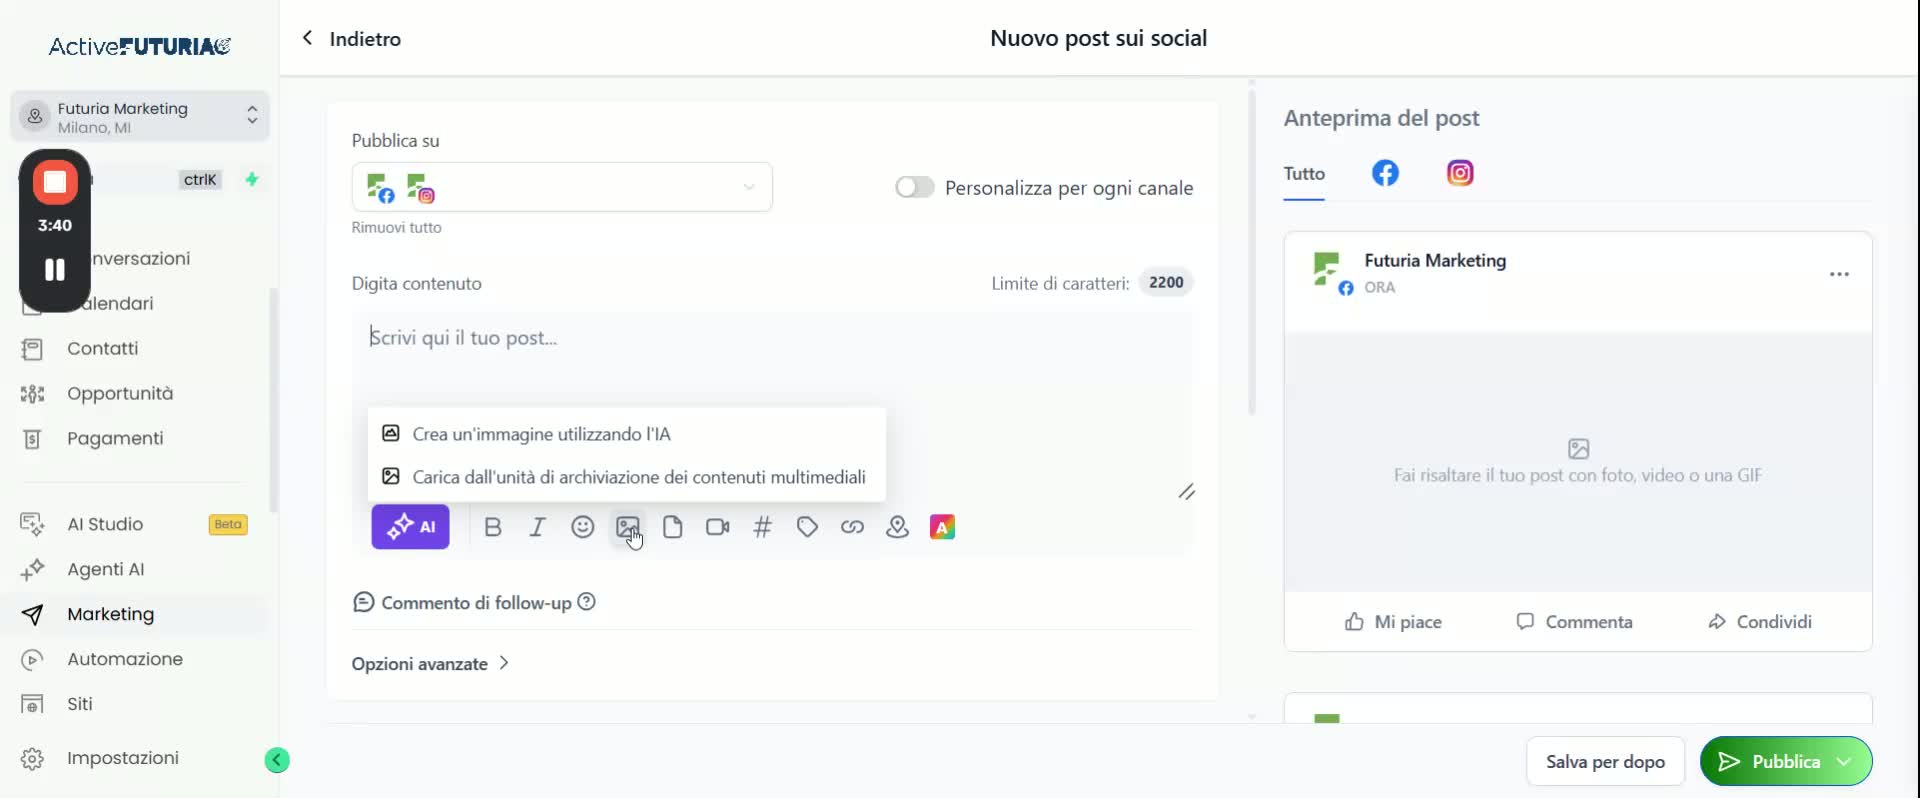
- Use the image icon to upload a single photo or to build a carousel with several images.
- Use the video icon to upload video content. In the example video, that is exactly what they upload.
6. Check the content preview
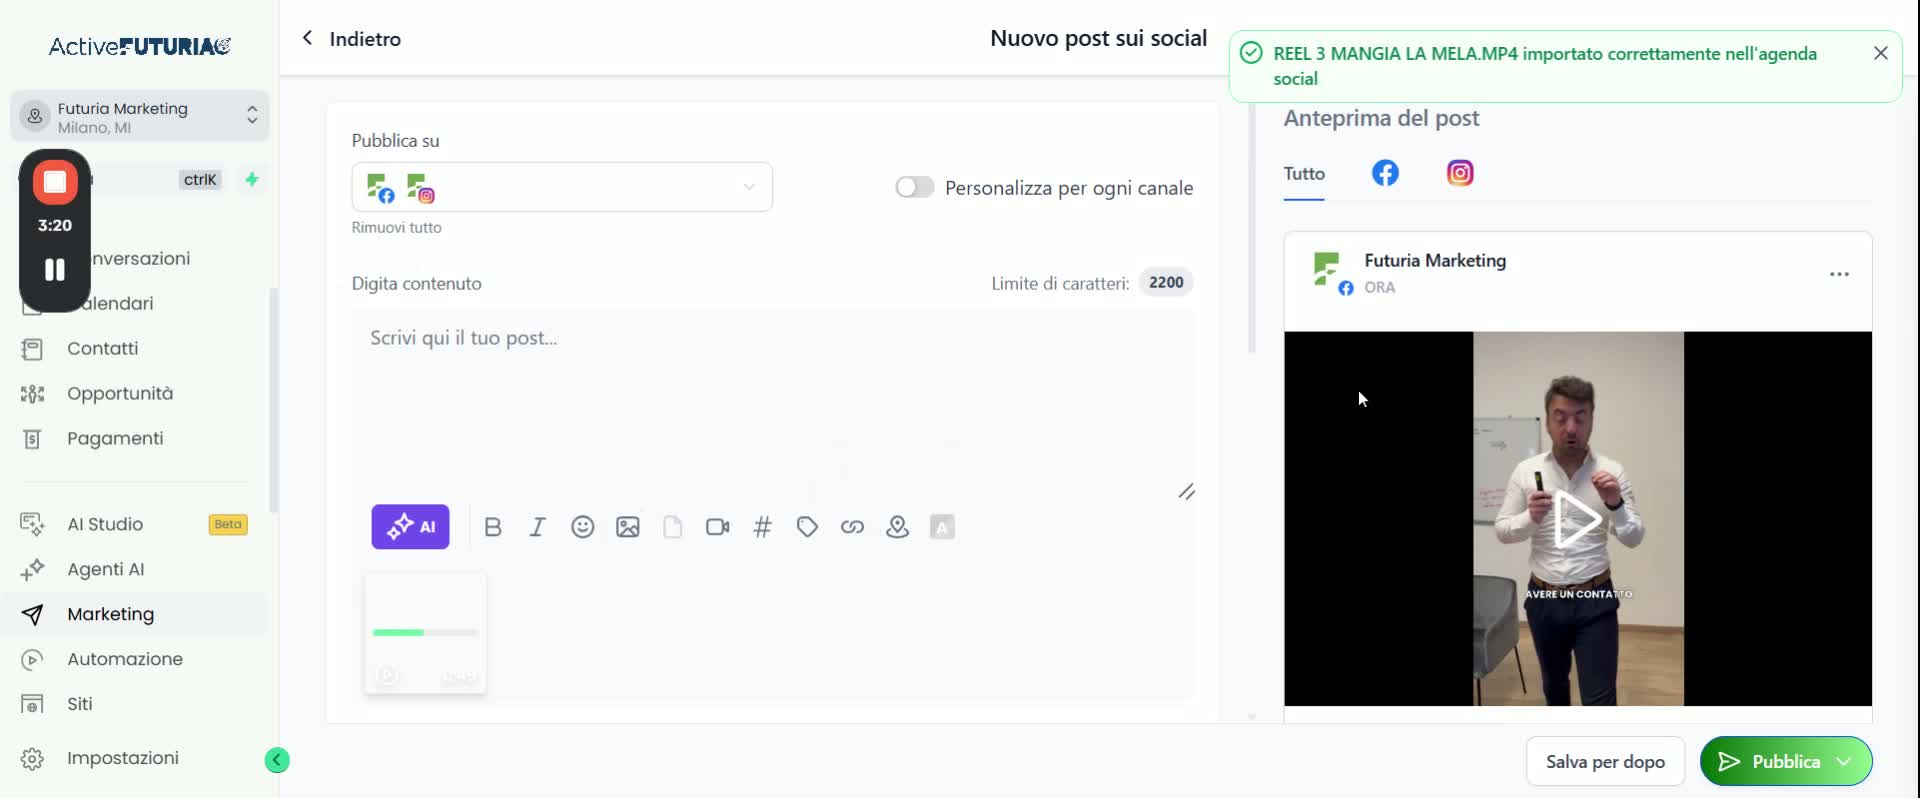
- After the upload, the system shows a preview of the post.
- You can see how it will look on Facebook and on Instagram before sending it live.
7. Add a follow-up comment (optional)
If you need to, you can add a follow-up comment: Futuria will publish it automatically underneath the main post as soon as it goes live. It is handy for links, extra hashtags or disclaimers that you do not want to weigh the copy down with.
8. Choose where to publish the content
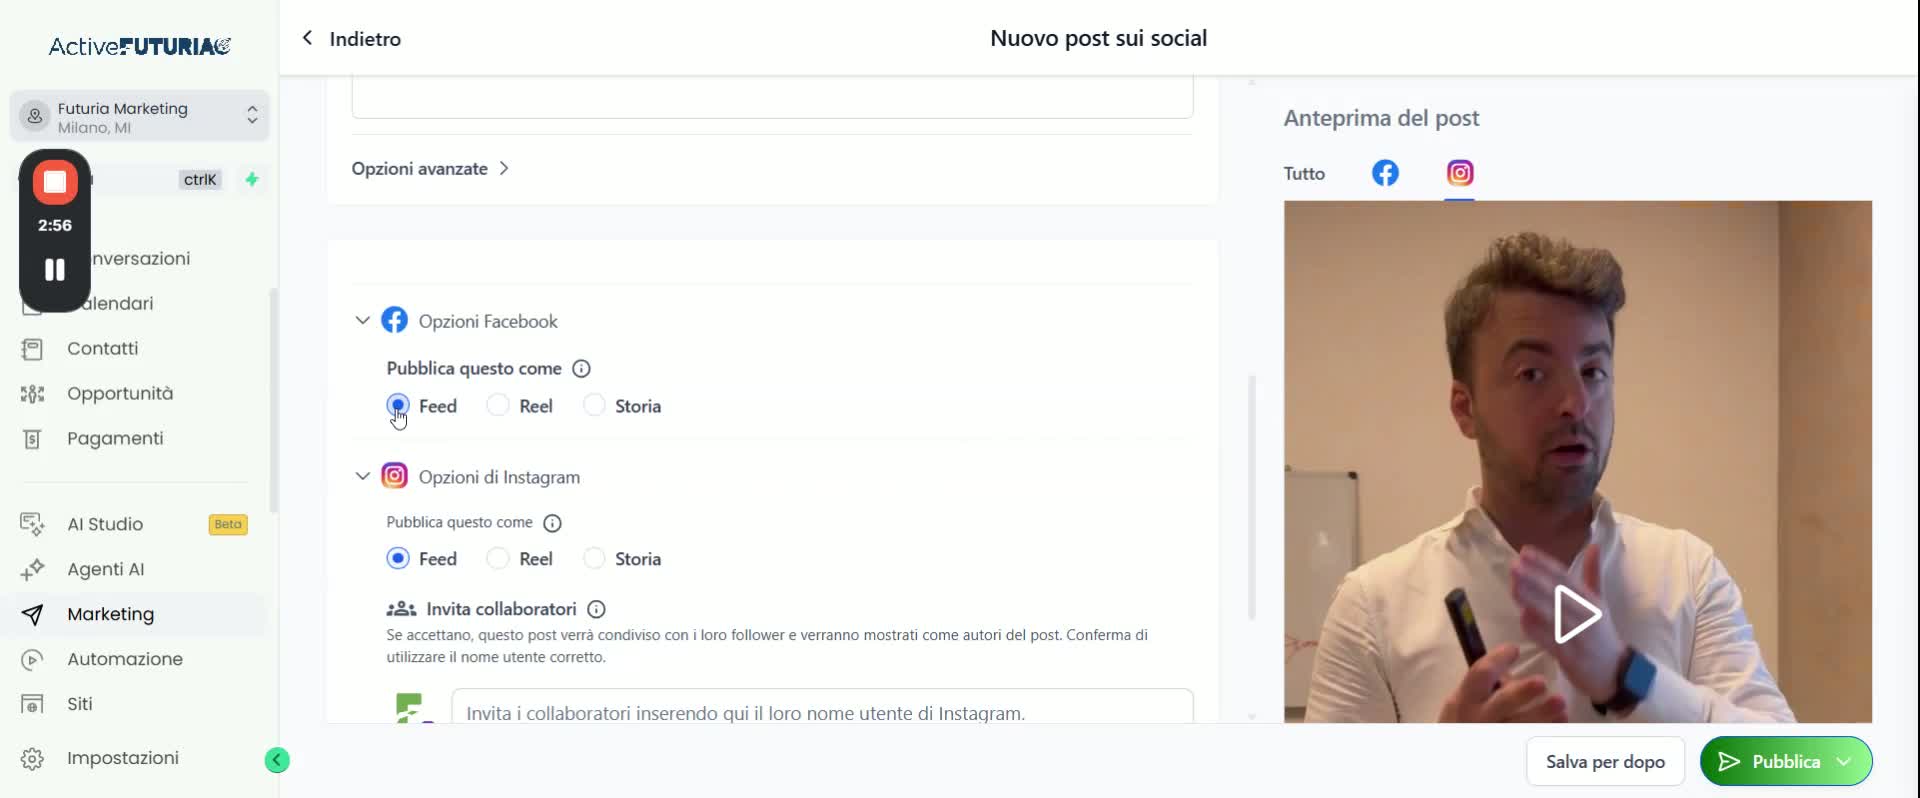
Select the publishing format you want:
- Feed — a standard post in the feed
- Reel — vertical content
- Story — visible for 24 hours
9. Save, publish or schedule
You have three options:
- Save for later — the post stays as a draft and you can pick it up again from the dashboard
- Publish now — the content goes live immediately
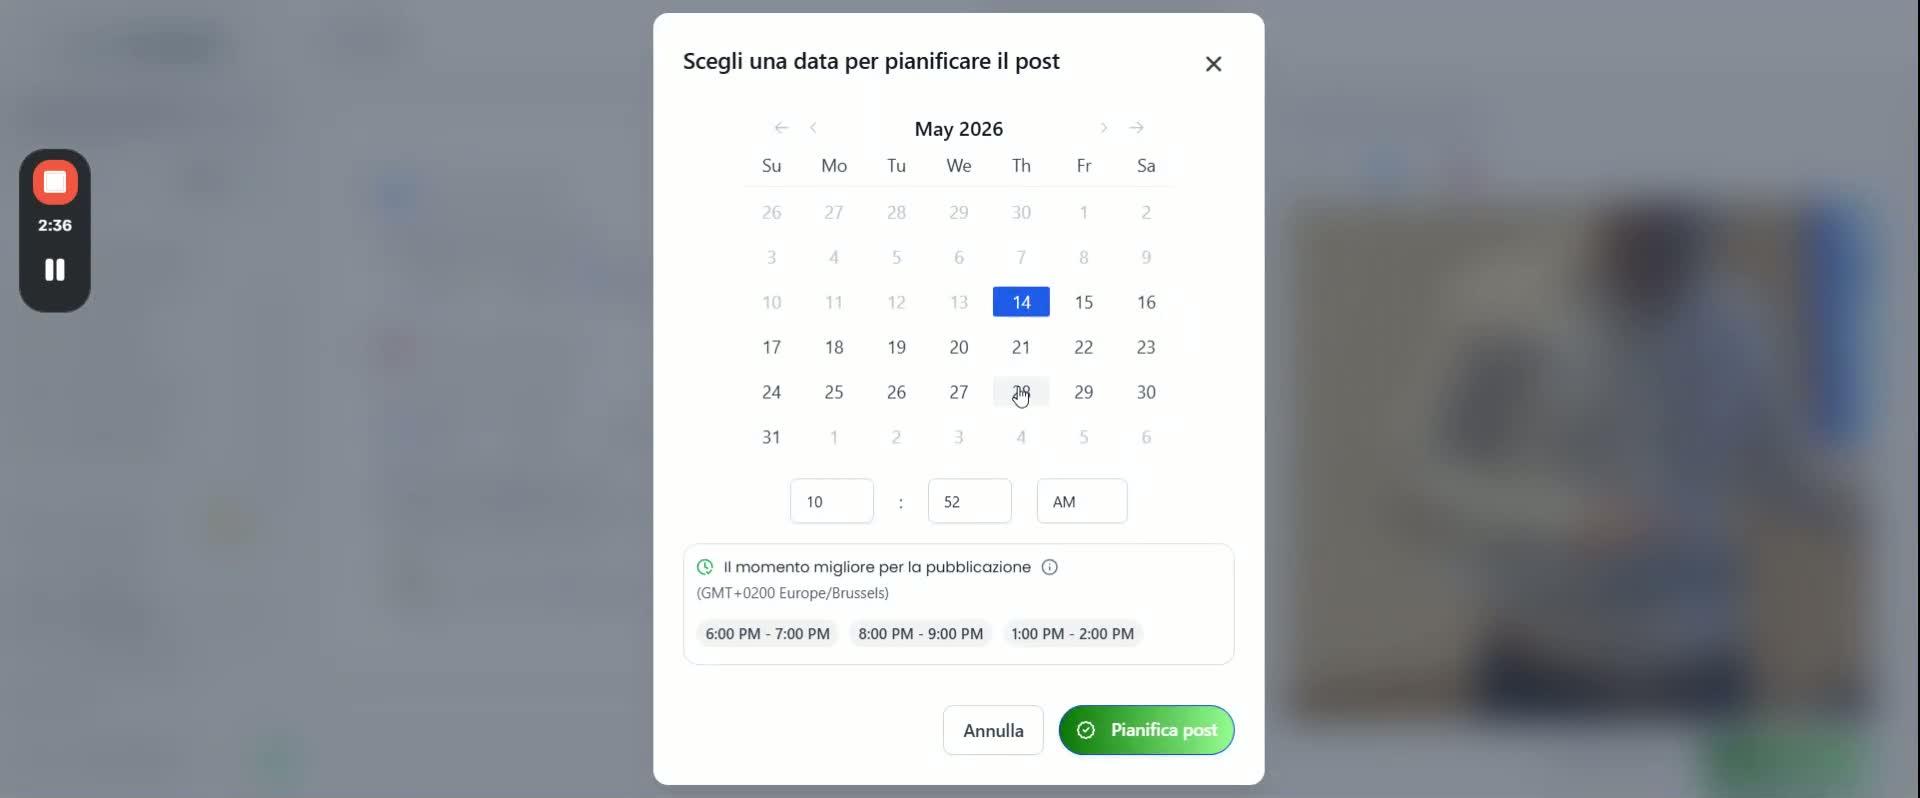
- Schedule — choose a future date and time for automatic publishing
In the video example, Save for later is chosen.
10. Check that the post has been saved as a draft
Back on the dashboard, the post appears in the drafts section: that confirms it has been saved successfully. From there you can go back in whenever you like to finalise it, publish it or schedule it.
In summary
The full flow is: Marketing → Social Planner → New post → platform → copy (AI or written by hand) → media → preview → optional follow-up comment → format → save, publish or schedule. Everything after that (editing drafts, approvals, republishing) is handled from the same dashboard, without switching to other tools.
If you would like a hand connecting the social planner to the rest of the CRM — post-publication automations, internal approval flows before go-live, coordinated republishing across several channels — get in touch: we will show you how we have set up the same flow for other clients.