


Table of contents
- Getting started - Launching an email campaign
- Start from an email template
- Edit the email template
- Anchor the editing panel and work with AI for emails
- Create an email campaign from the template
Getting started - Launching an email campaign
Ready to capture your audience’s attention? Launching an email campaign is one of the best ways to engage your contacts and get real results.
Whether you are promoting your services or simply staying front of mind with your customers, a well-crafted email can lift your conversions significantly. Let’s launch your first campaign right now!
Start from an email template
Every great email campaign starts with an eye-catching template. Think of your template as the blueprint for success: it is the foundation you will build compelling messages on, over and over again. Ready to start?
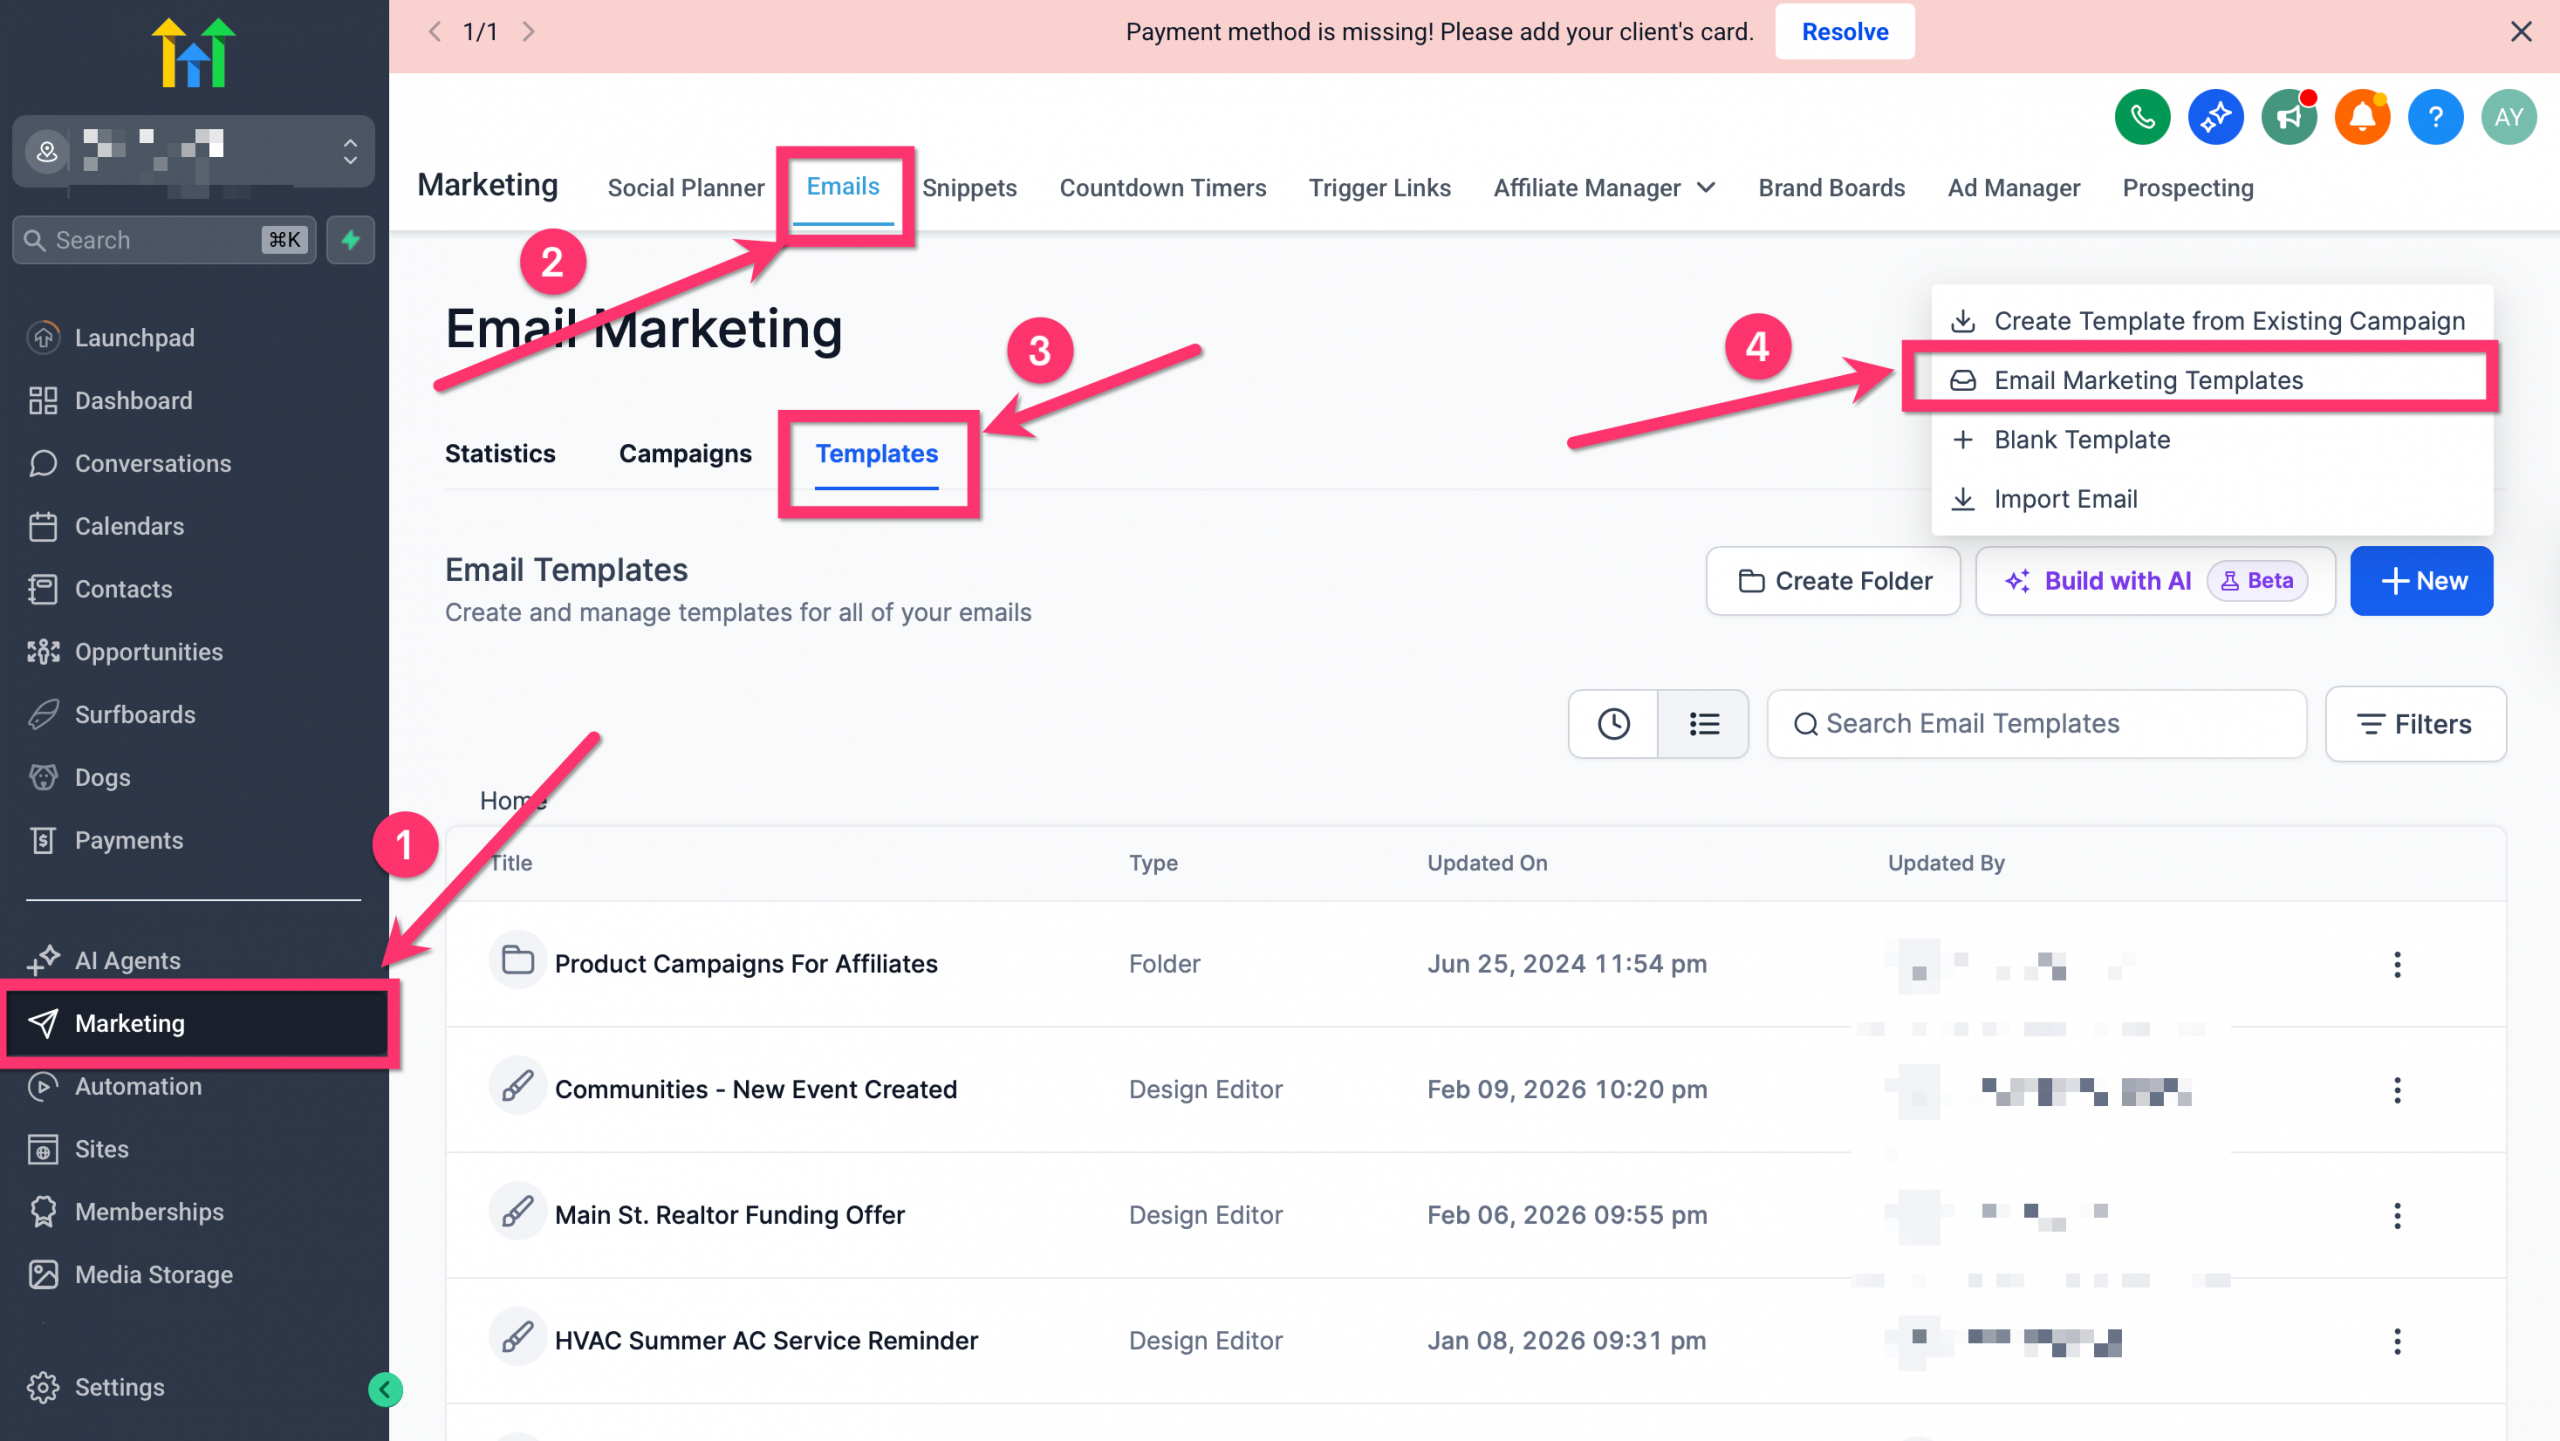
- Go to Marketing > Email.
- Click the Templates tab.
- Click New.
- Select Email marketing template.
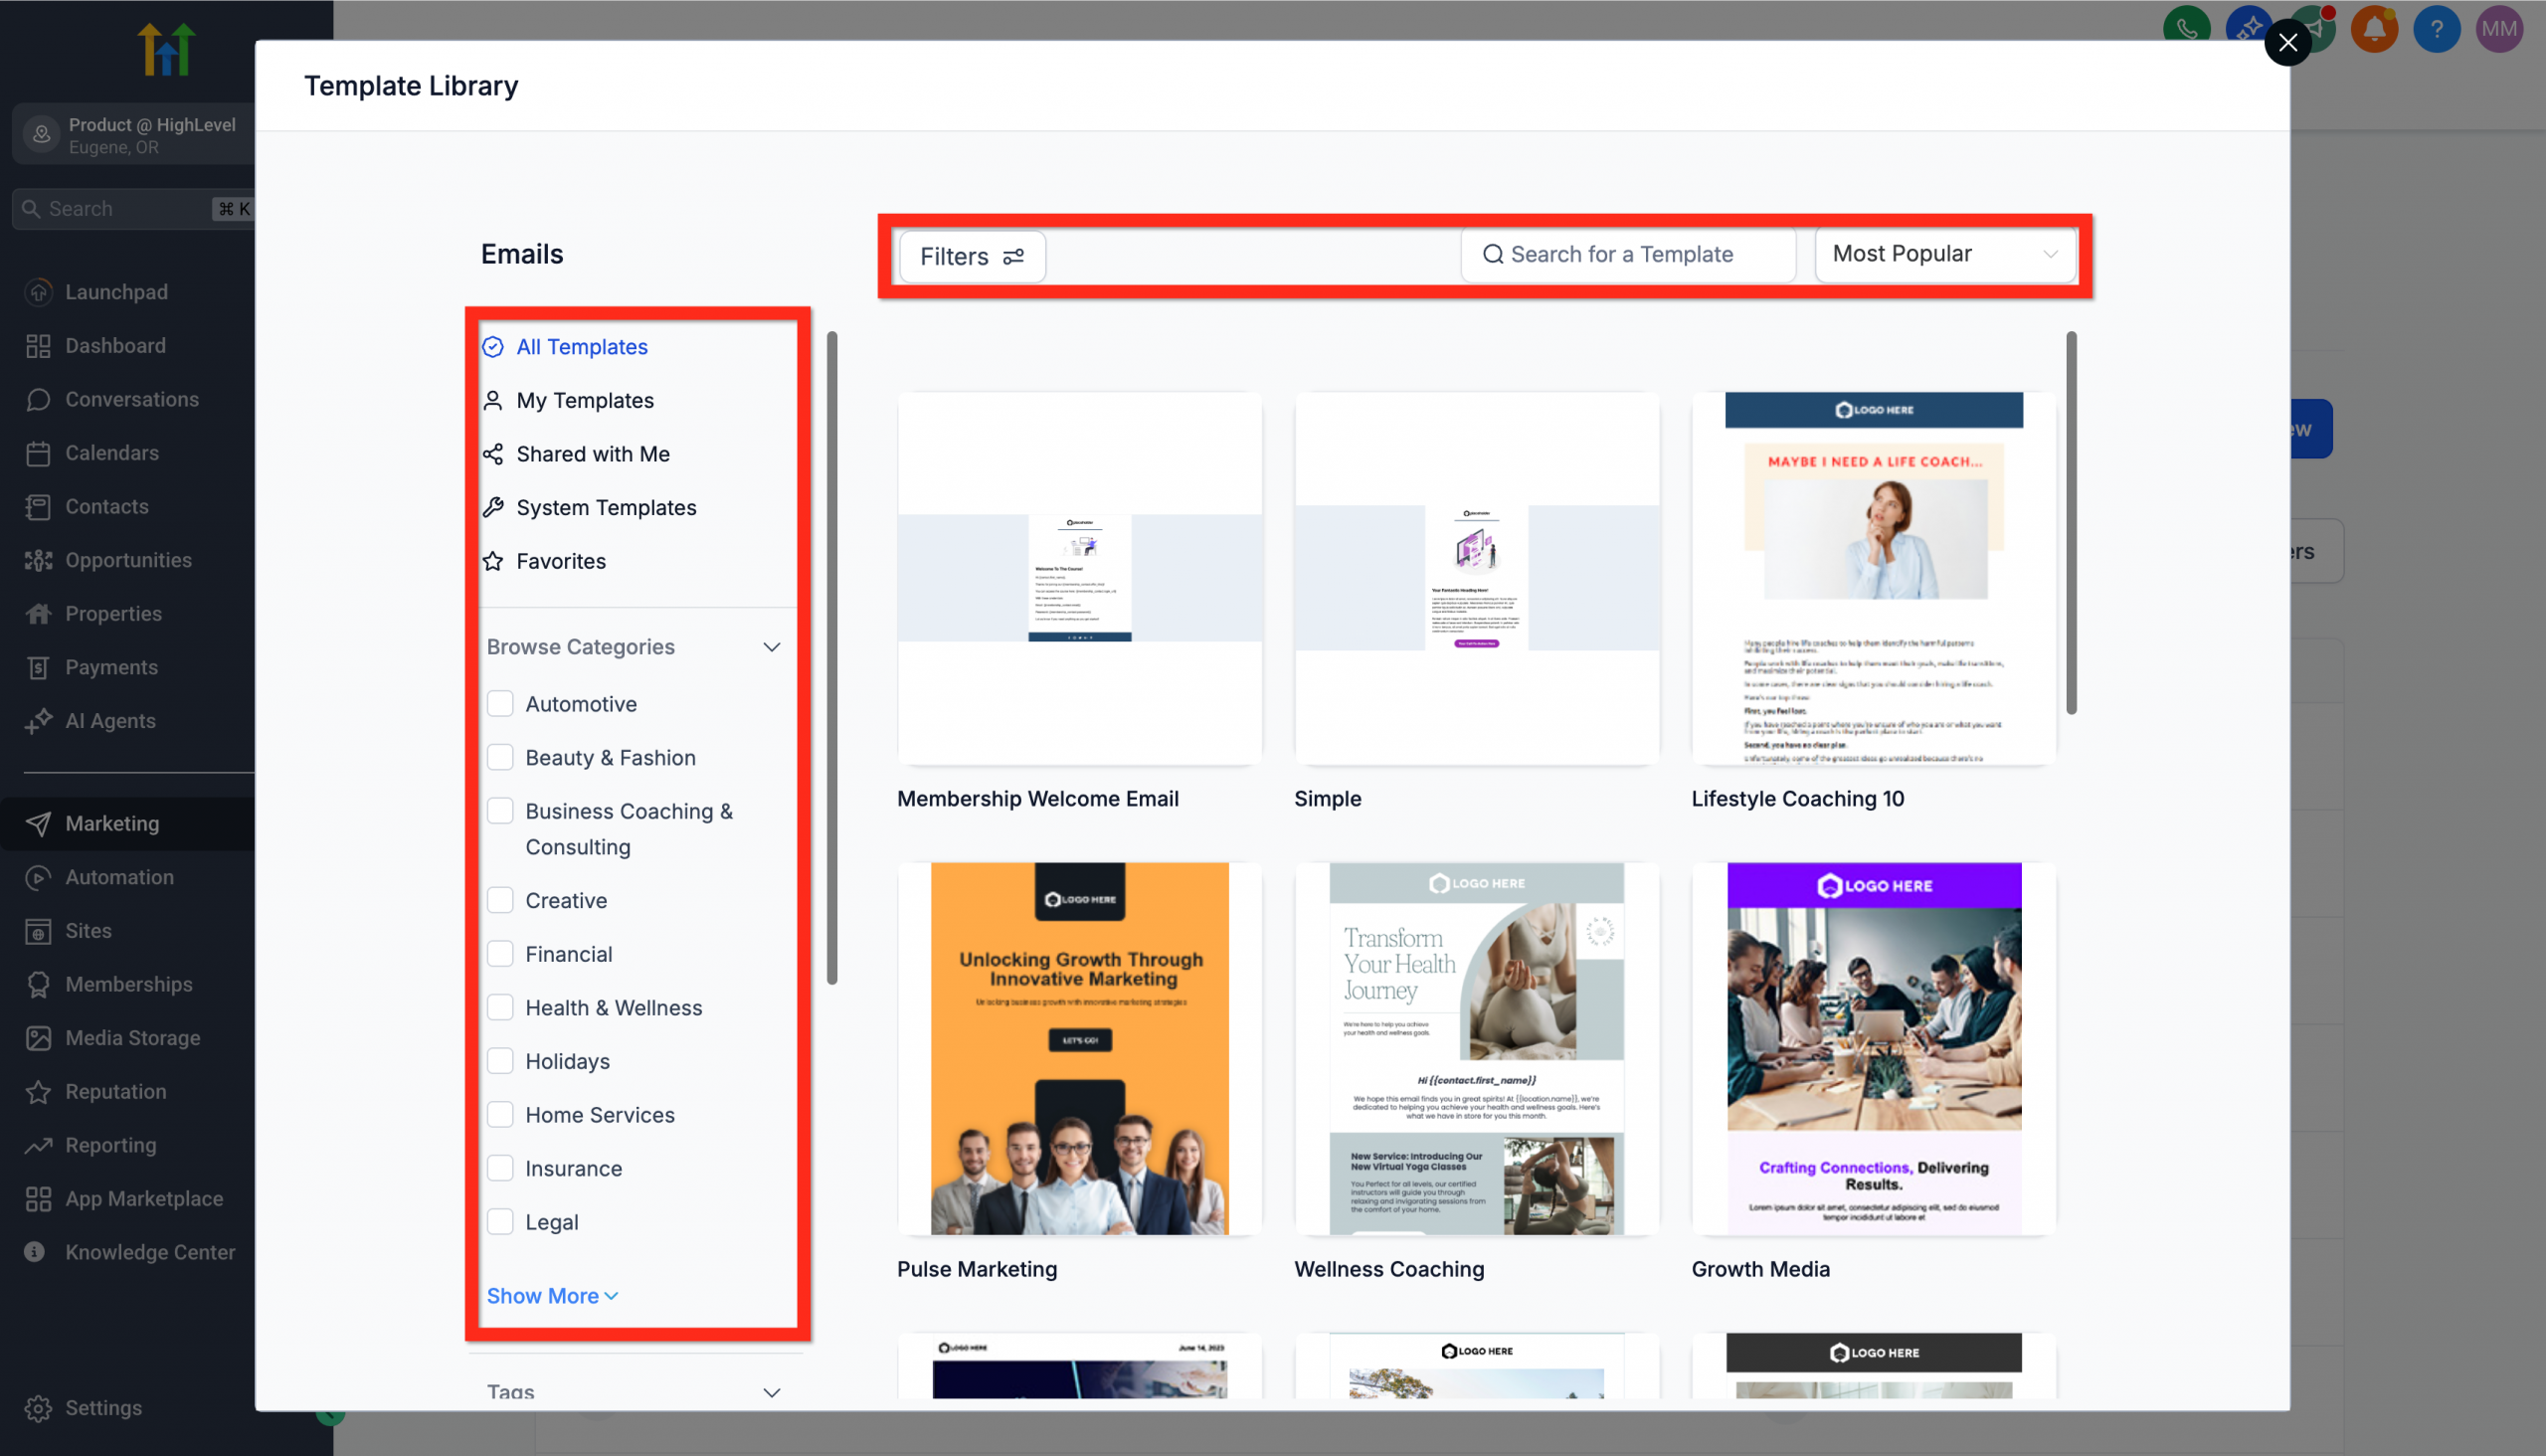
- Browse, search and filter the available templates to find the perfect one.
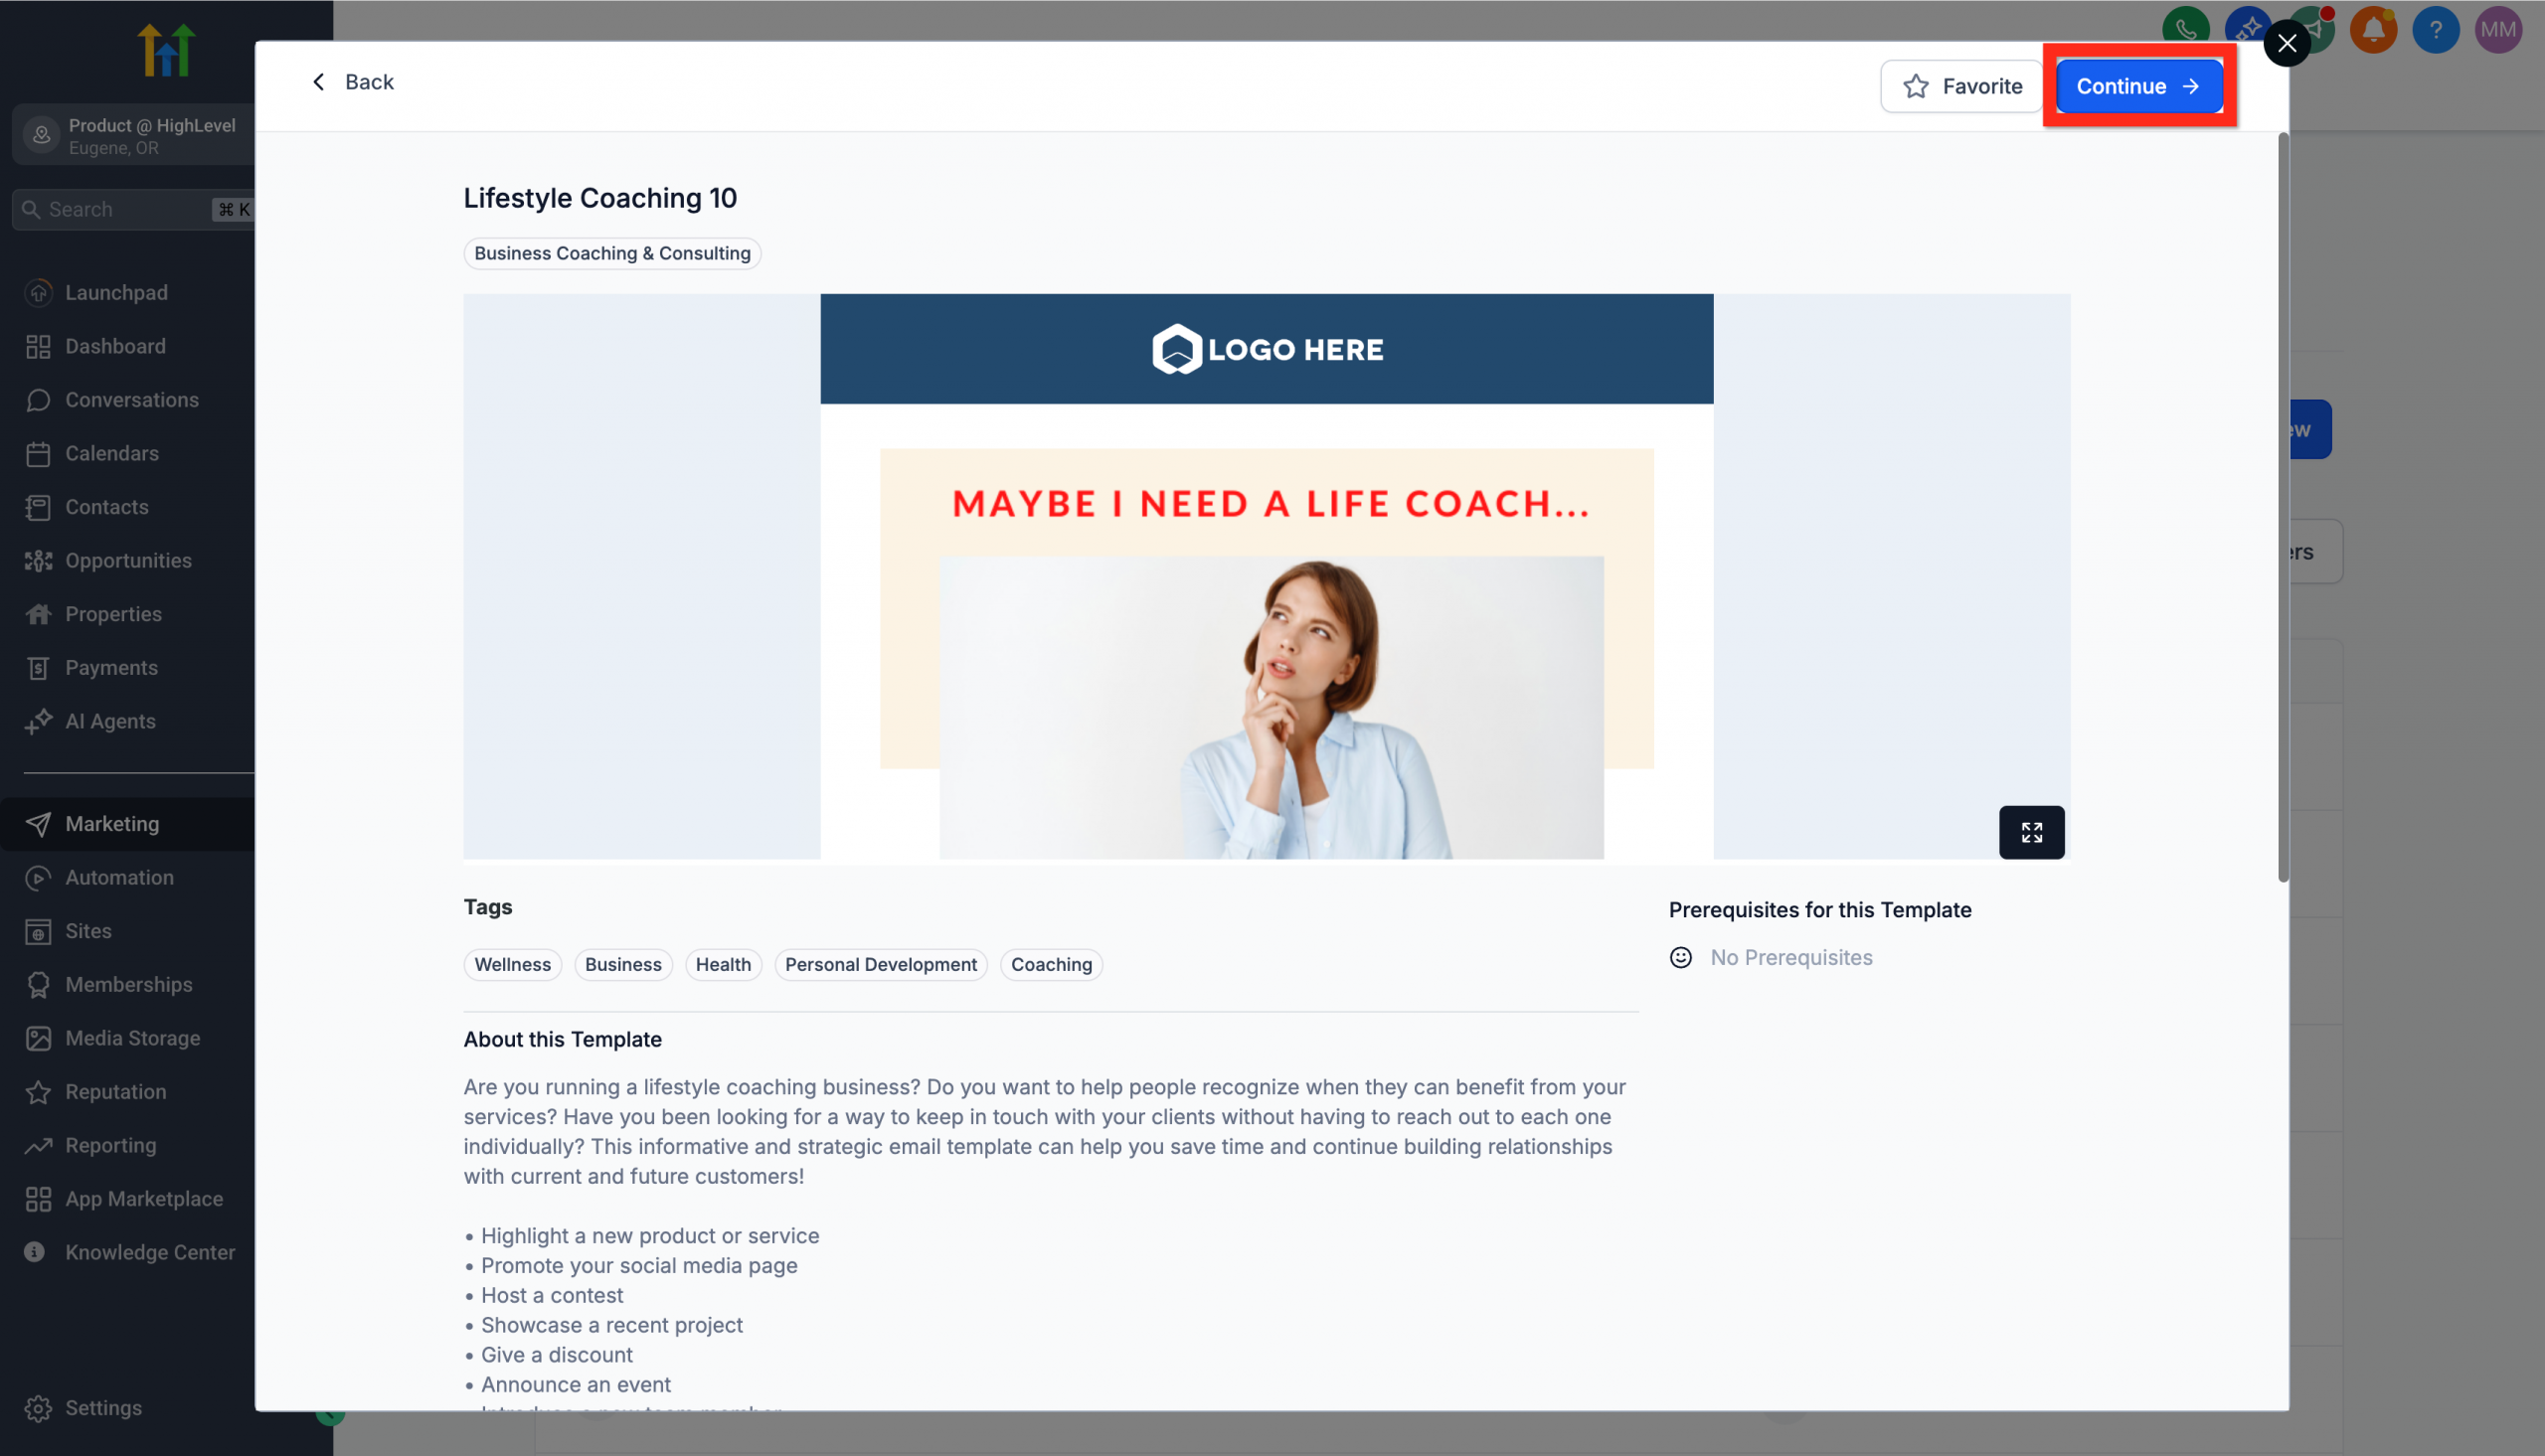
- Preview the template you want to see whether it suits you.
- Click Continue to open it in the email editor.
- This will create the template and open it in the Builder.
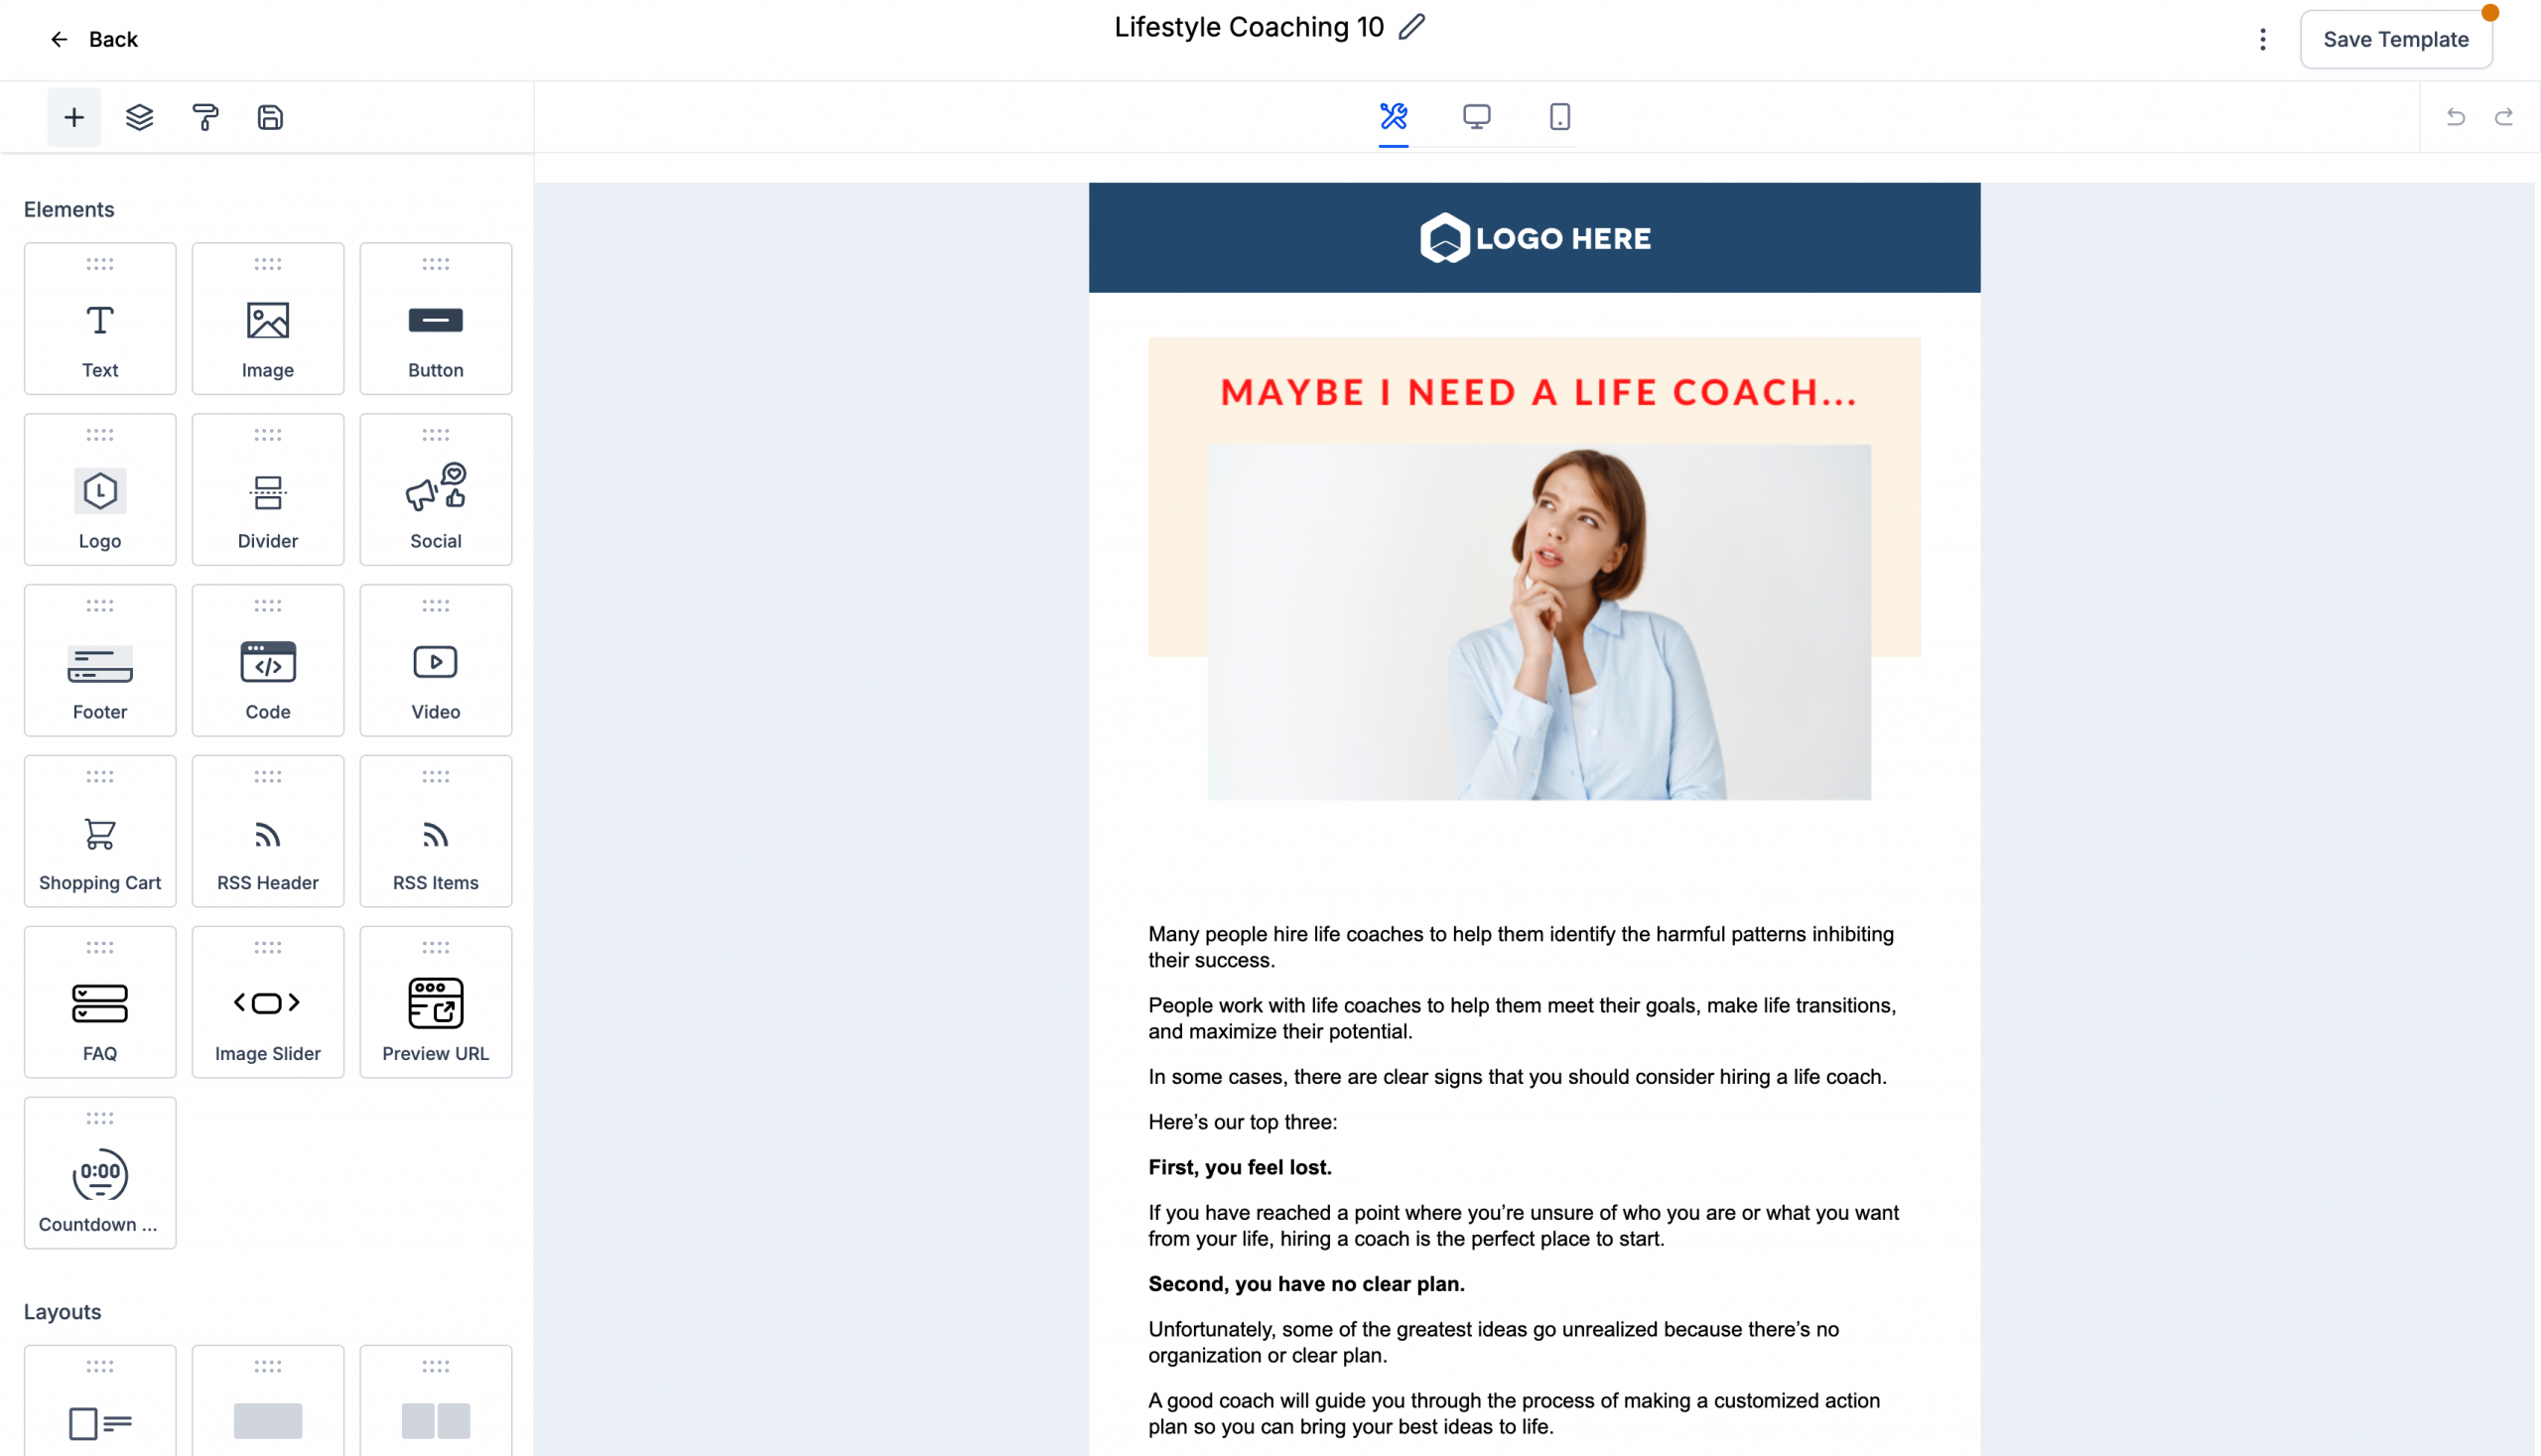
Now you can start customising your template to make it your own!
Edit the email template
Editing the template is where the magic happens. This is your chance to really personalise the template by adding your own touch, your brand tone and eye-catching images. Let’s perfect that template!
- Go to Marketing > Email > Templates.
- Open your chosen template in the email editor.
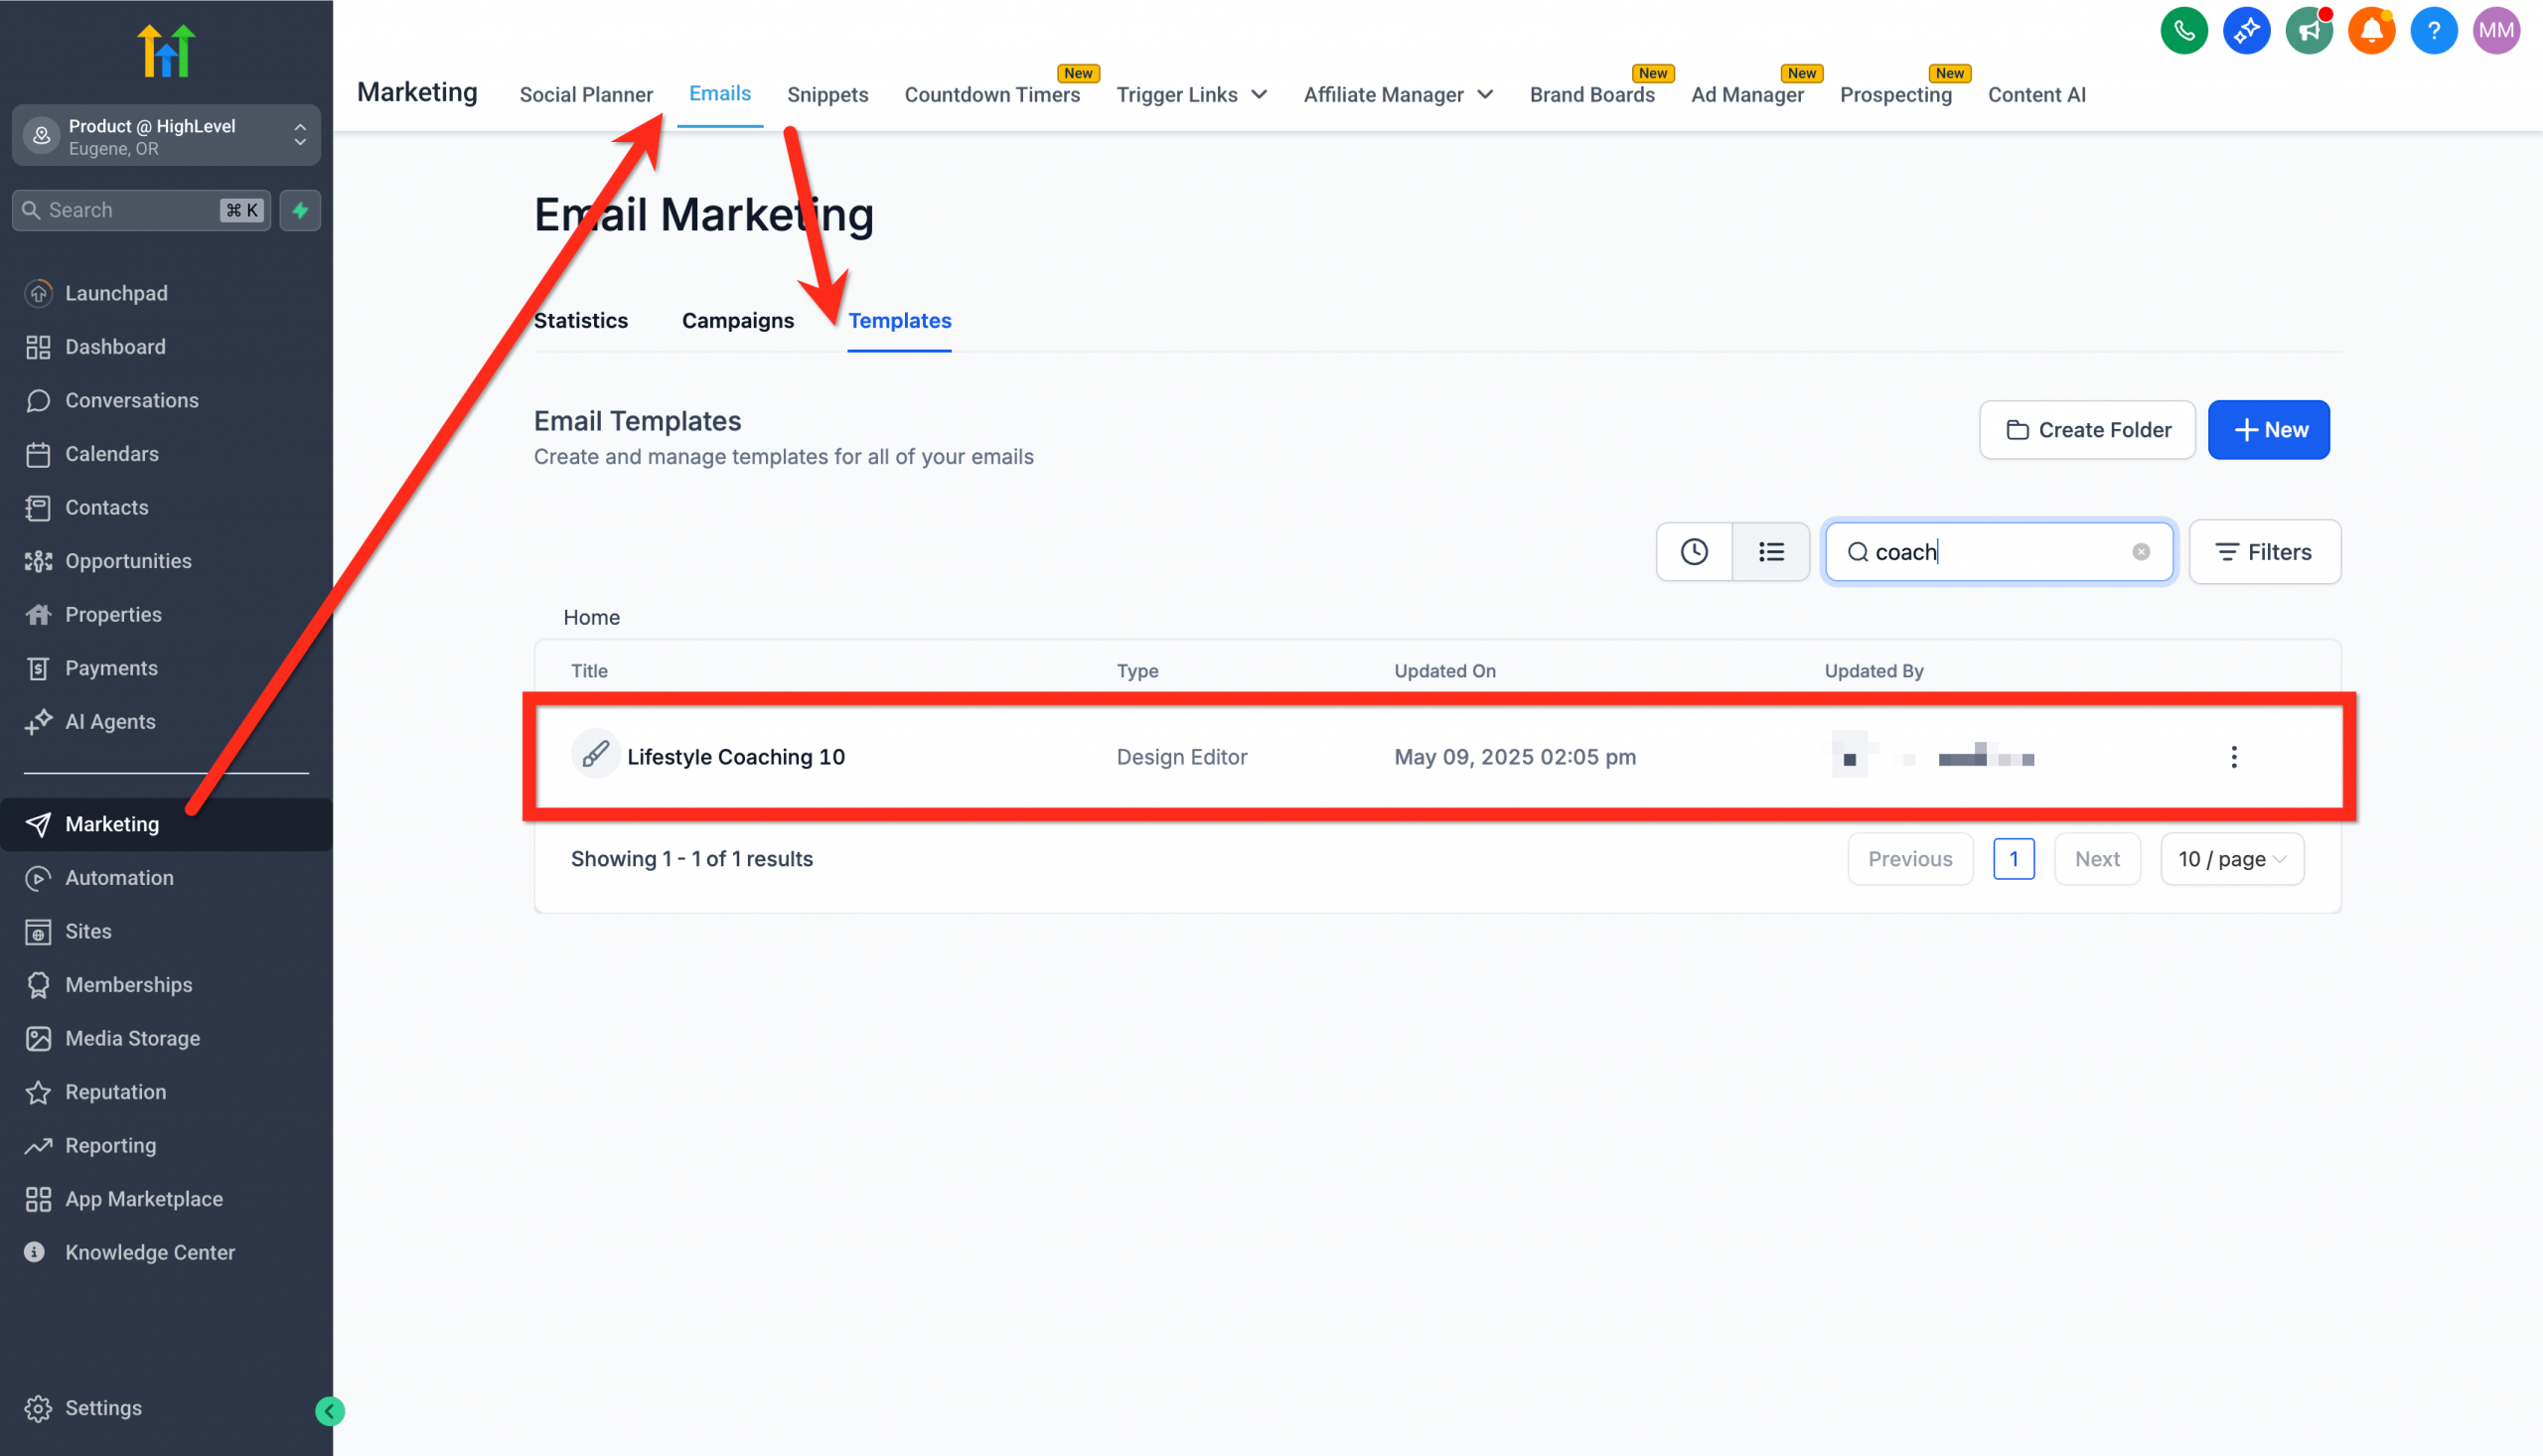
- Edit the elements (text, images, layout) until you are happy with them.
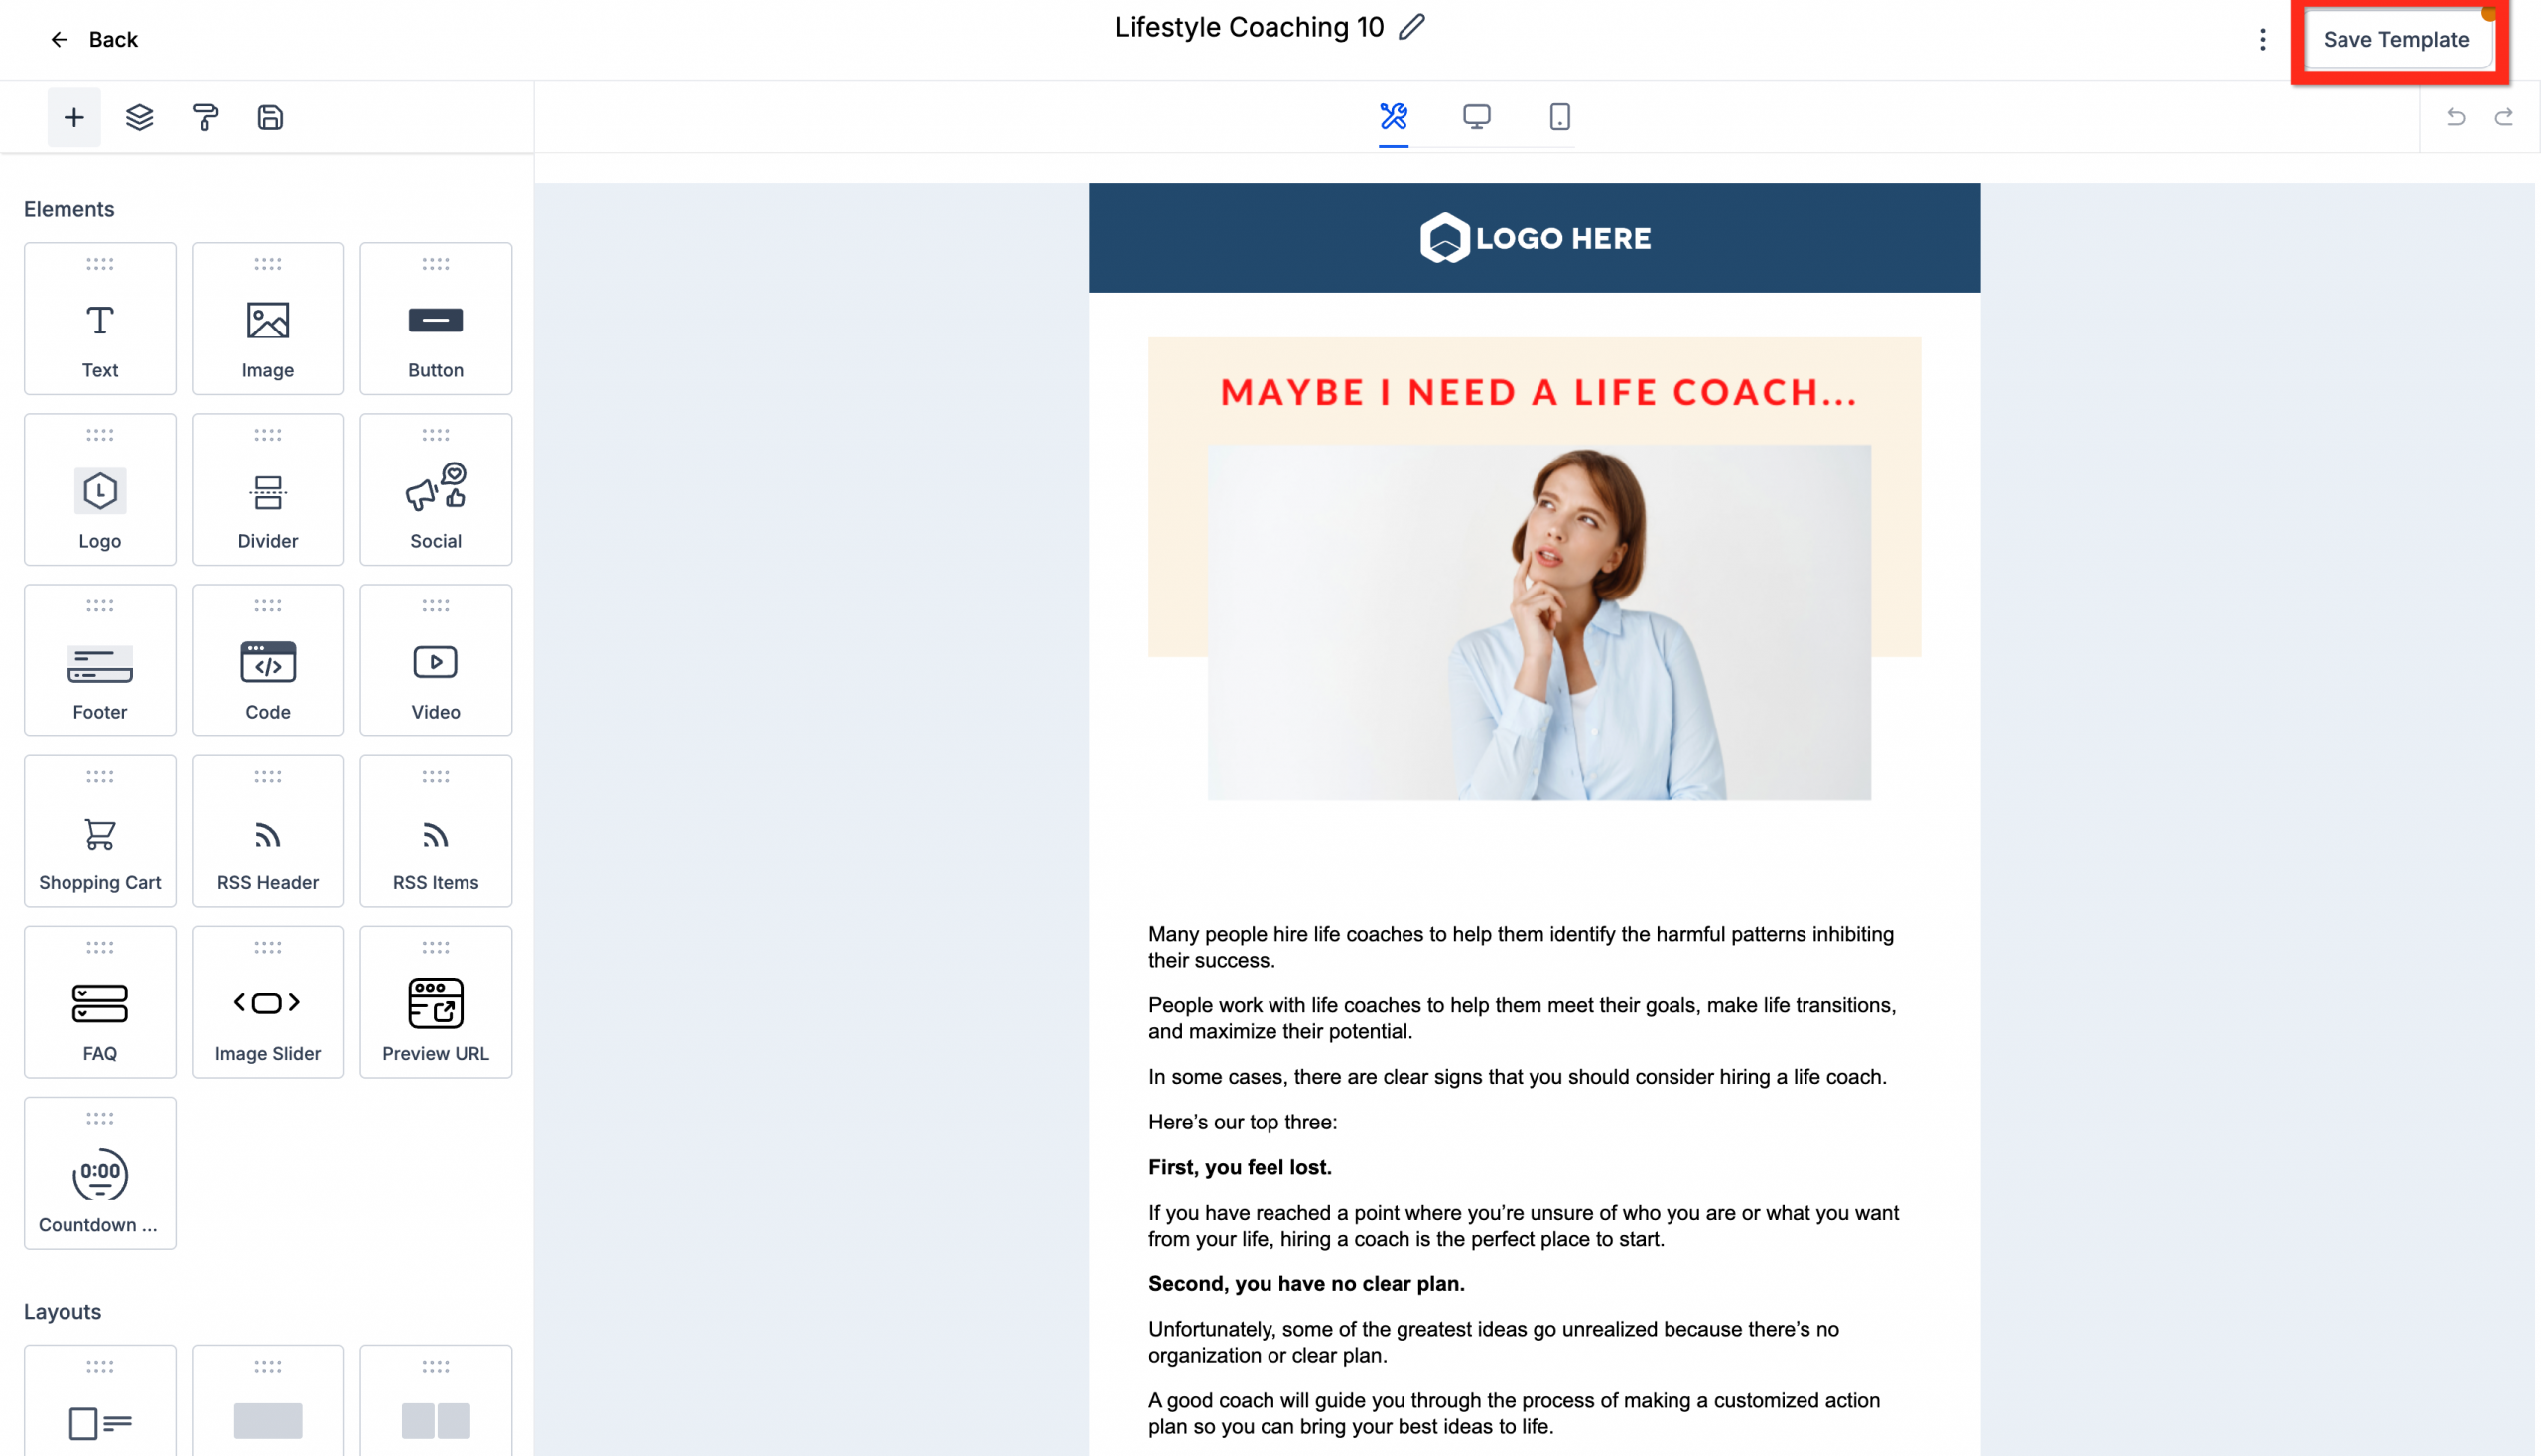
- Click Save Template to keep your changes.
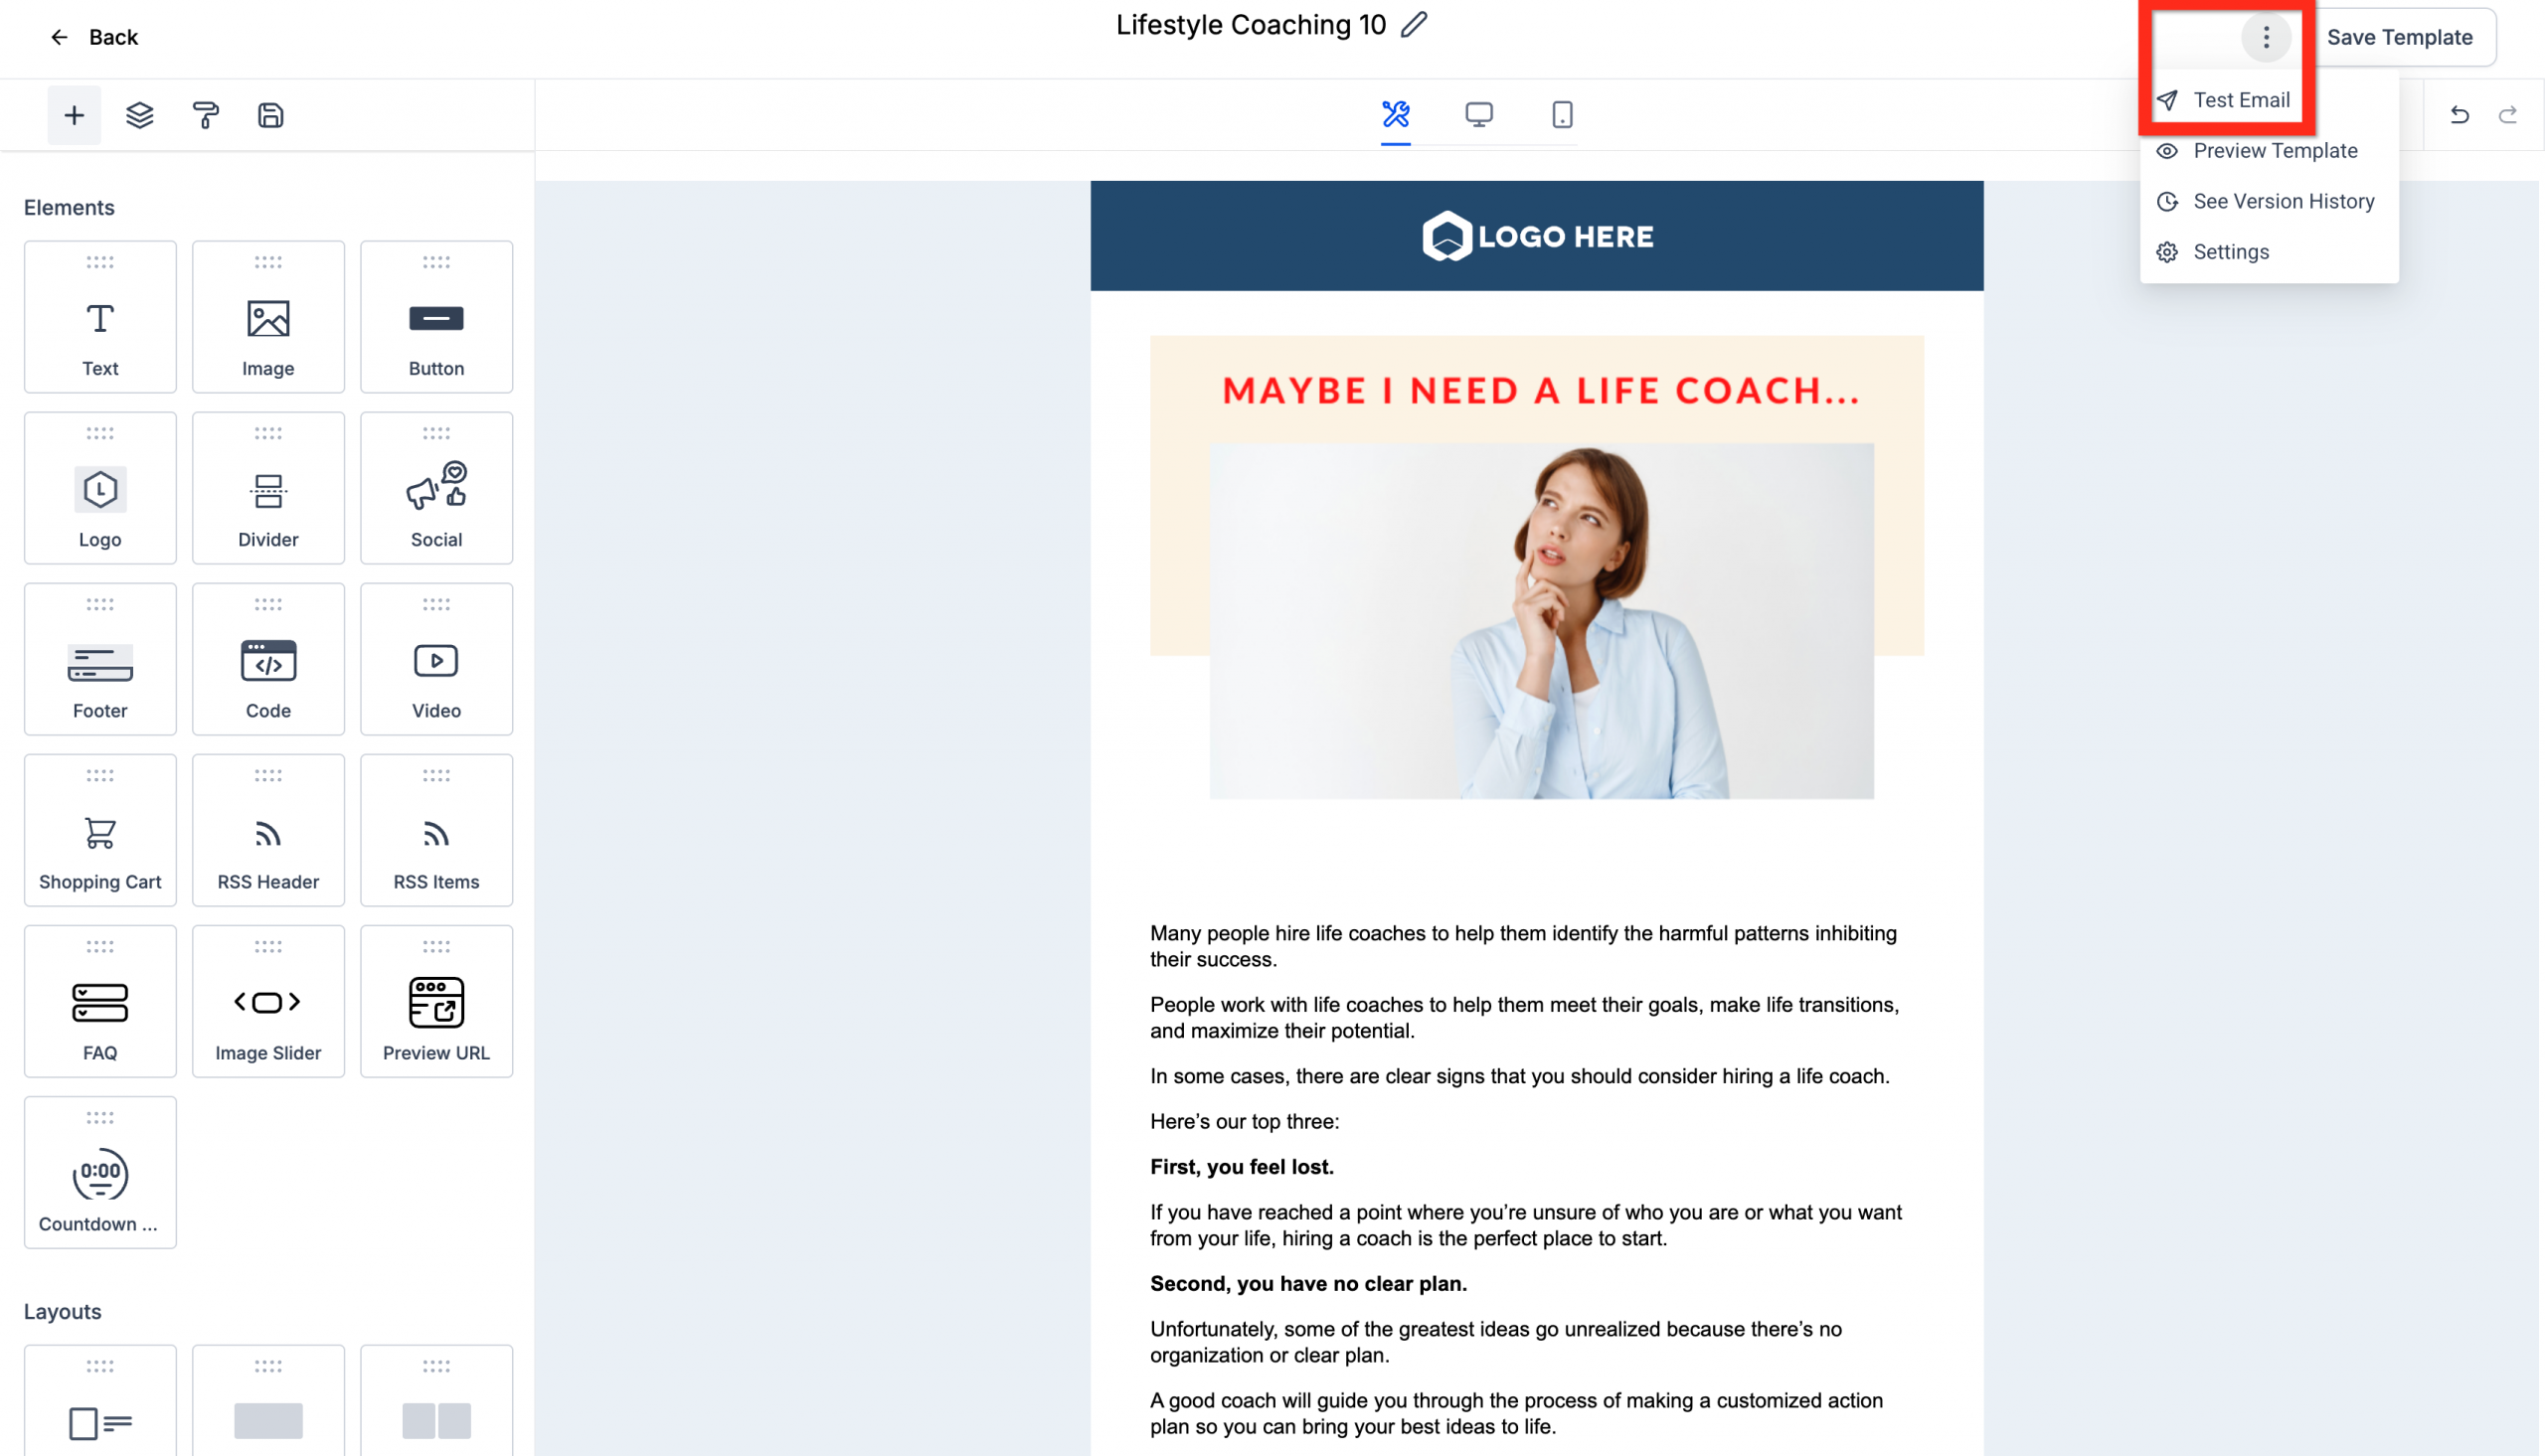
- To be safe, click the three-dot action menu > Test email.
- Fill in the details such as the sender information and the recipients.
- Click Send test email.
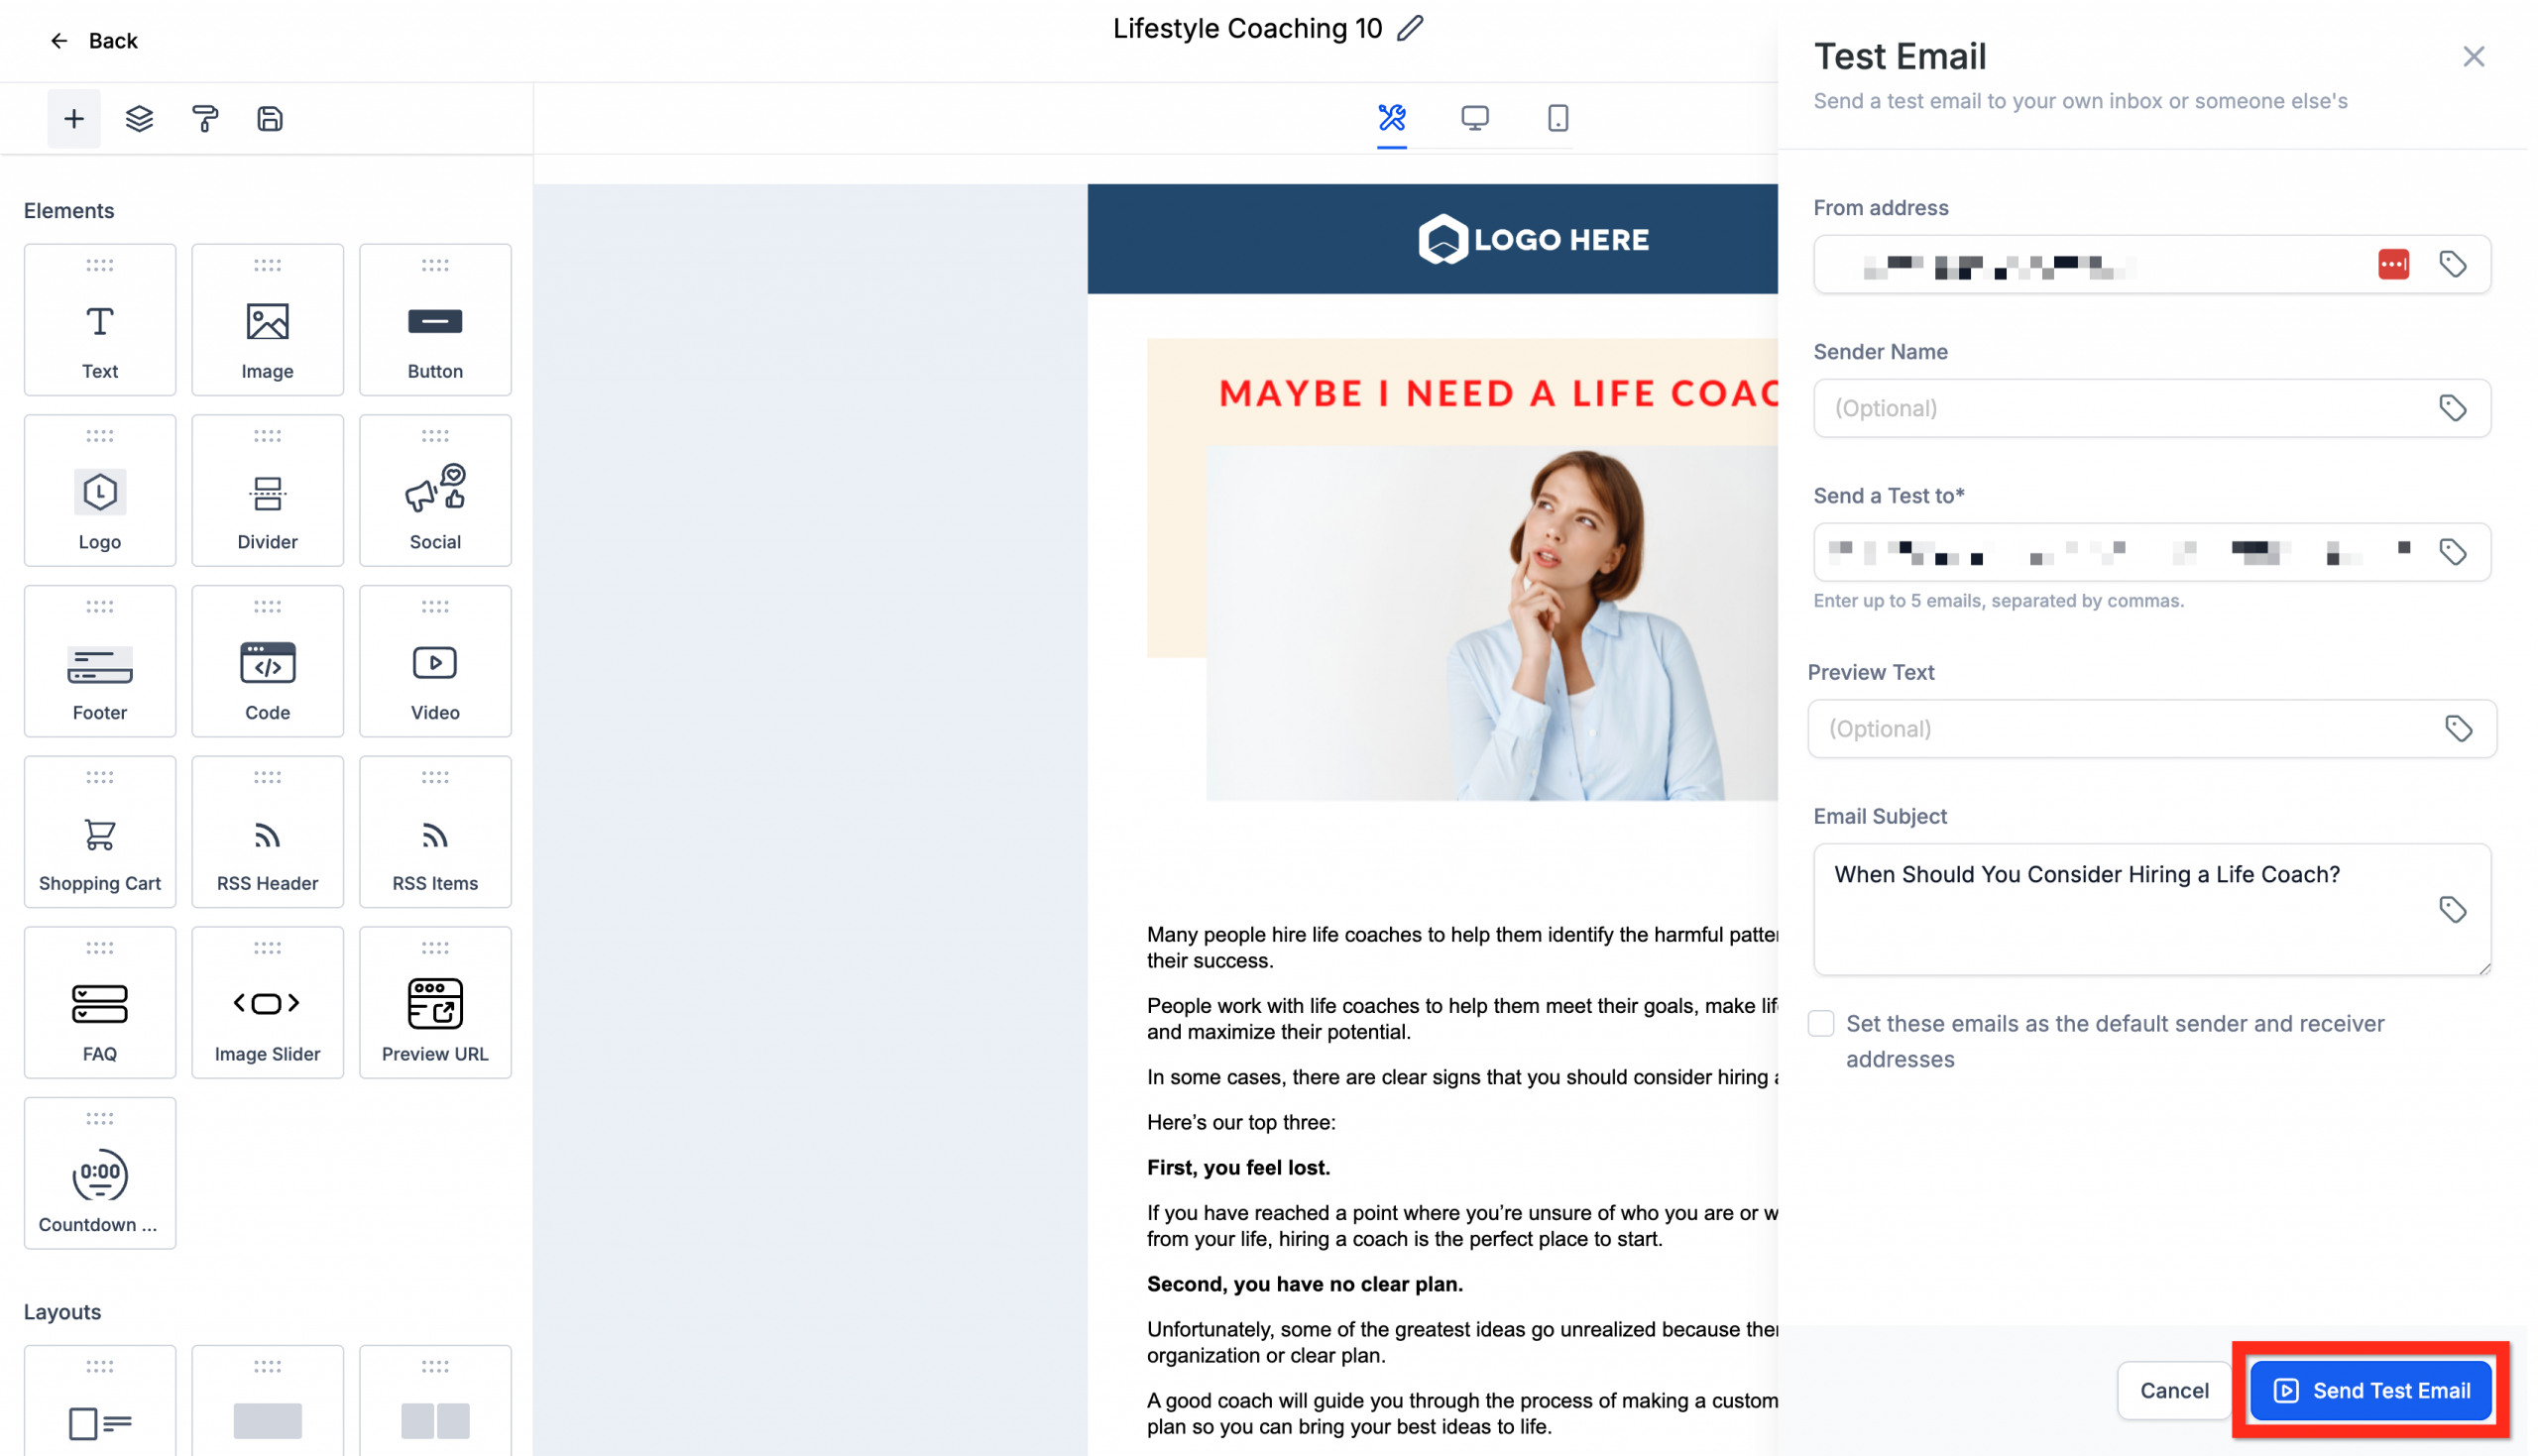
- Once you are happy, click Back to return to the email campaigns dashboard.
Your template looks brilliant! Now, why not create an email campaign to reach your audience?
Anchor the editing panel and work with AI for emails
Create faster by placing the editing panel on the right and working side by side with AI for emails.
- Open your campaign/template in the email builder.
- Enable AI for emails (if you need it for assisted drafting).
- Use the panel switch in the editor to move the panel to the right (or back to the left).
- Carry on editing, previewing and publishing as usual.
Create an email campaign from the template
With your template polished and ready, it is time to share it with your audience! Turning your template into a live campaign is simple and exciting. Let’s do it!
- Go to Marketing > Email > Campaigns.
- Click New > Select Template.
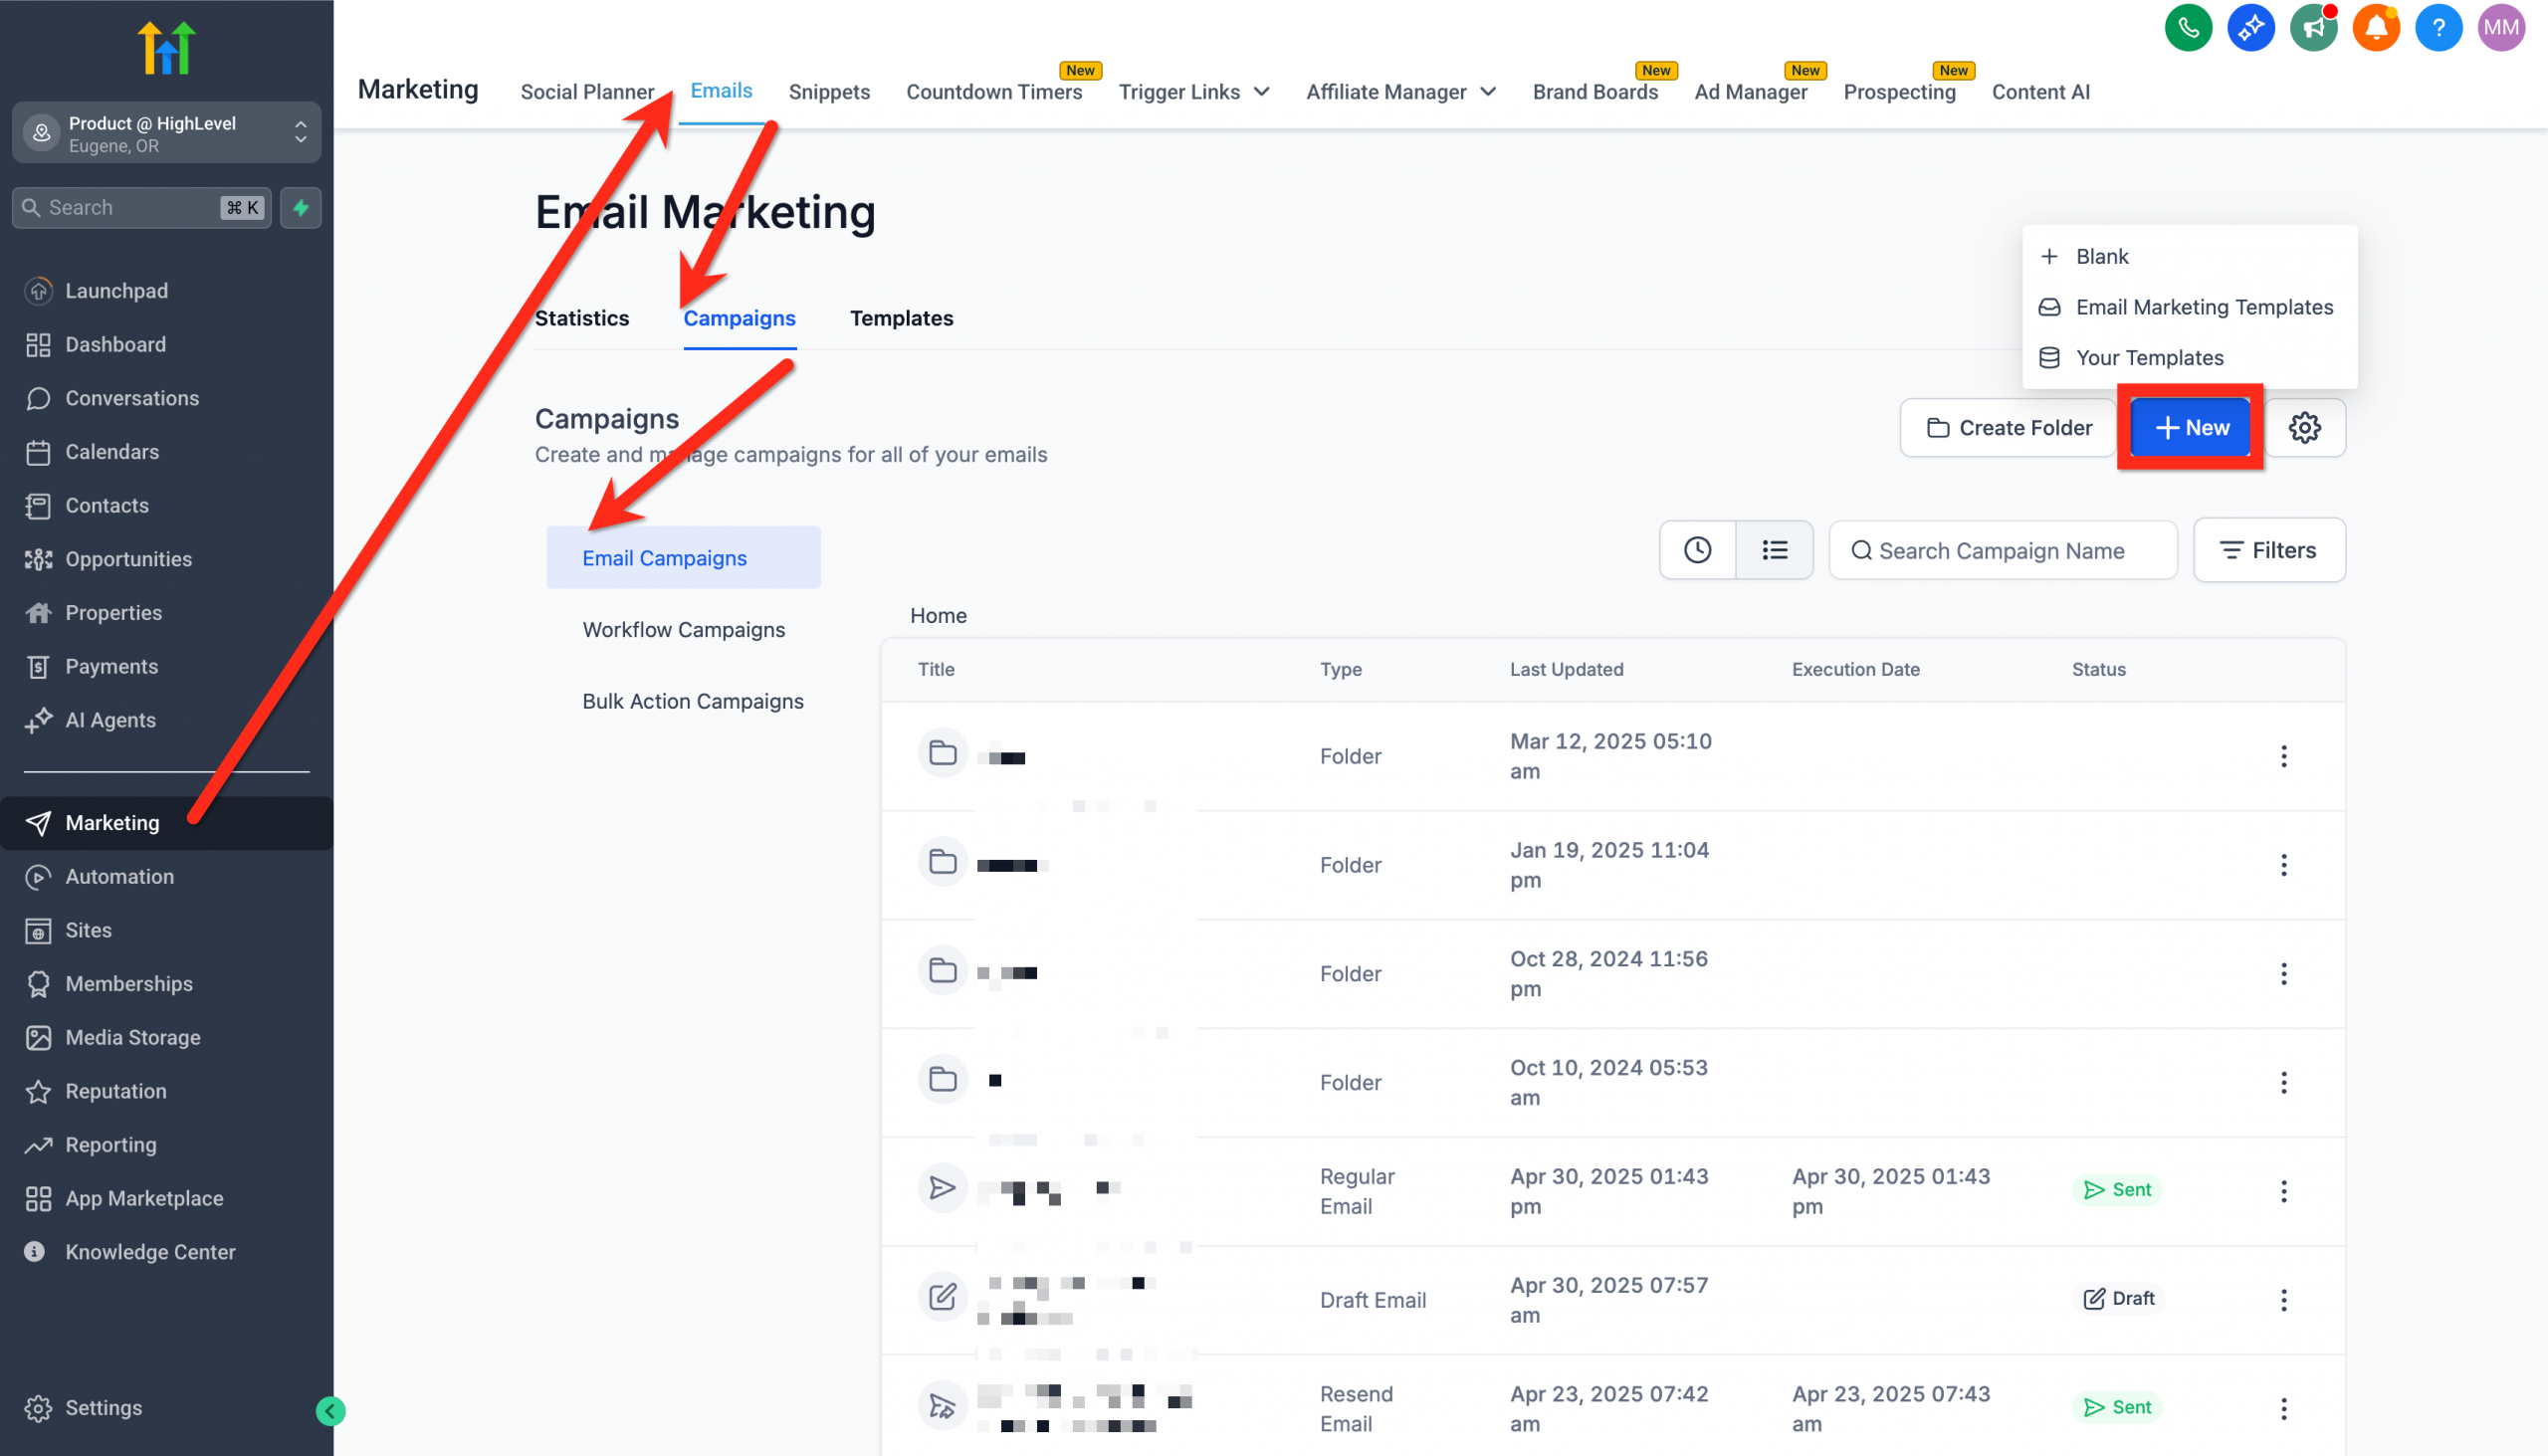
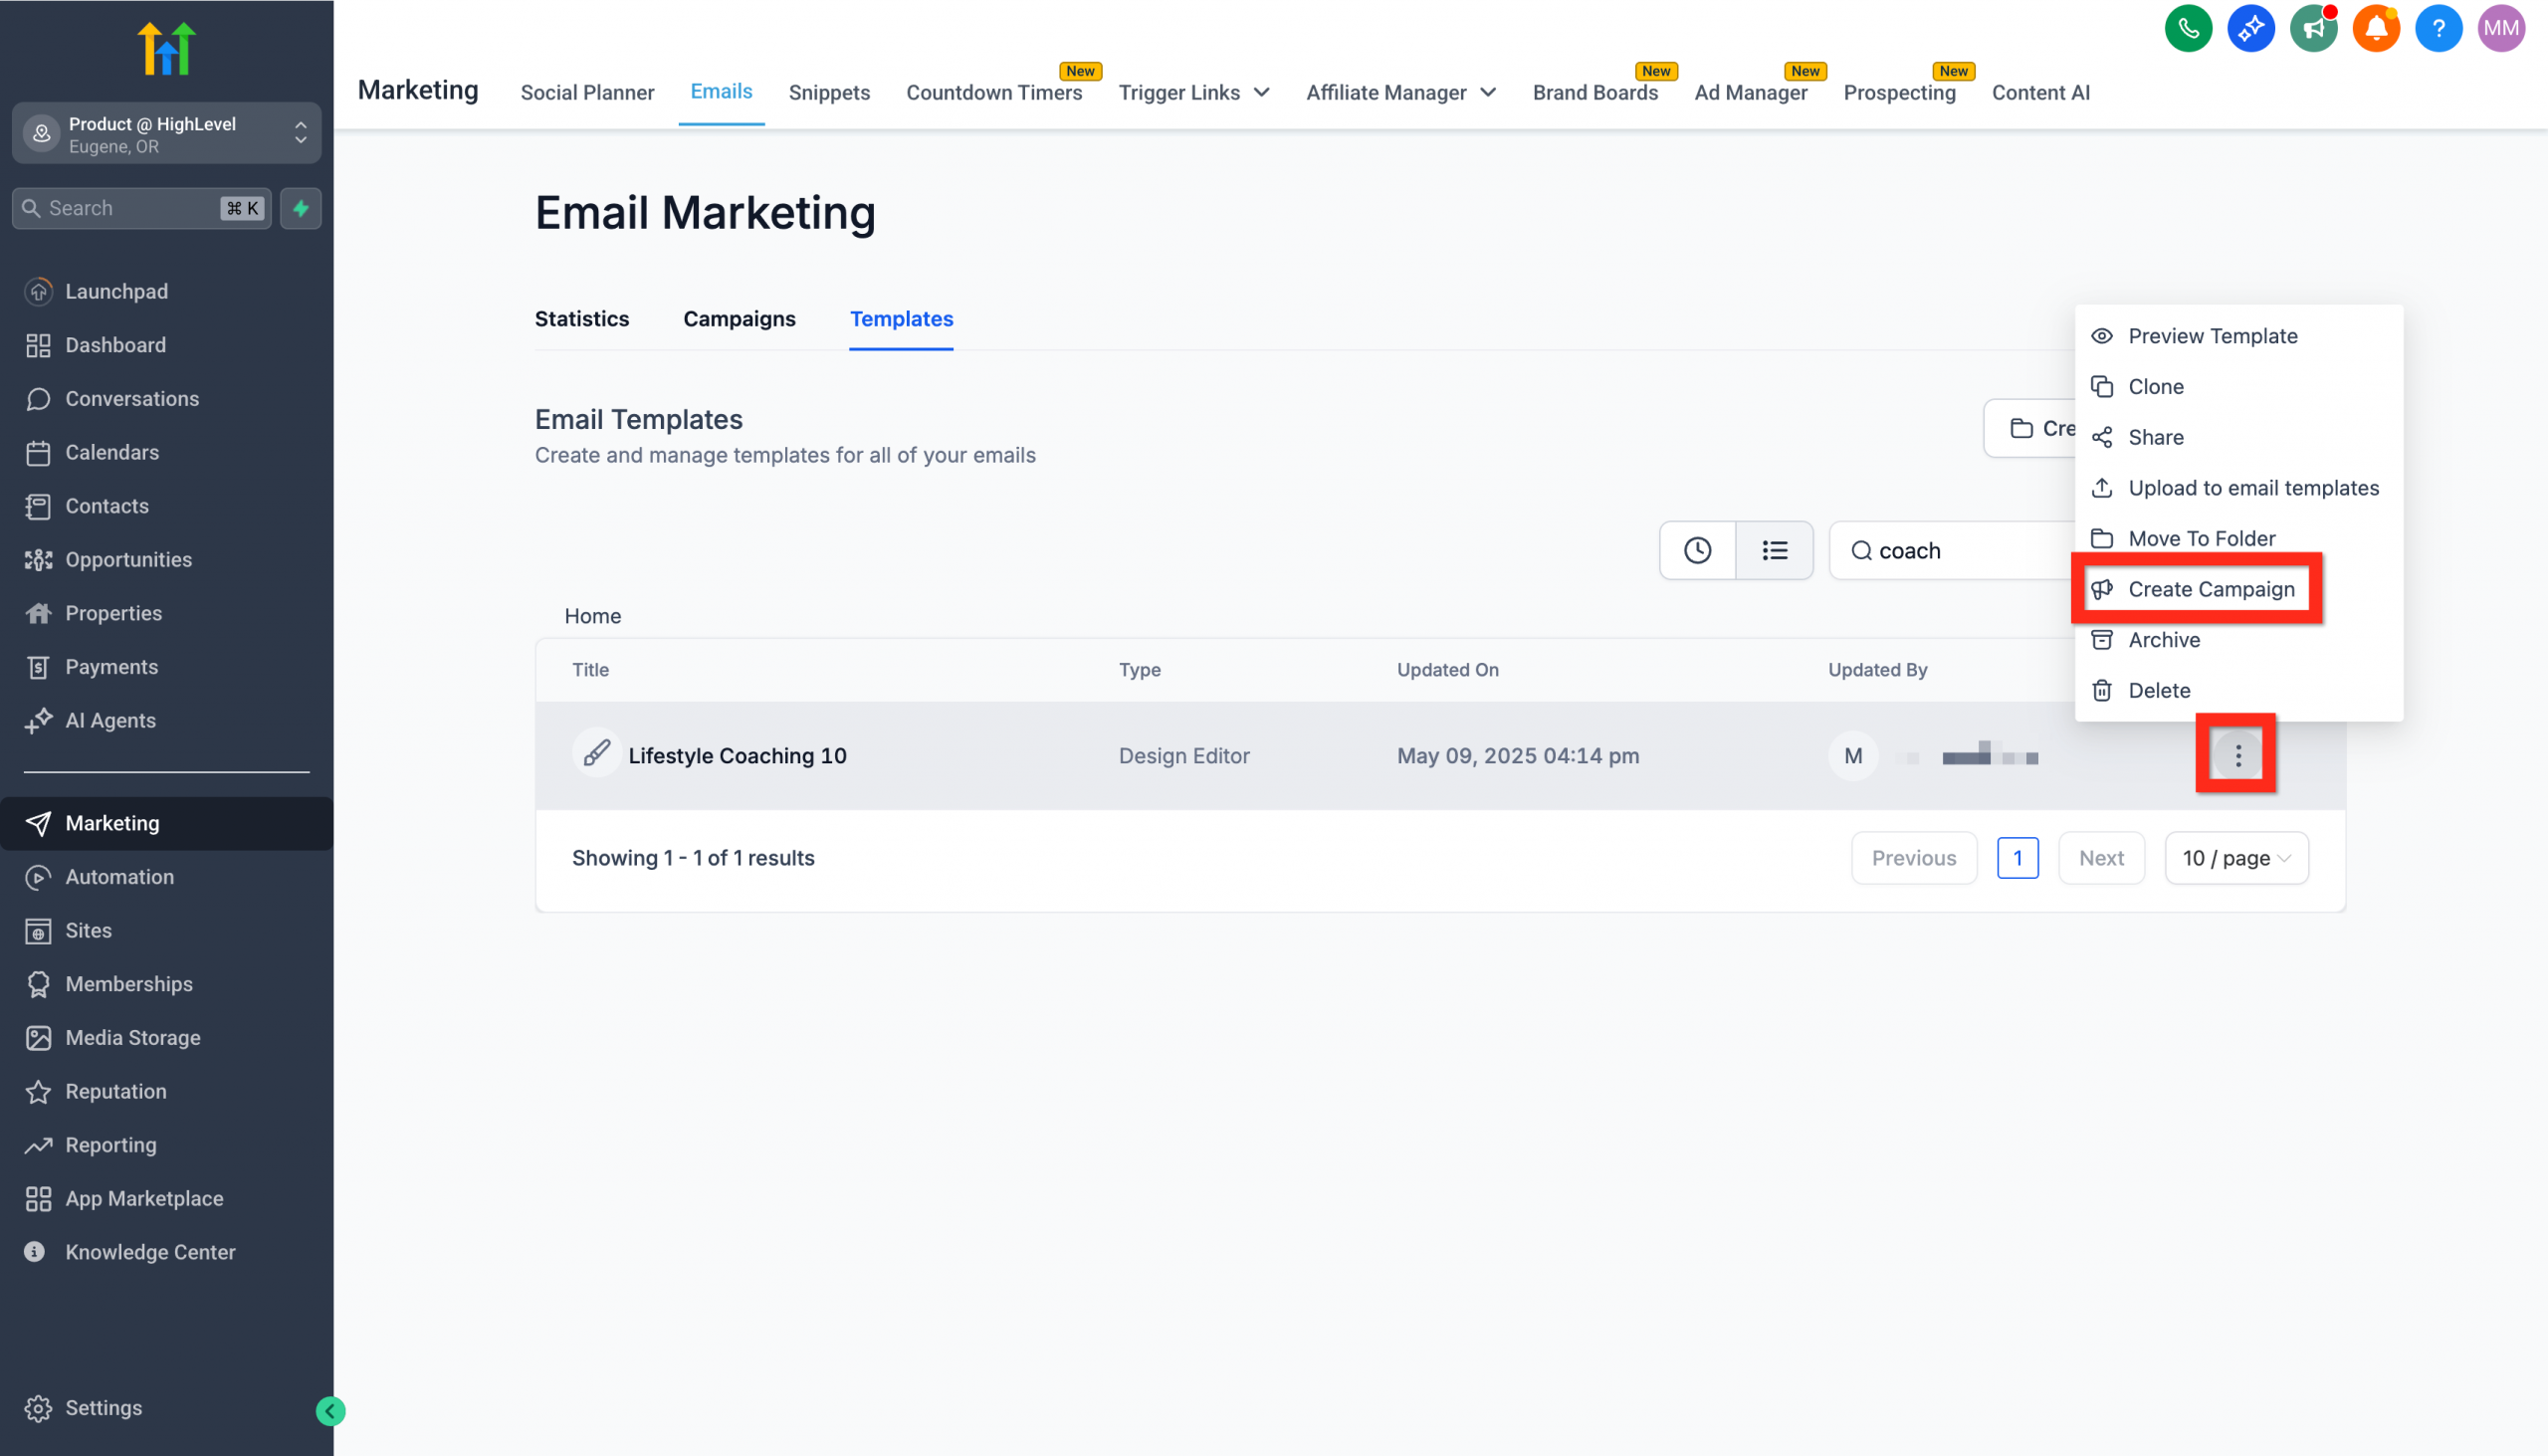
- Alternatively, you can select the Templates tab > click the three-dot action menu next to your chosen email template and select Create Campaign.
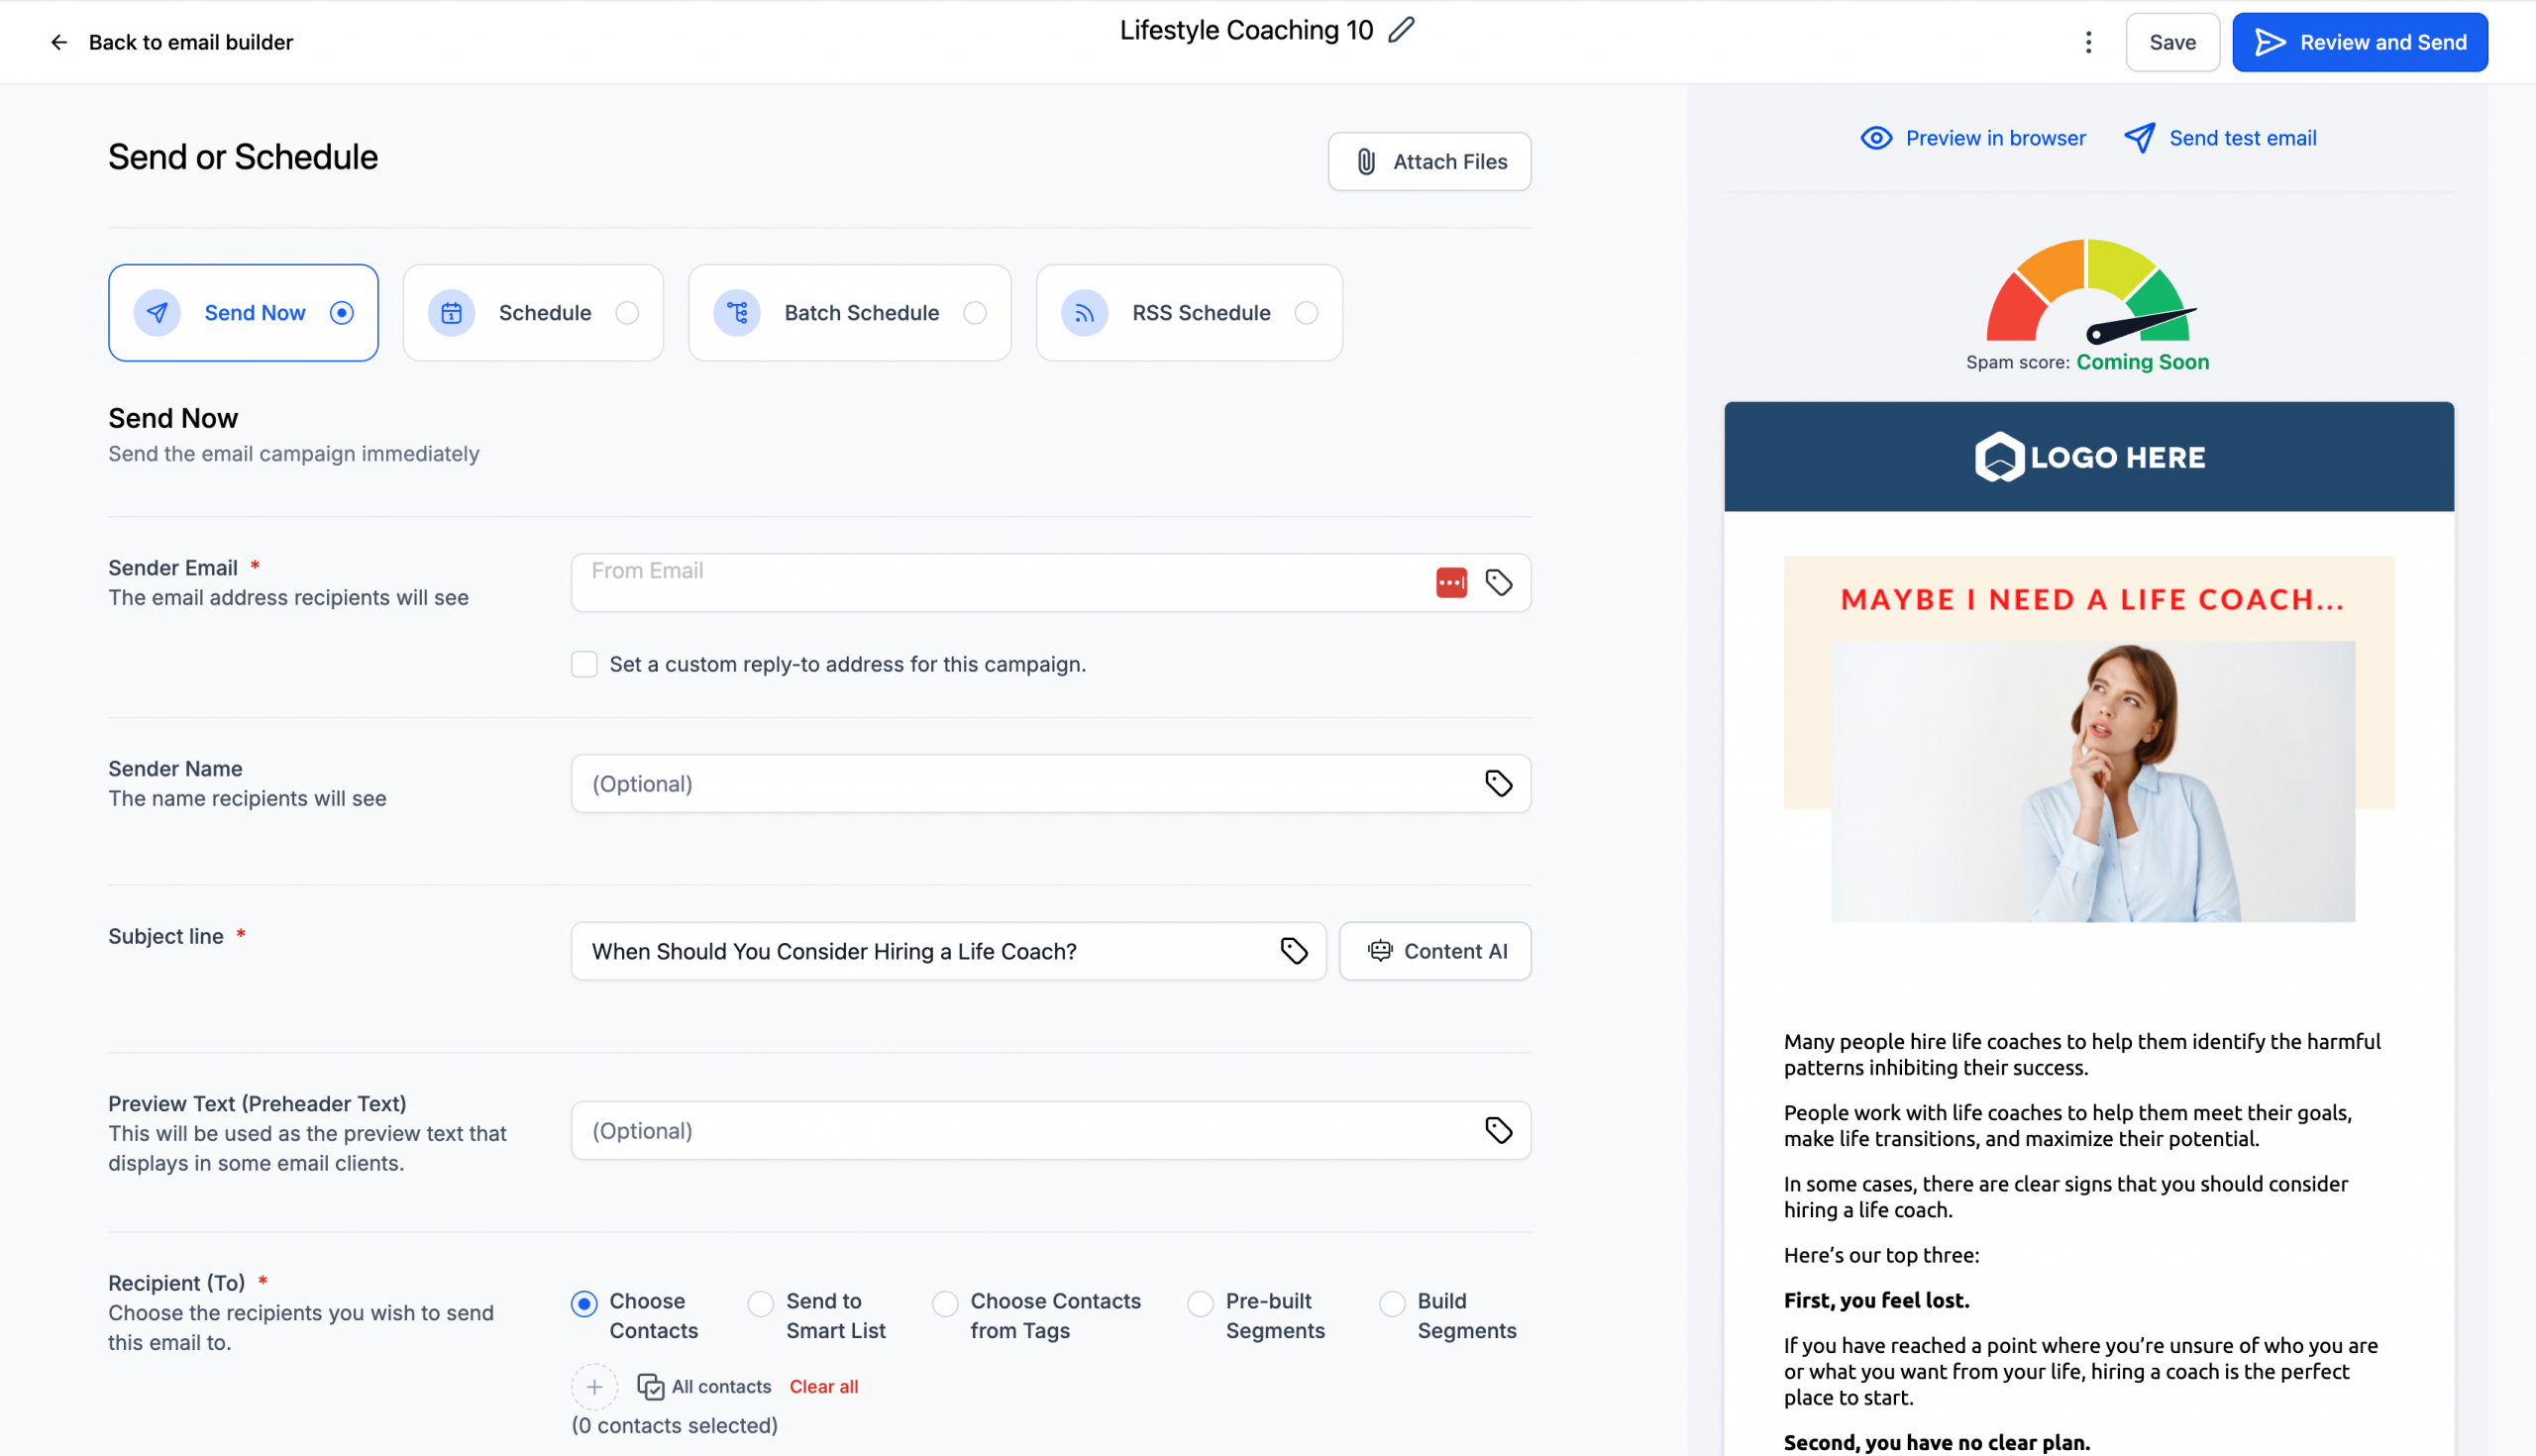
- With your template open, click Send or Schedule.
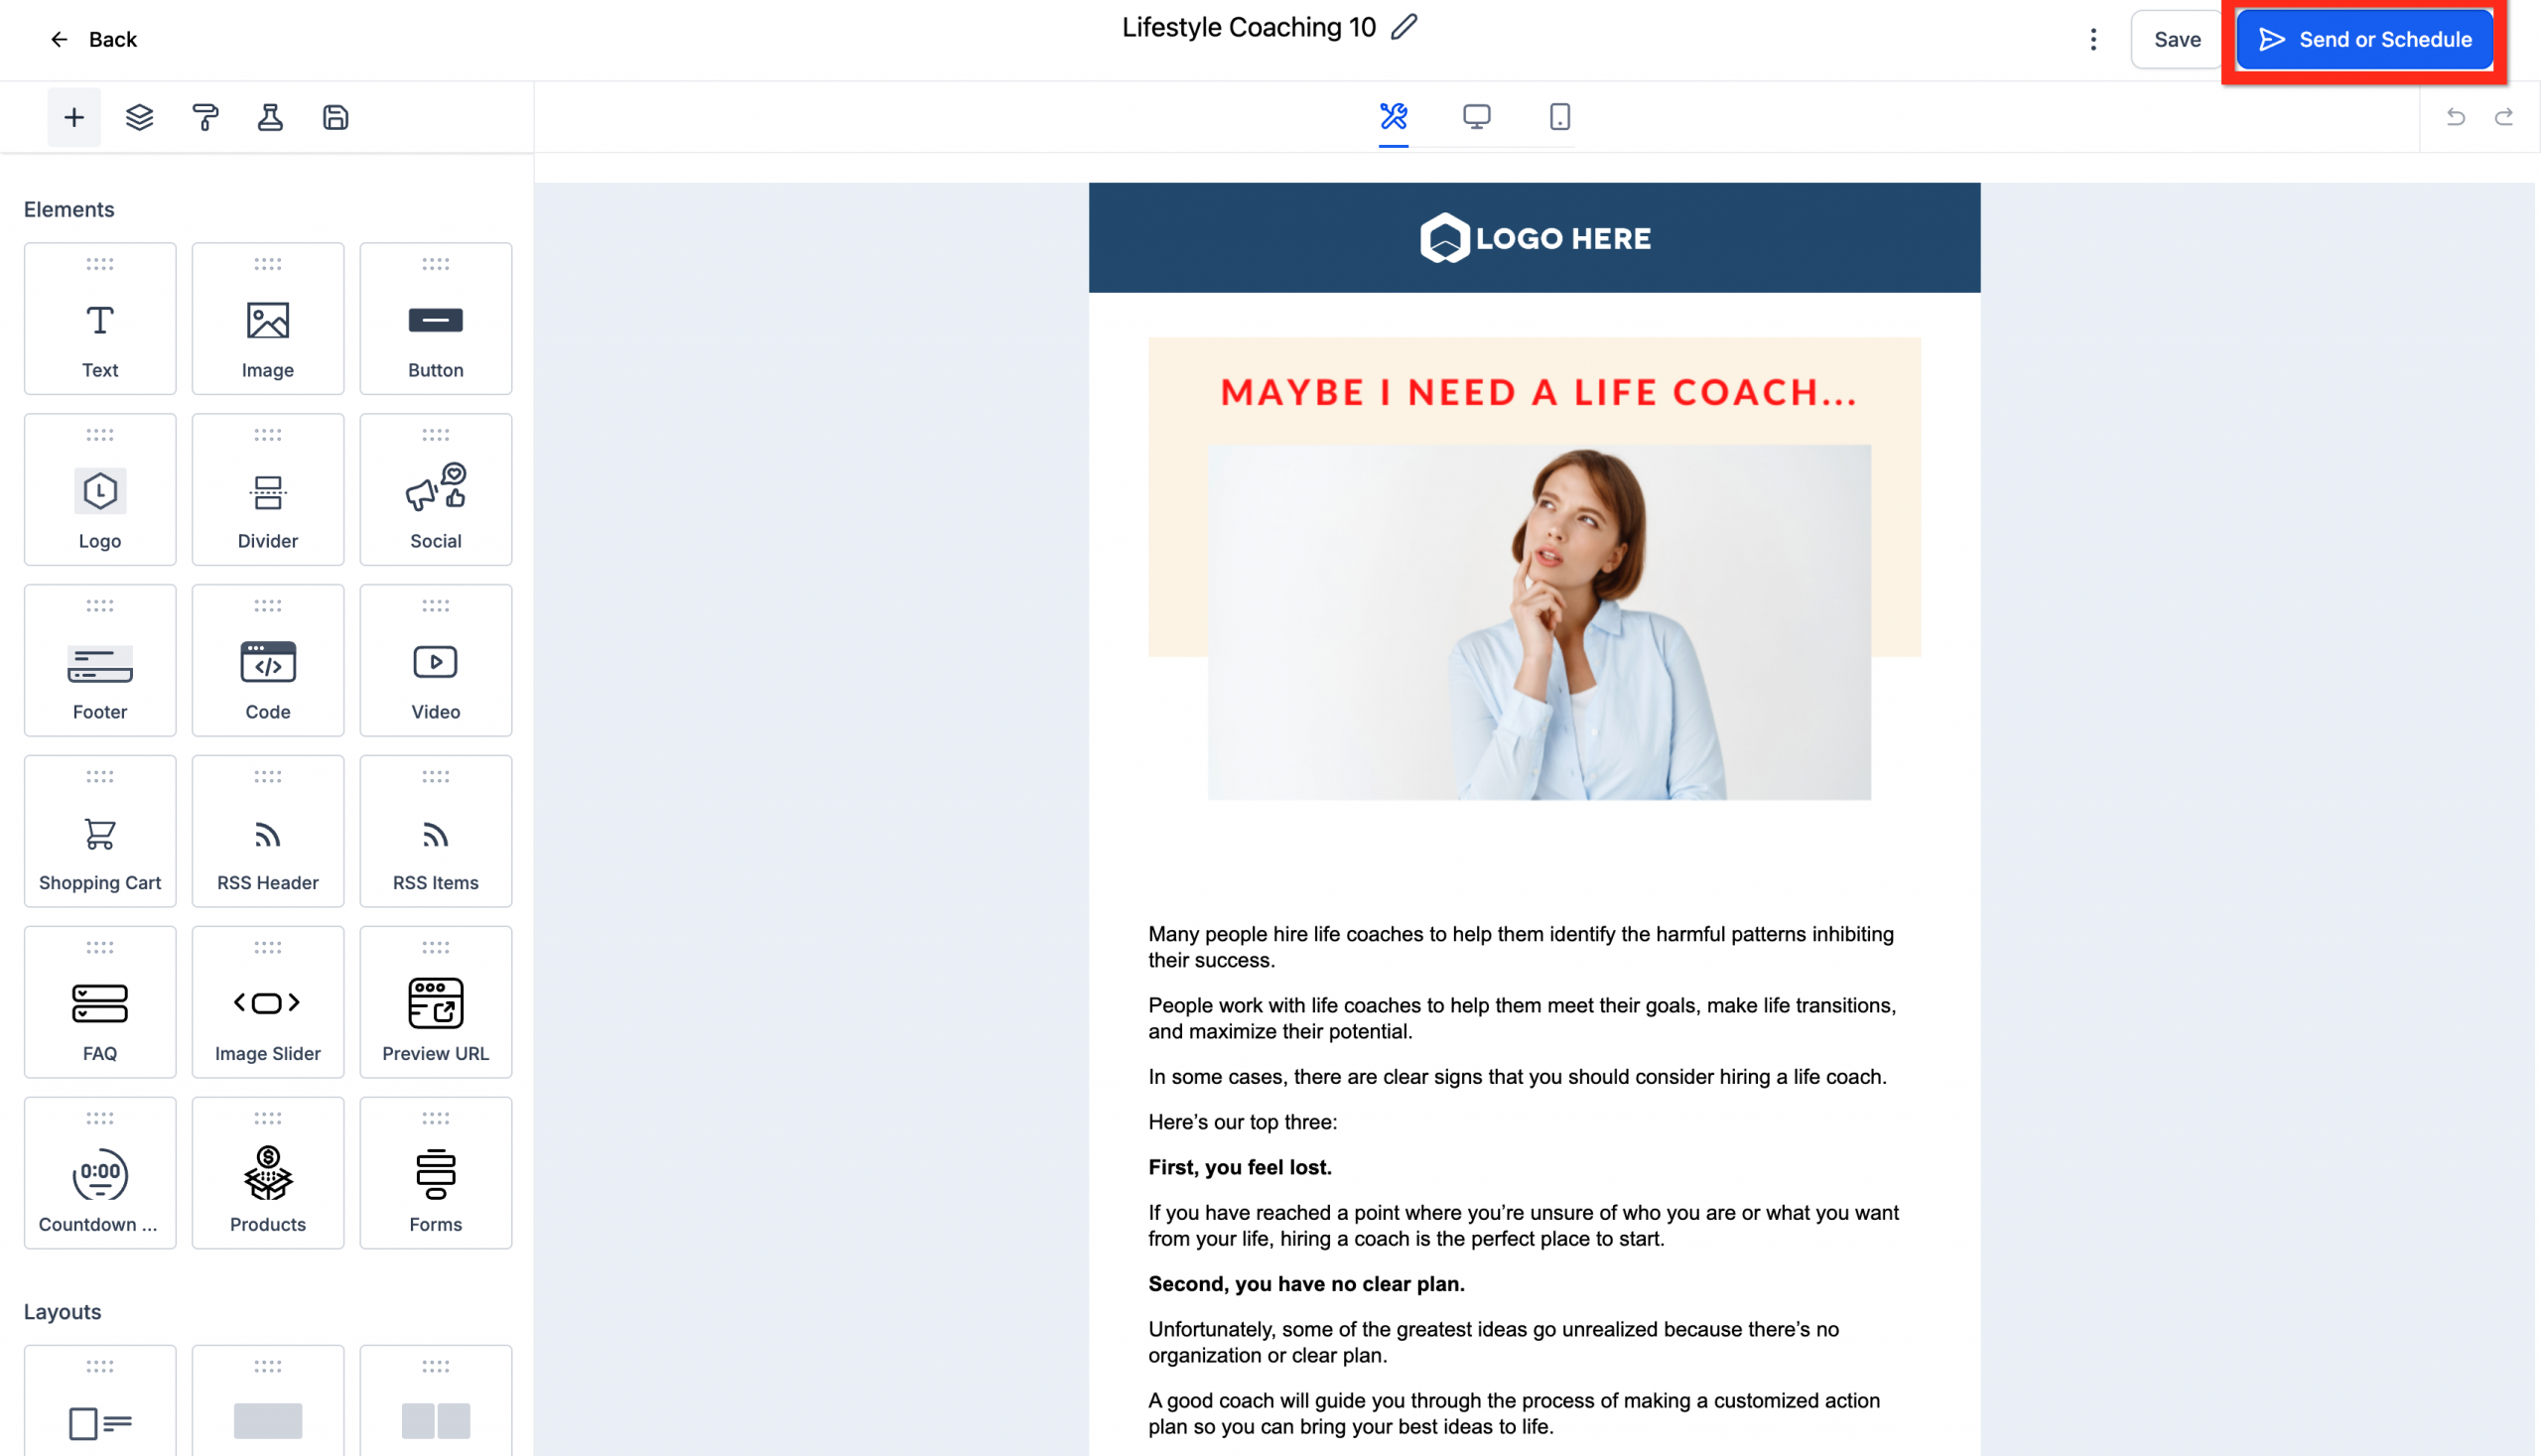
- Configure your email options (such as selecting the recipients and enabling tracking).
- Click Review and Send.
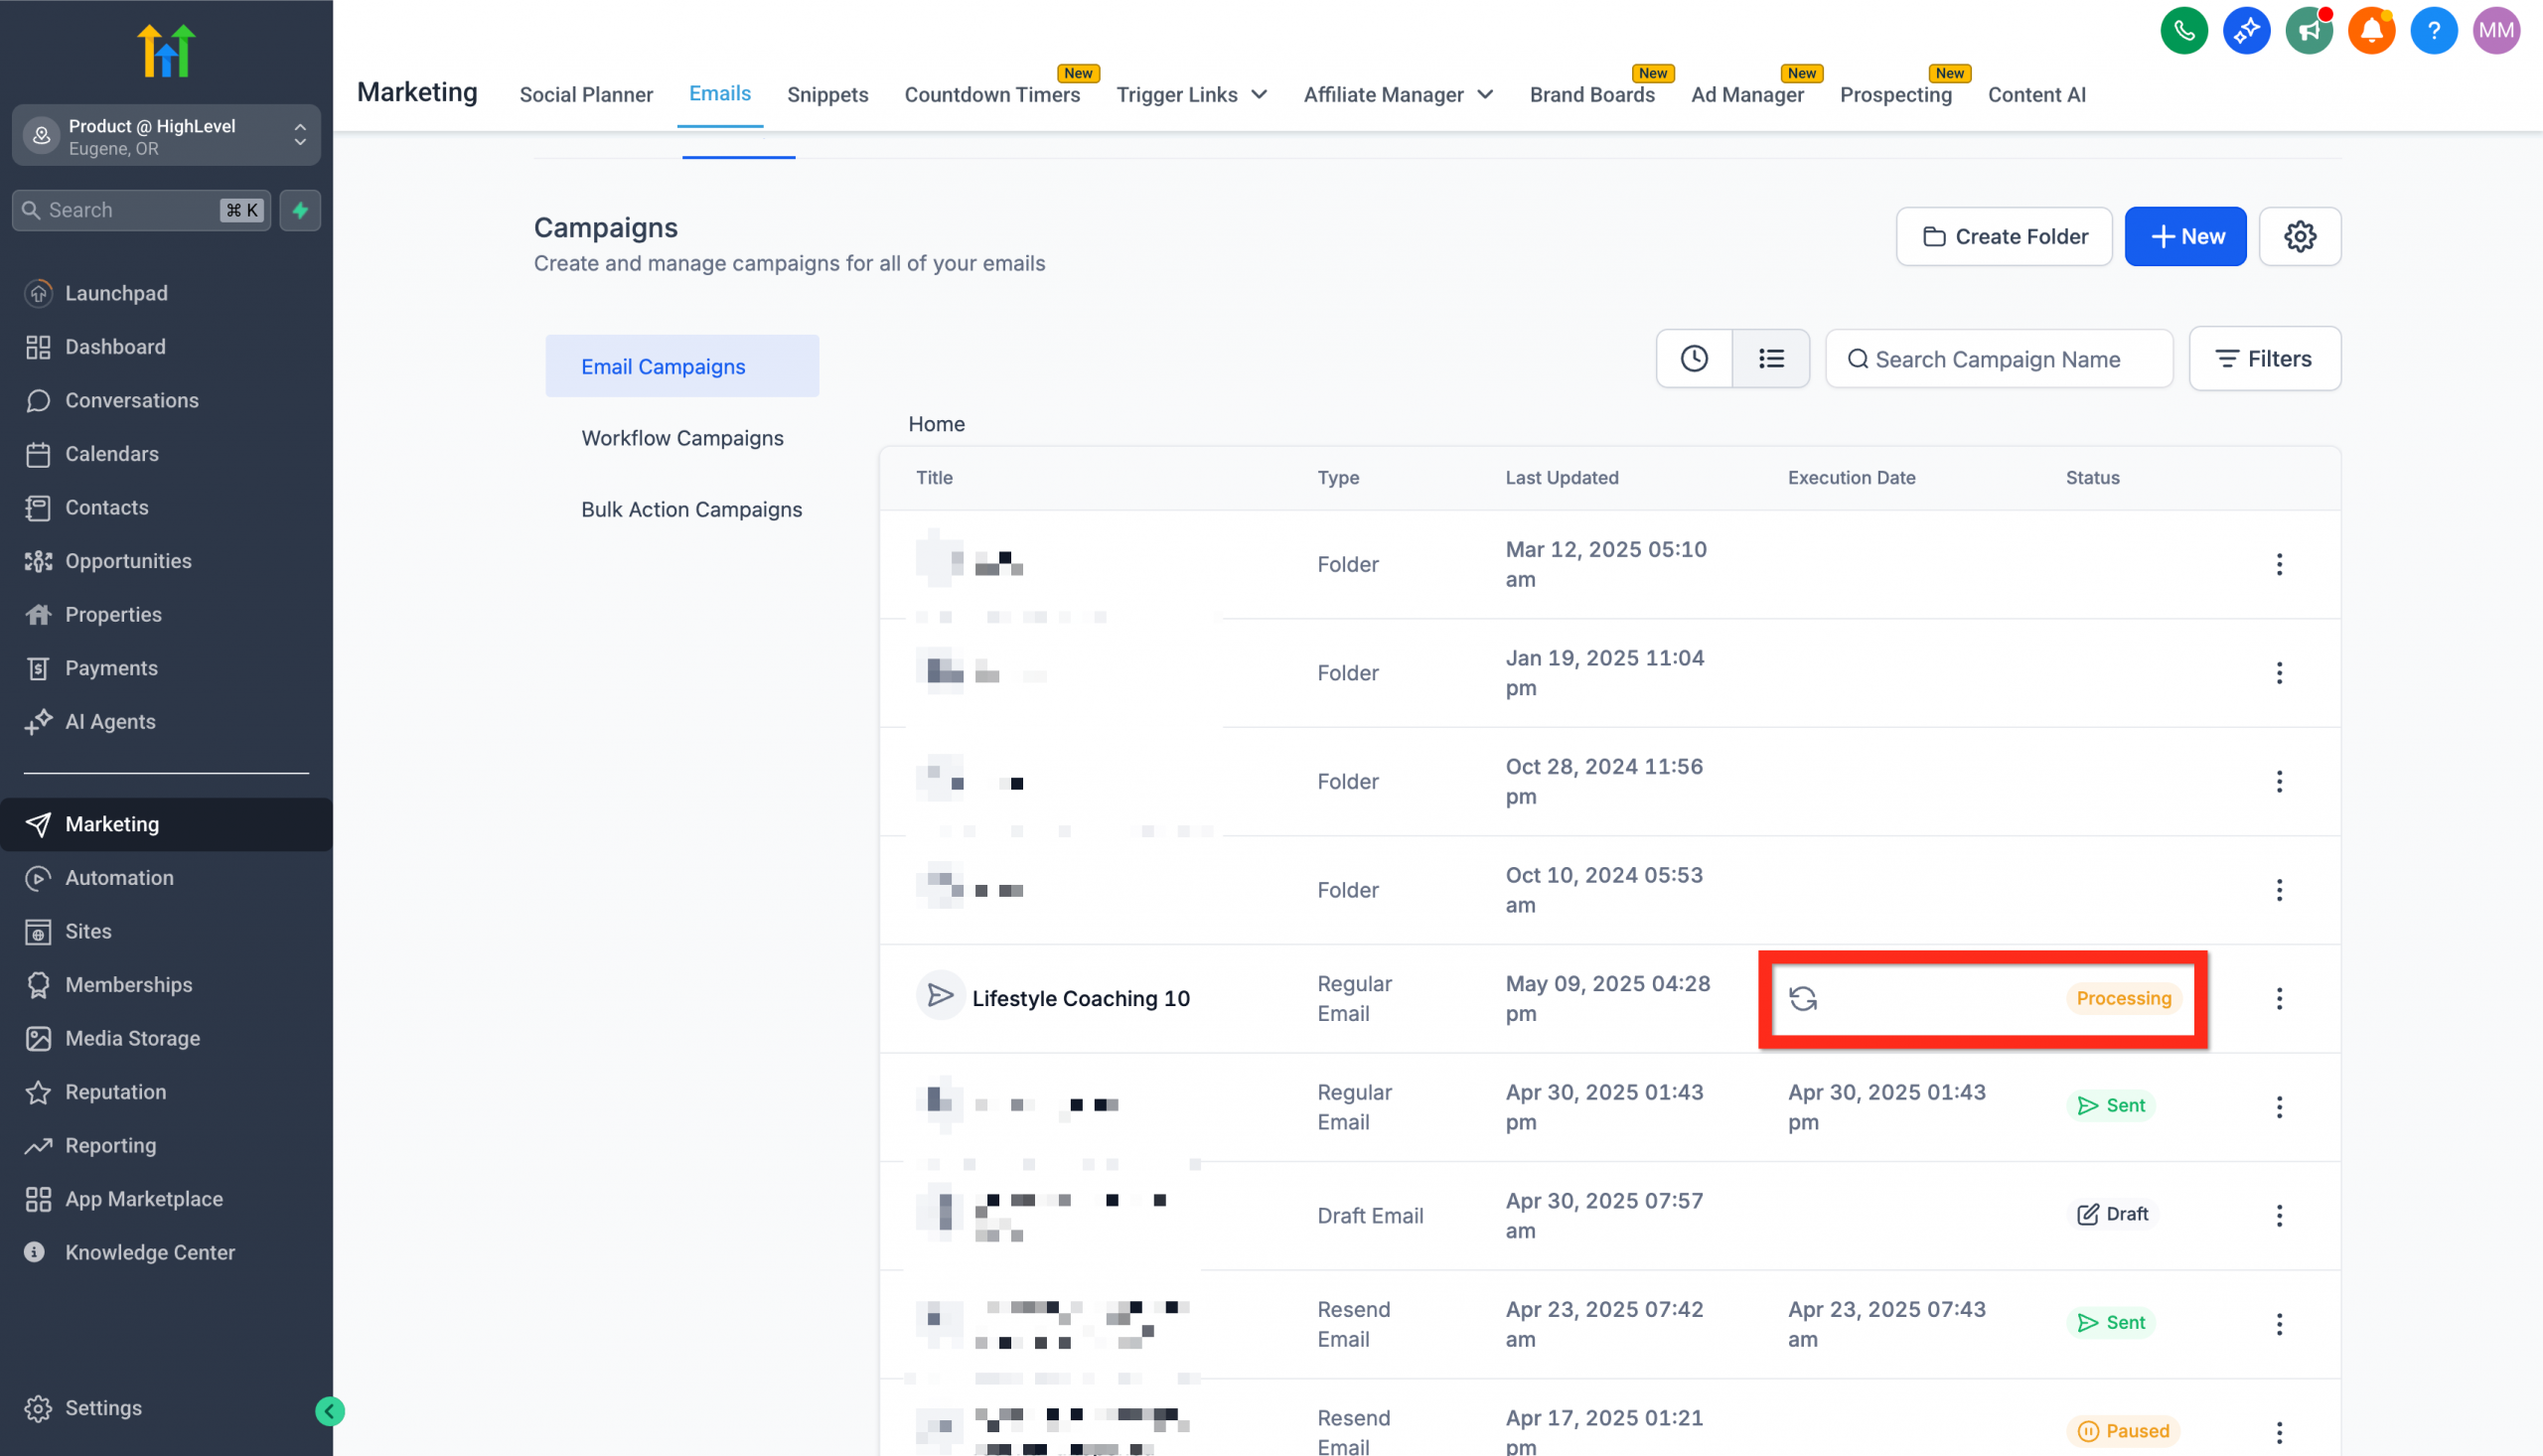
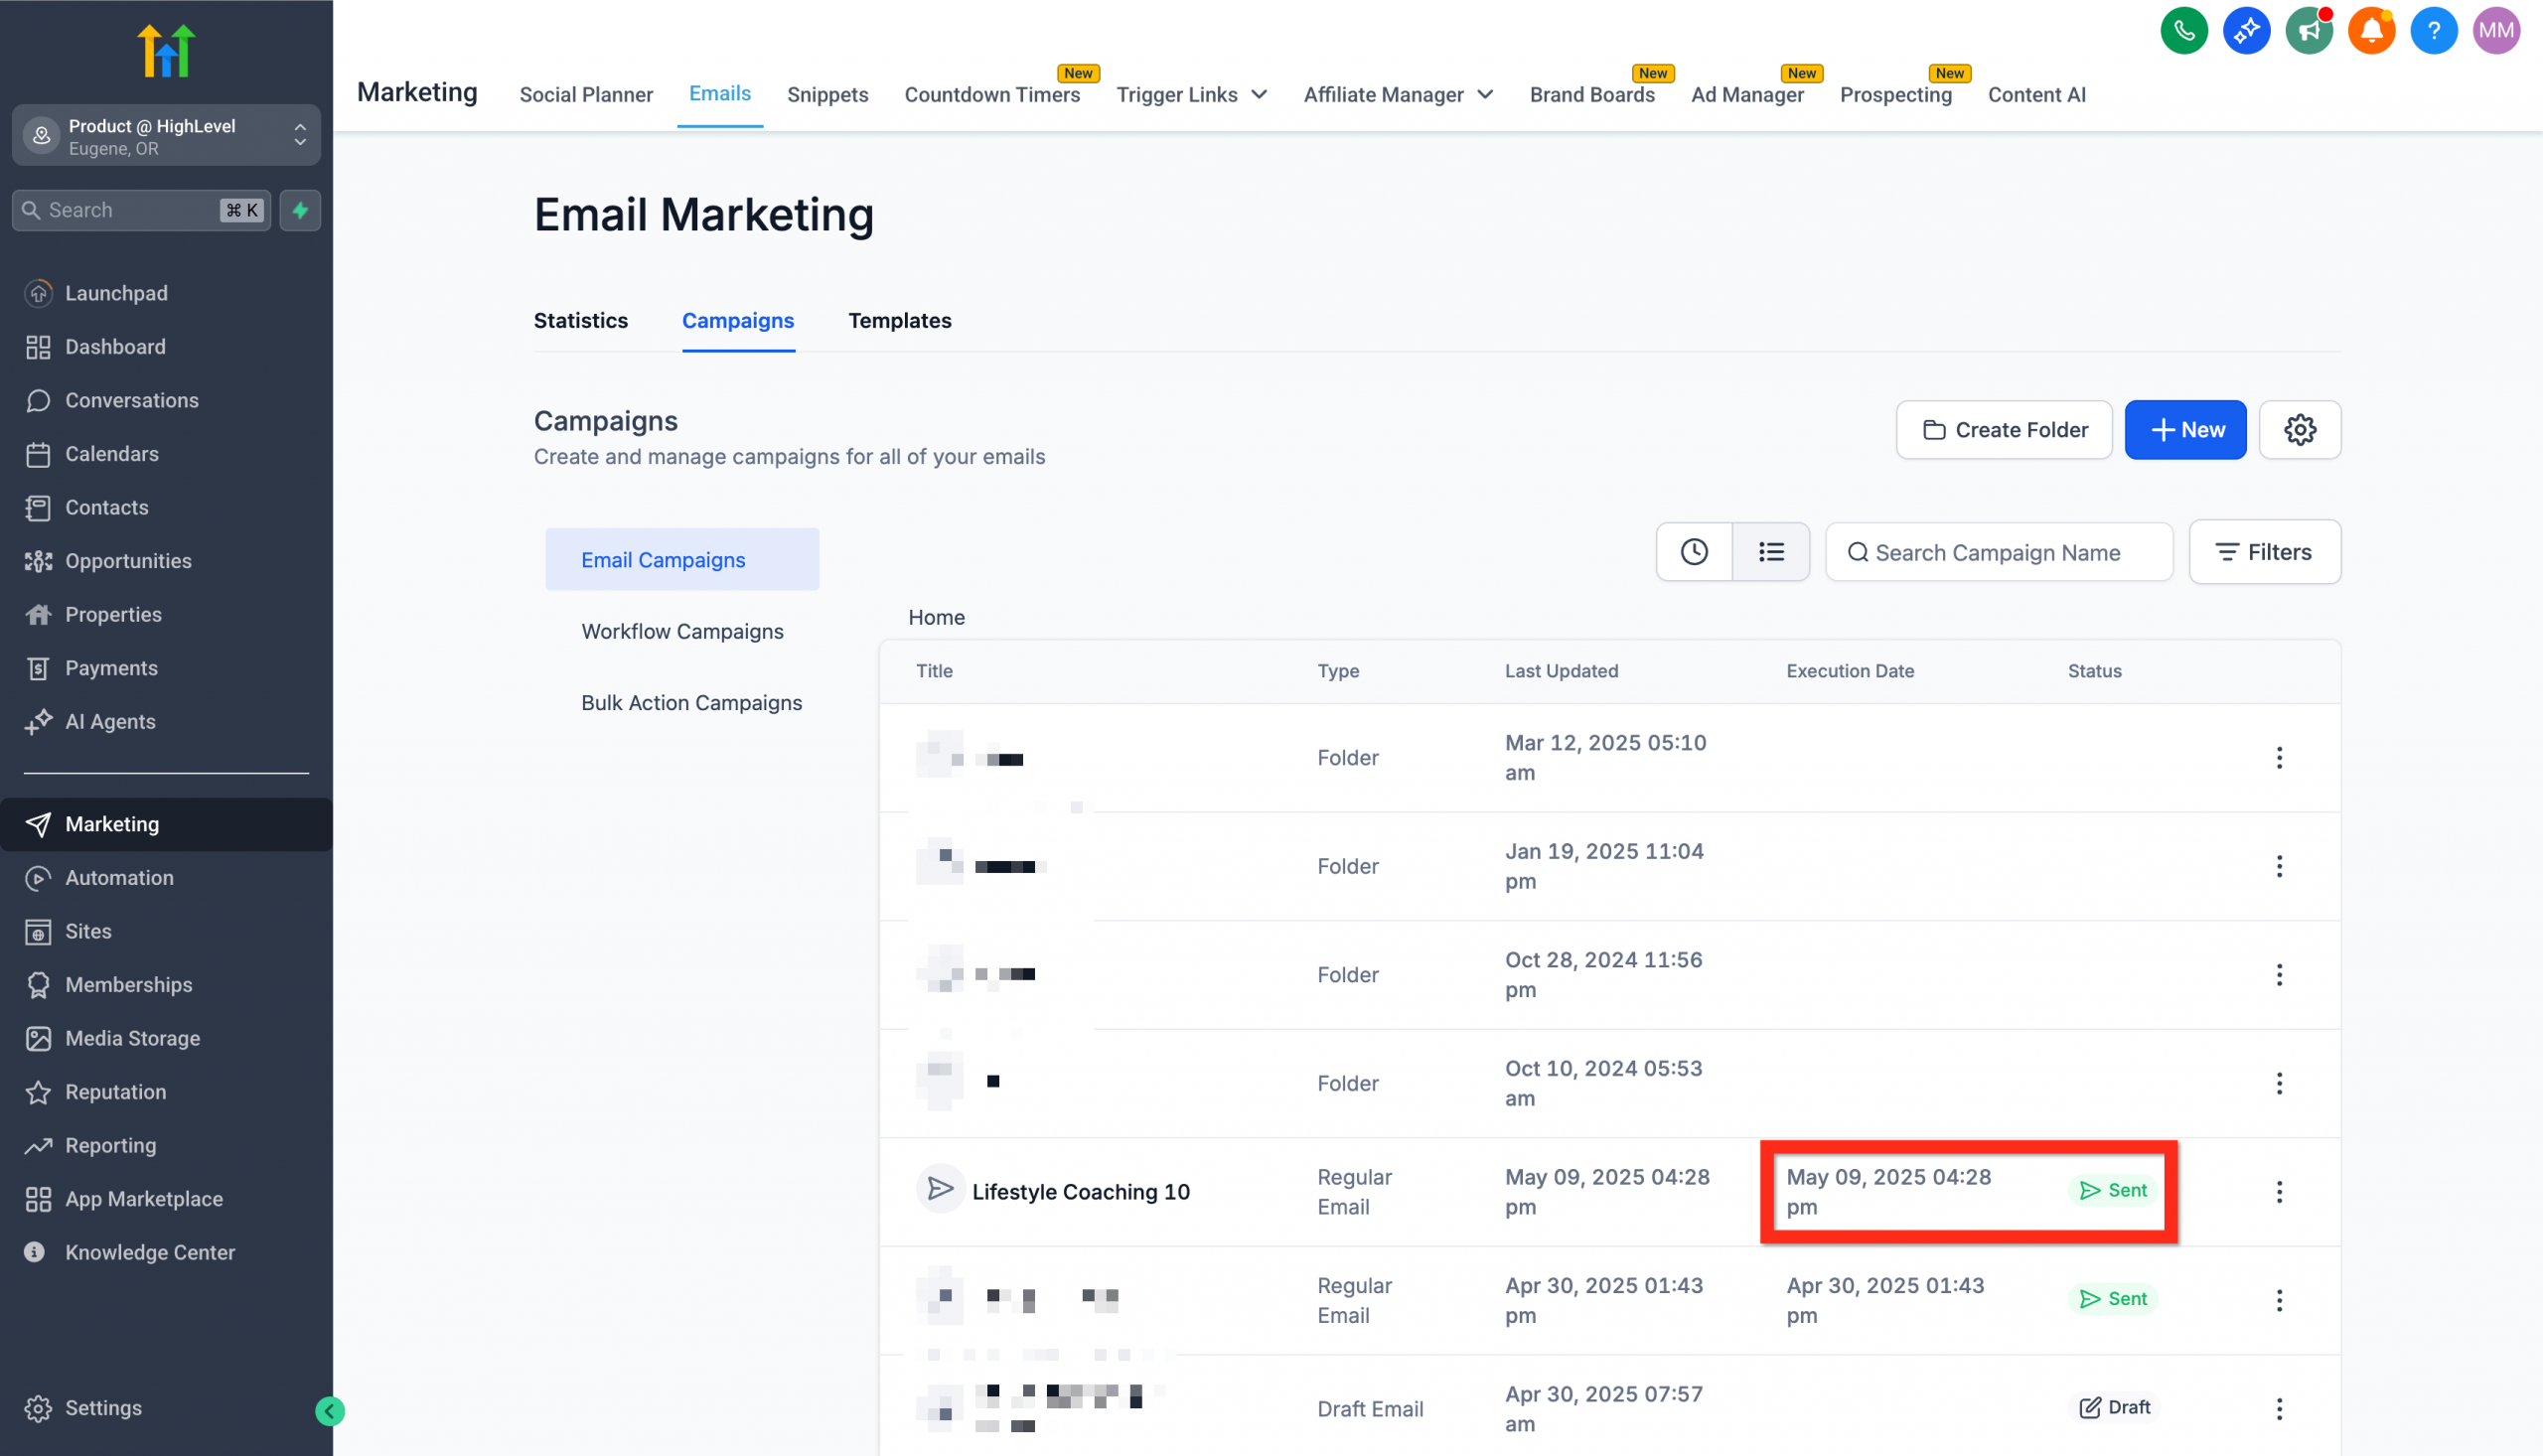
- Sit back and watch the status change from Sending to Sent: congratulations!
Feeling pleased? Excellent! Now, consider analysing your campaign statistics to see how your audience is engaging.