


Table of contents
- Creating a new custom object record
- Updating an existing custom object record
- Managing related objects
- Deleting a custom object record
- Importing custom object records
Creating a new custom object record
This support guide gives you detailed instructions on how to create and update custom object records inside Futuria CRM. Whether you manage various custom objects such as pets, cars or any other custom data entity, this guide will walk you through the steps you need to manage your records effectively.
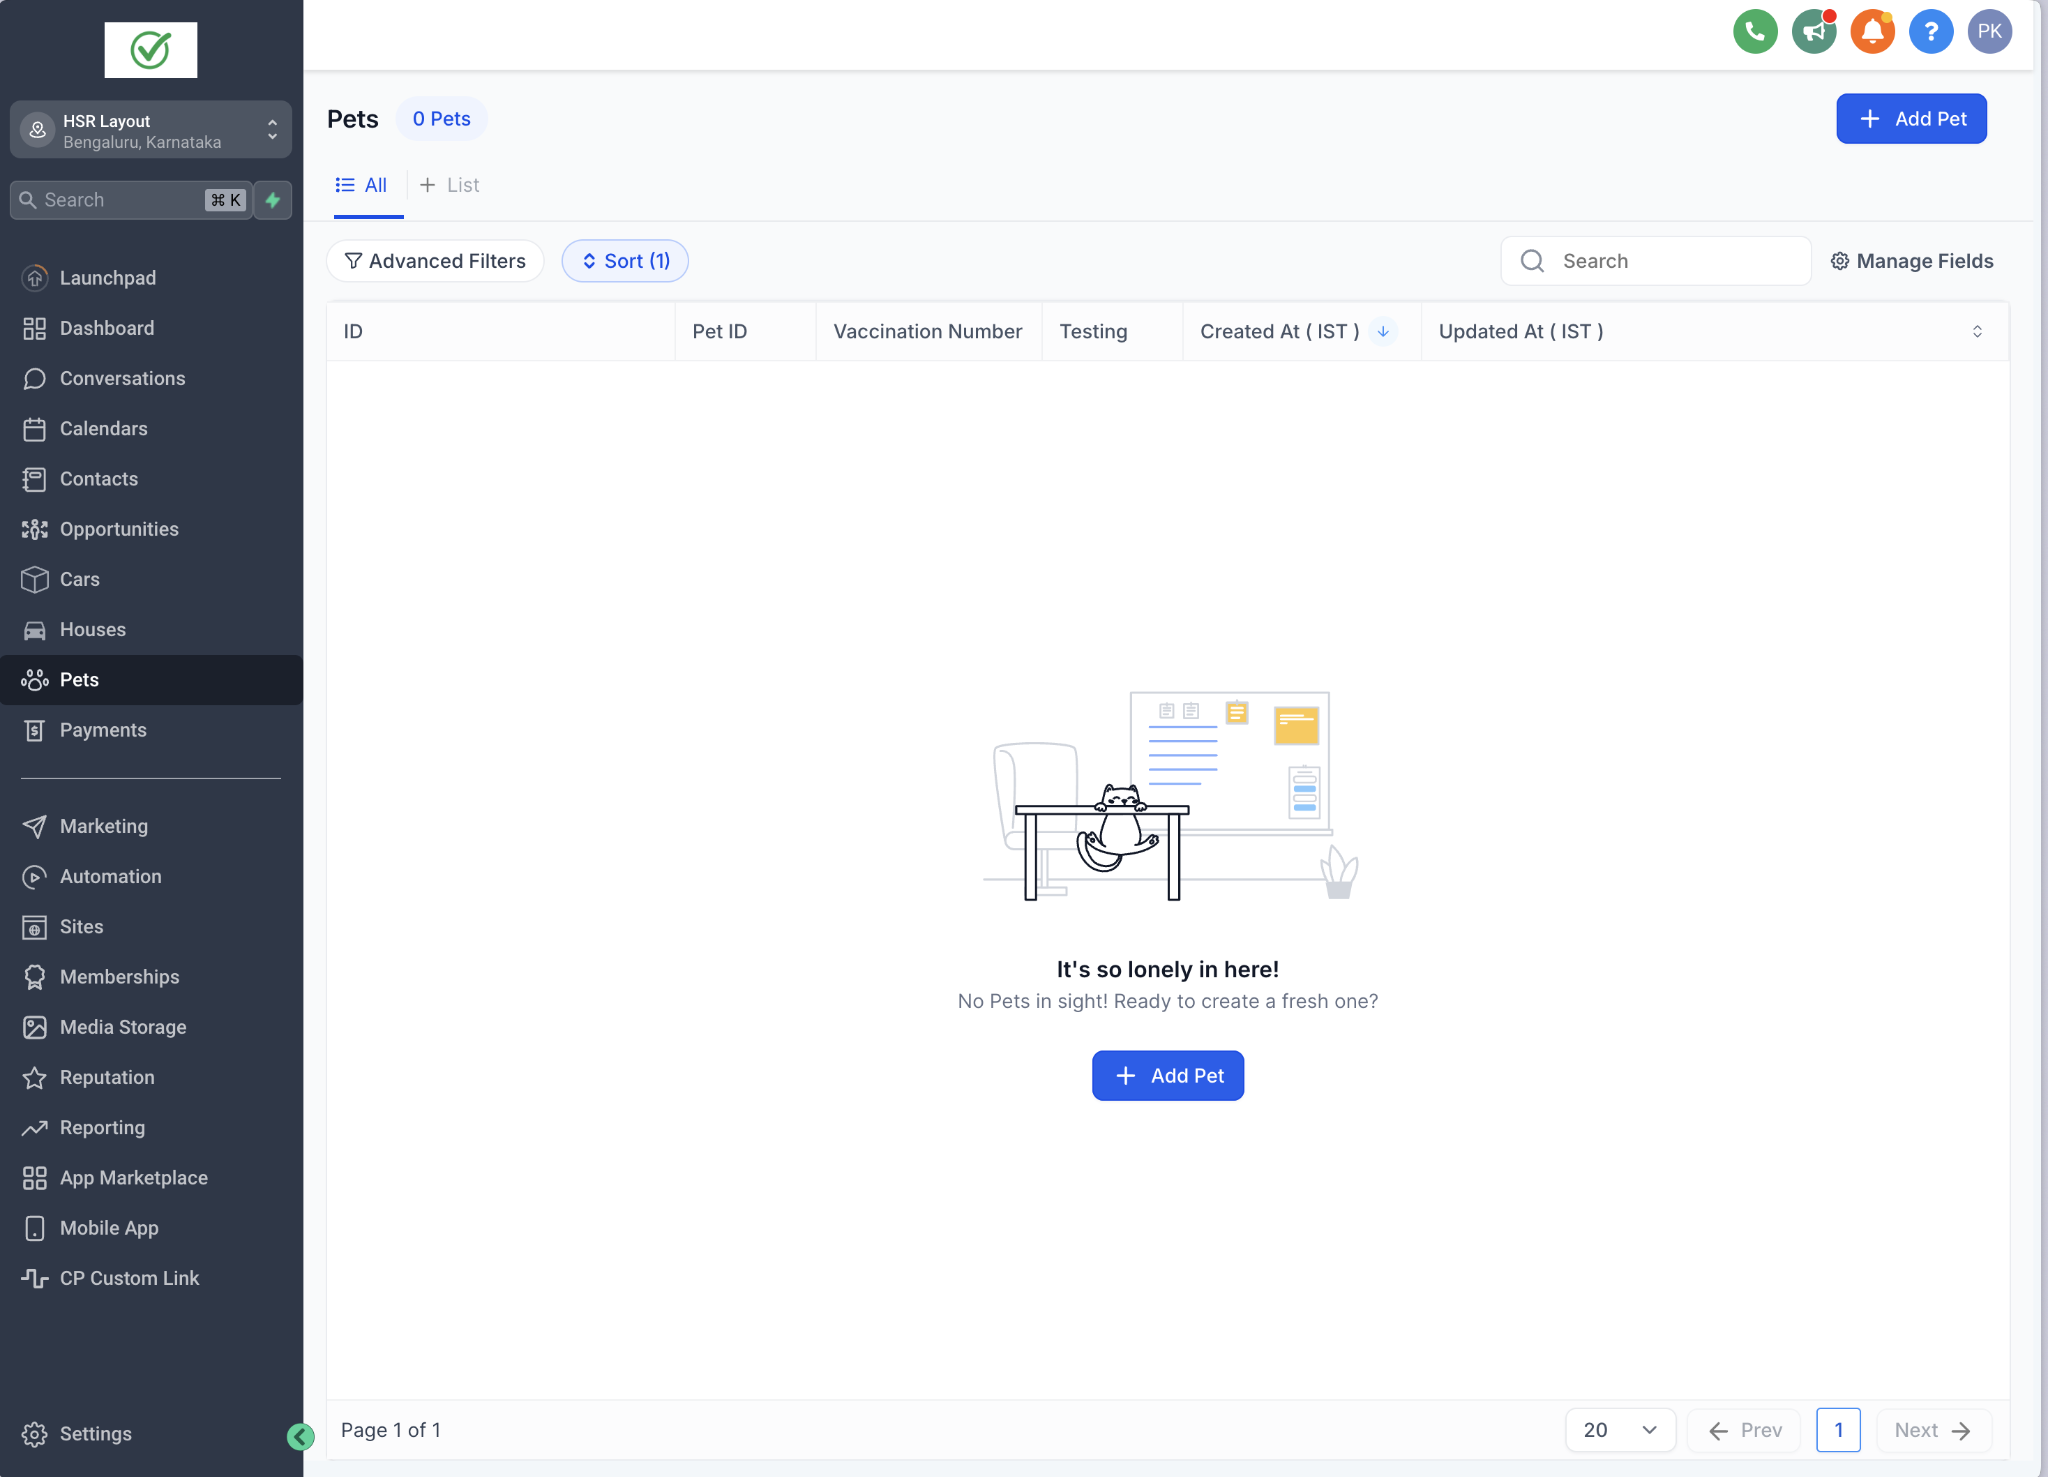
To create a new custom object record, follow these steps:
-
Go to the relevant custom object:
- In the left-hand navigation panel, select the custom object type (e.g. Pets, Cars, and so on).
-
Click "Add" to create a new record:
- In the top right-hand corner of the screen, click the Add button (e.g. “Add pet”).
-
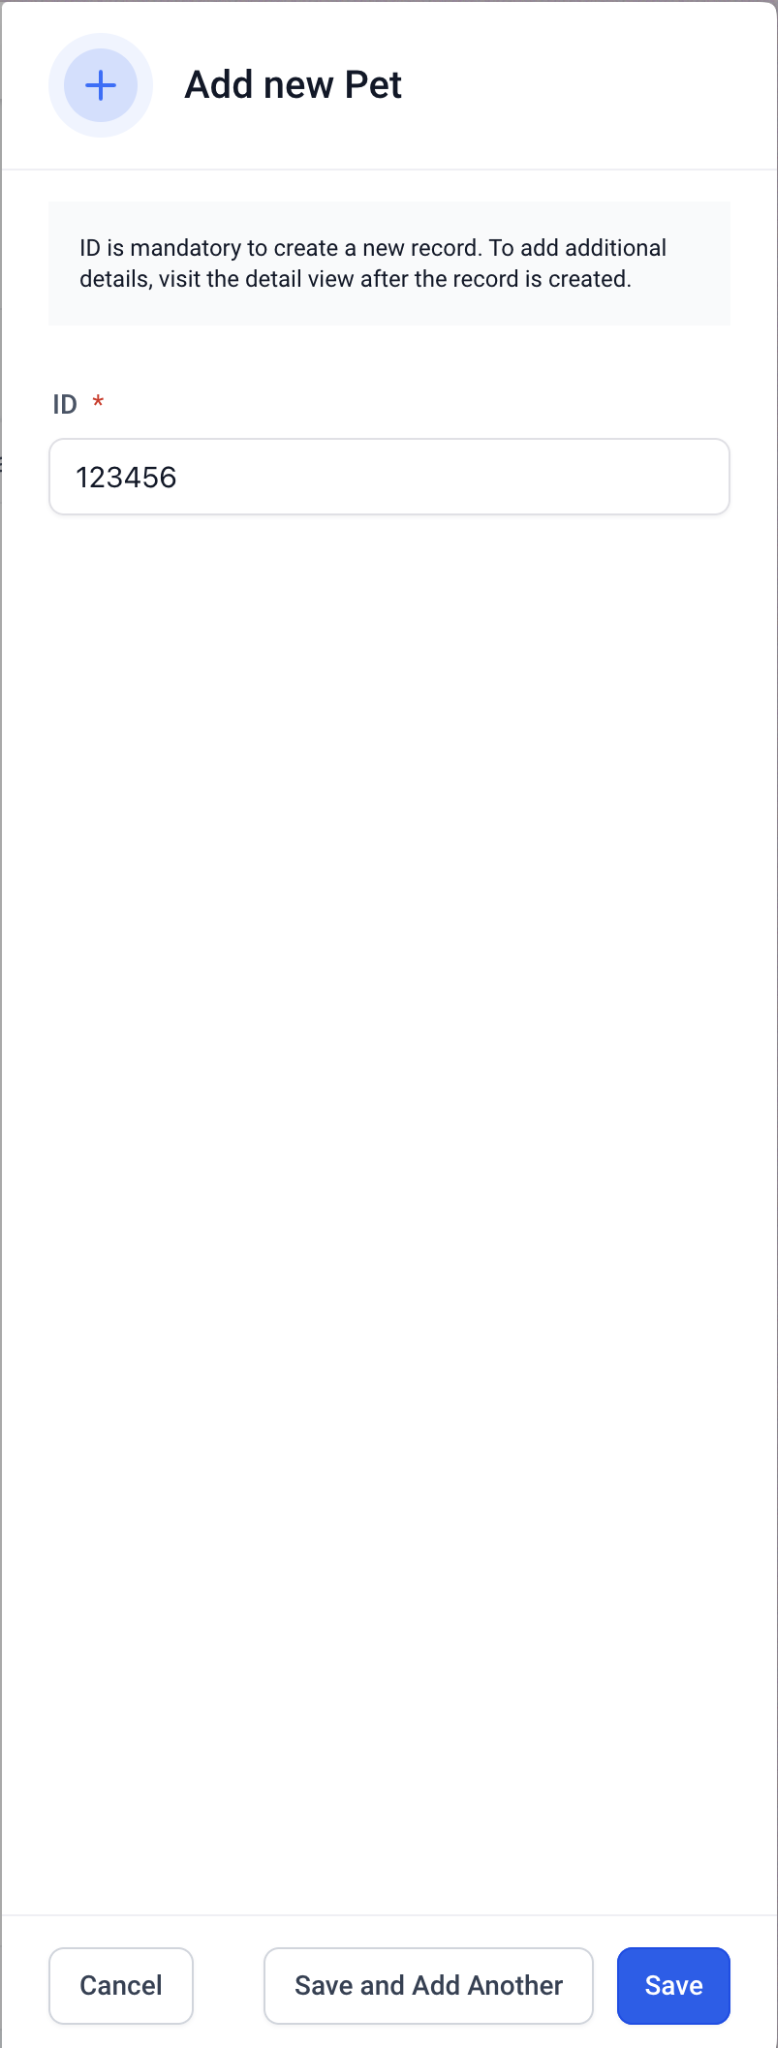
Fill in the required fields:
- In the form that appears, enter the value for the primary field of that object.
-
Save the record:
- Once you have added the required information, click Save.
- Optionally, you can choose Save and add another to create additional records without leaving the form.
You can only add values for the primary fields while creating a custom object record.
Updating an existing custom object record
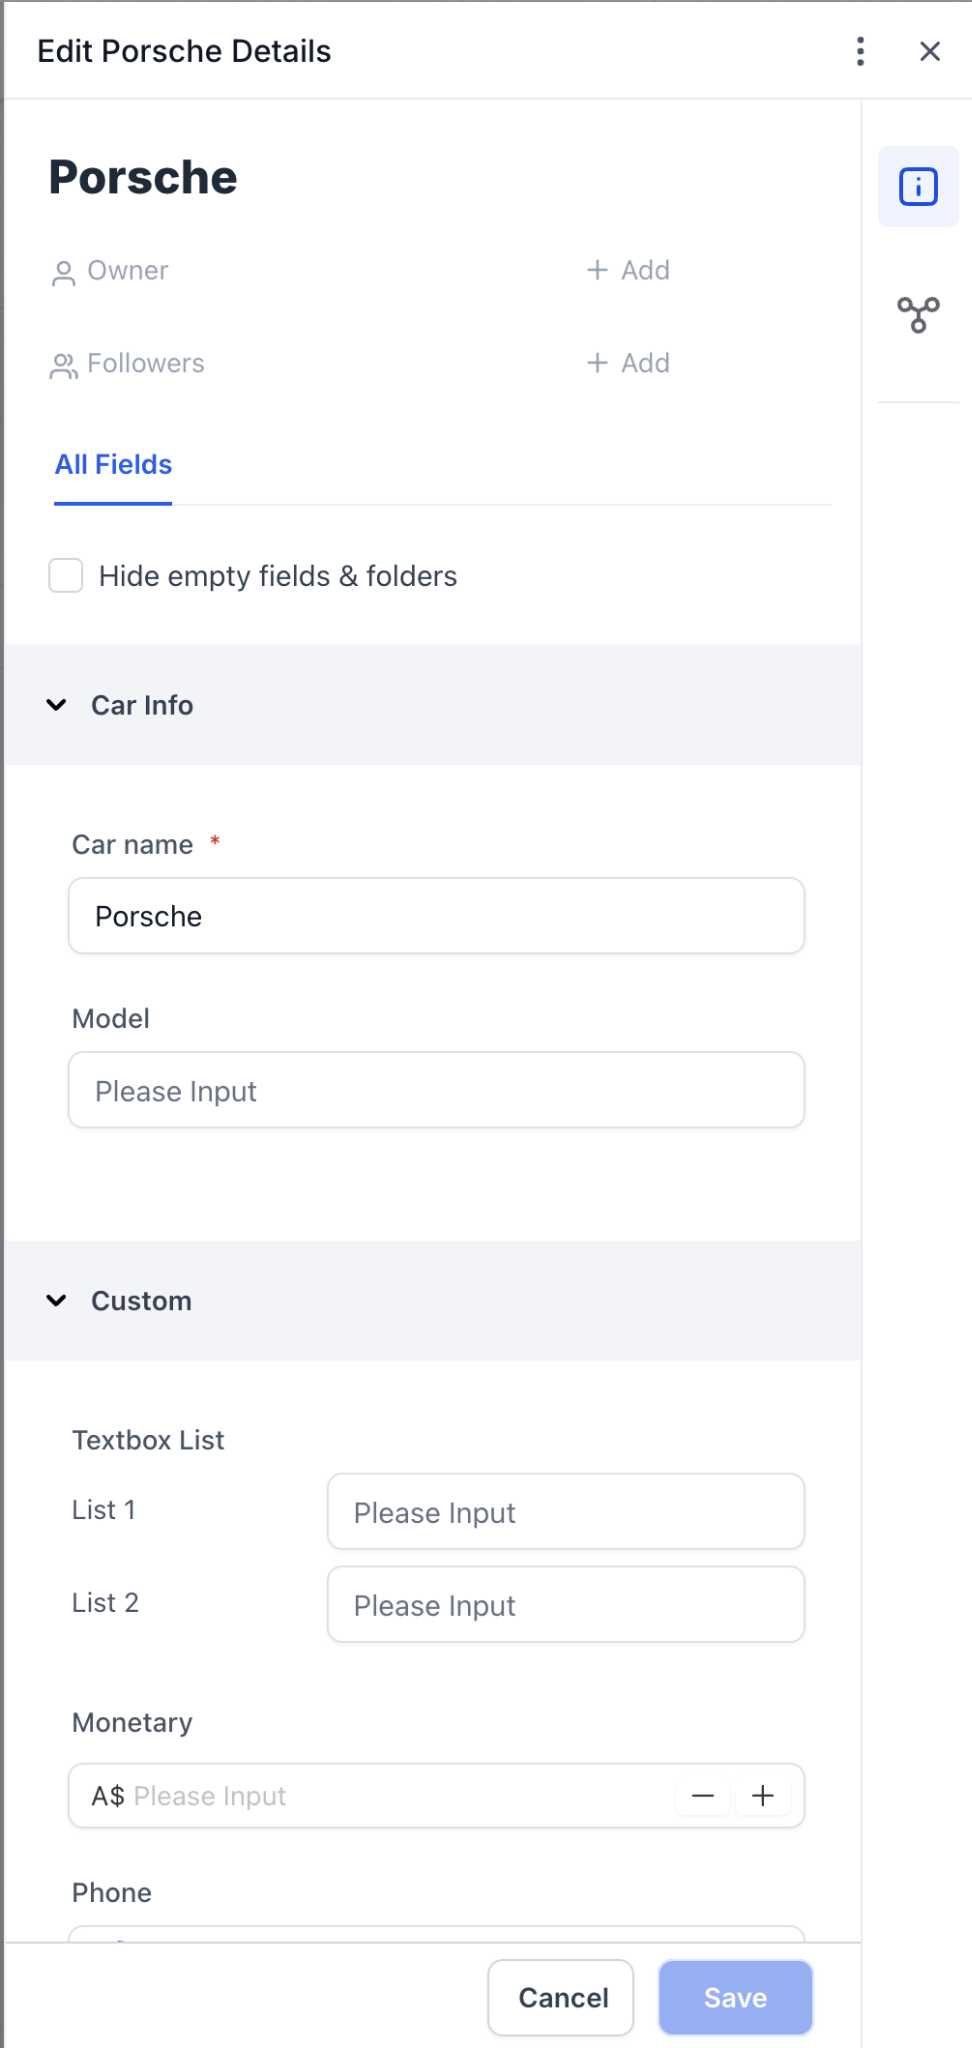
To update a record, follow these steps:
-
Open the custom object record:
- Go to the list of custom objects and find the record you want to update.
- Click the name of the record to open its details.
-
Edit the required fields:
- Click the Edit button to make changes to the object.
- Update fields such as text, numeric values, drop-down menus and so on, according to the changes you need to apply.
-
Save the changes:
- Once you have made the necessary updates, click the Save button to apply the changes.
- Alternatively, click Cancel if you do not want to save the changes.
Managing related objects
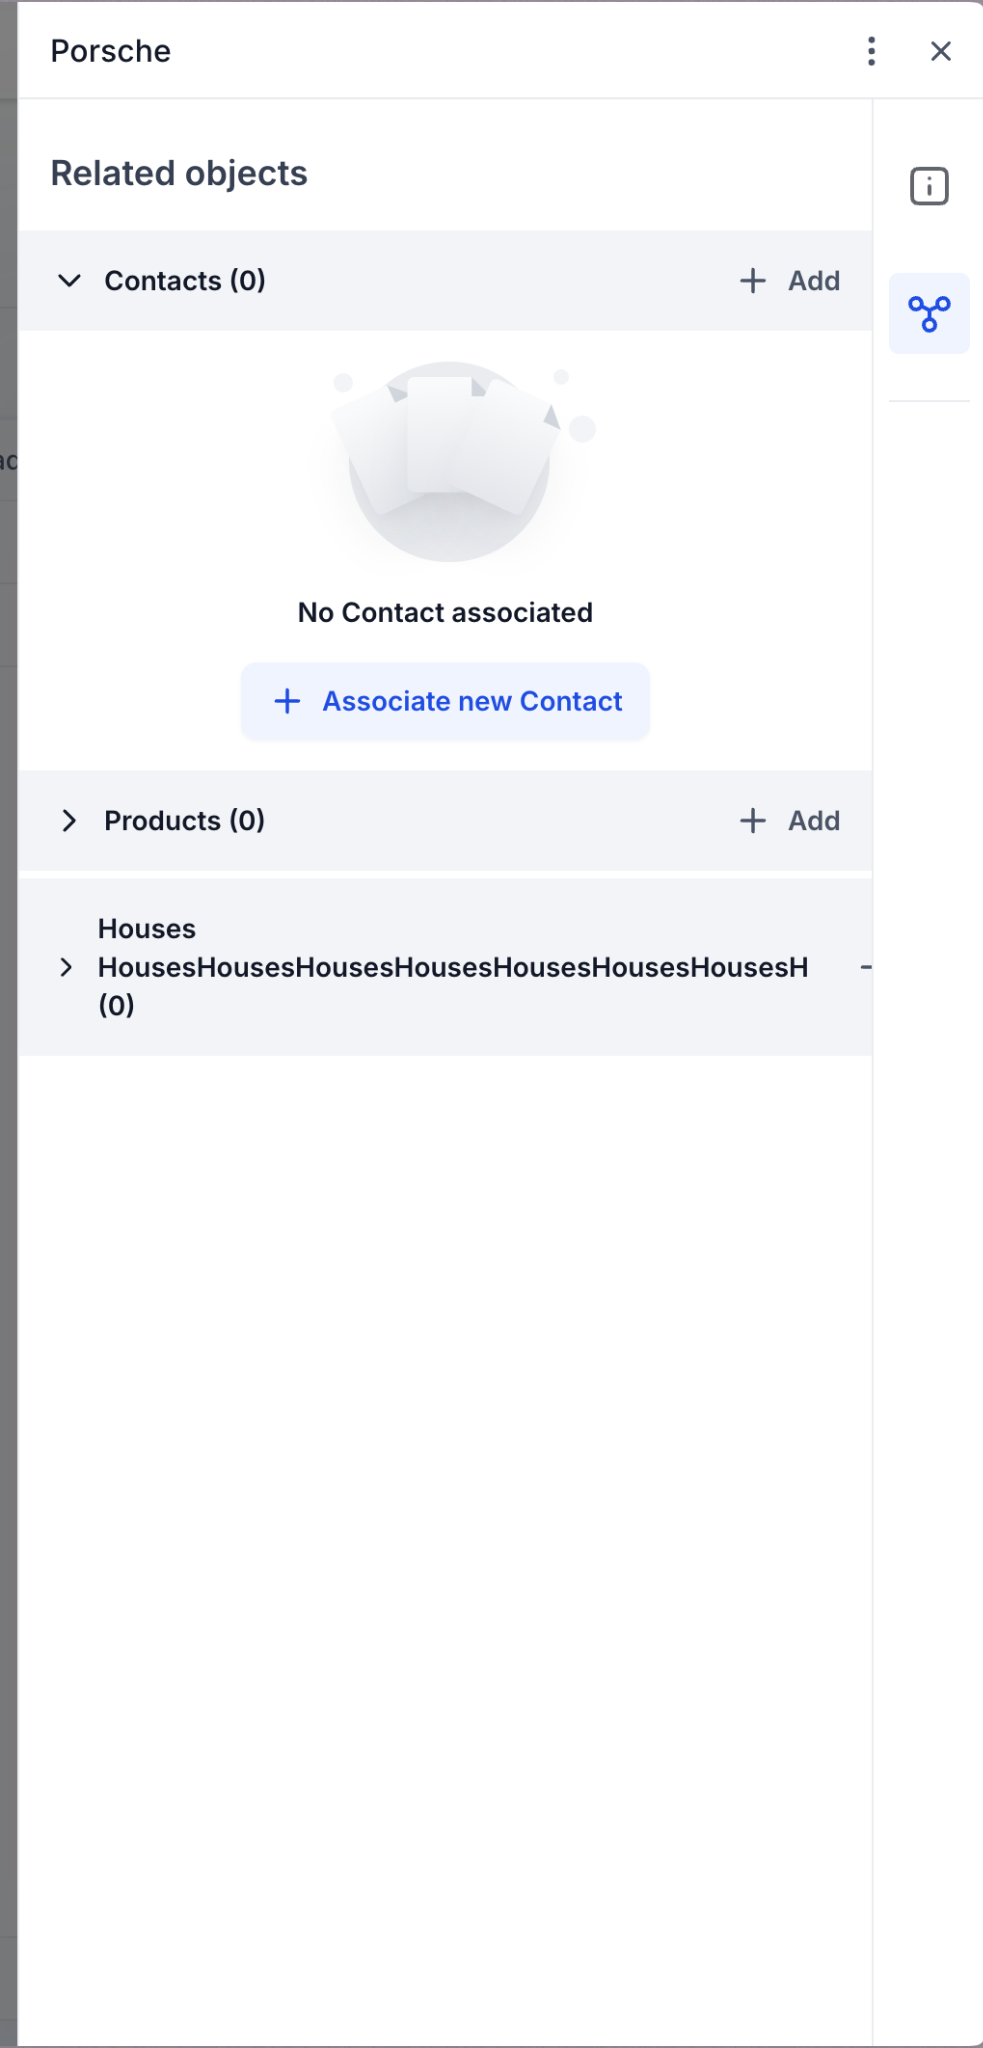
For some custom objects, you may want to associate other records such as contacts, products or houses. Here is how you can manage these associations:
-
Go to the "Related objects" section:
- Open the object record and find the Related objects section.
- Click Add next to the object you want to associate (e.g. Contacts, Products).
-
Associate new records:
- Search for the related record (e.g. a contact) you want to associate and click Associate to link it to the custom object.
Deleting a custom object record
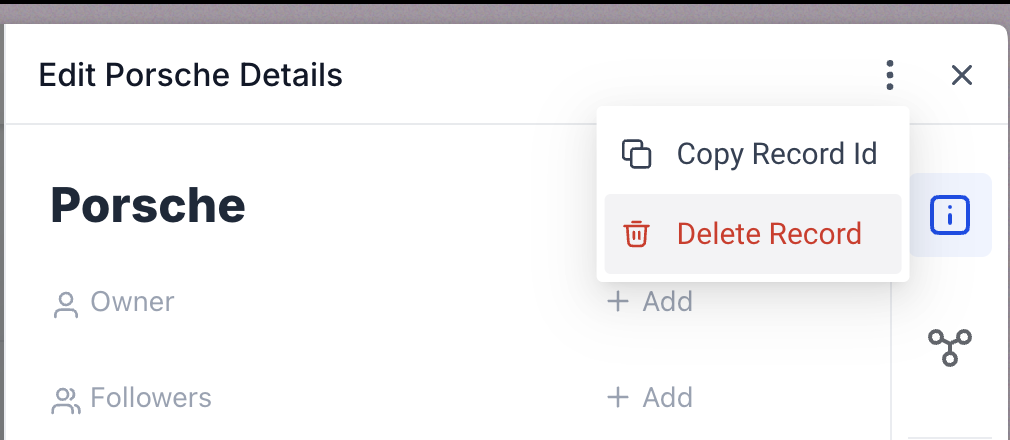
If you need to delete a custom object record, follow these steps:
-
Open the record:
- Go to the record you want to delete and open it.
-
Click the three-dot menu:
- In the record details view, click the three-dot menu in the top right-hand corner.
-
Select "Delete":
- From the drop-down menu, click Delete record to remove the record permanently.
- In the confirmation window that follows, confirm the deletion.
Deleting a custom object is an irreversible action. Once deleted, a custom object record cannot be restored.
Importing custom object records
To import custom object records using a CSV file, follow these steps:
-
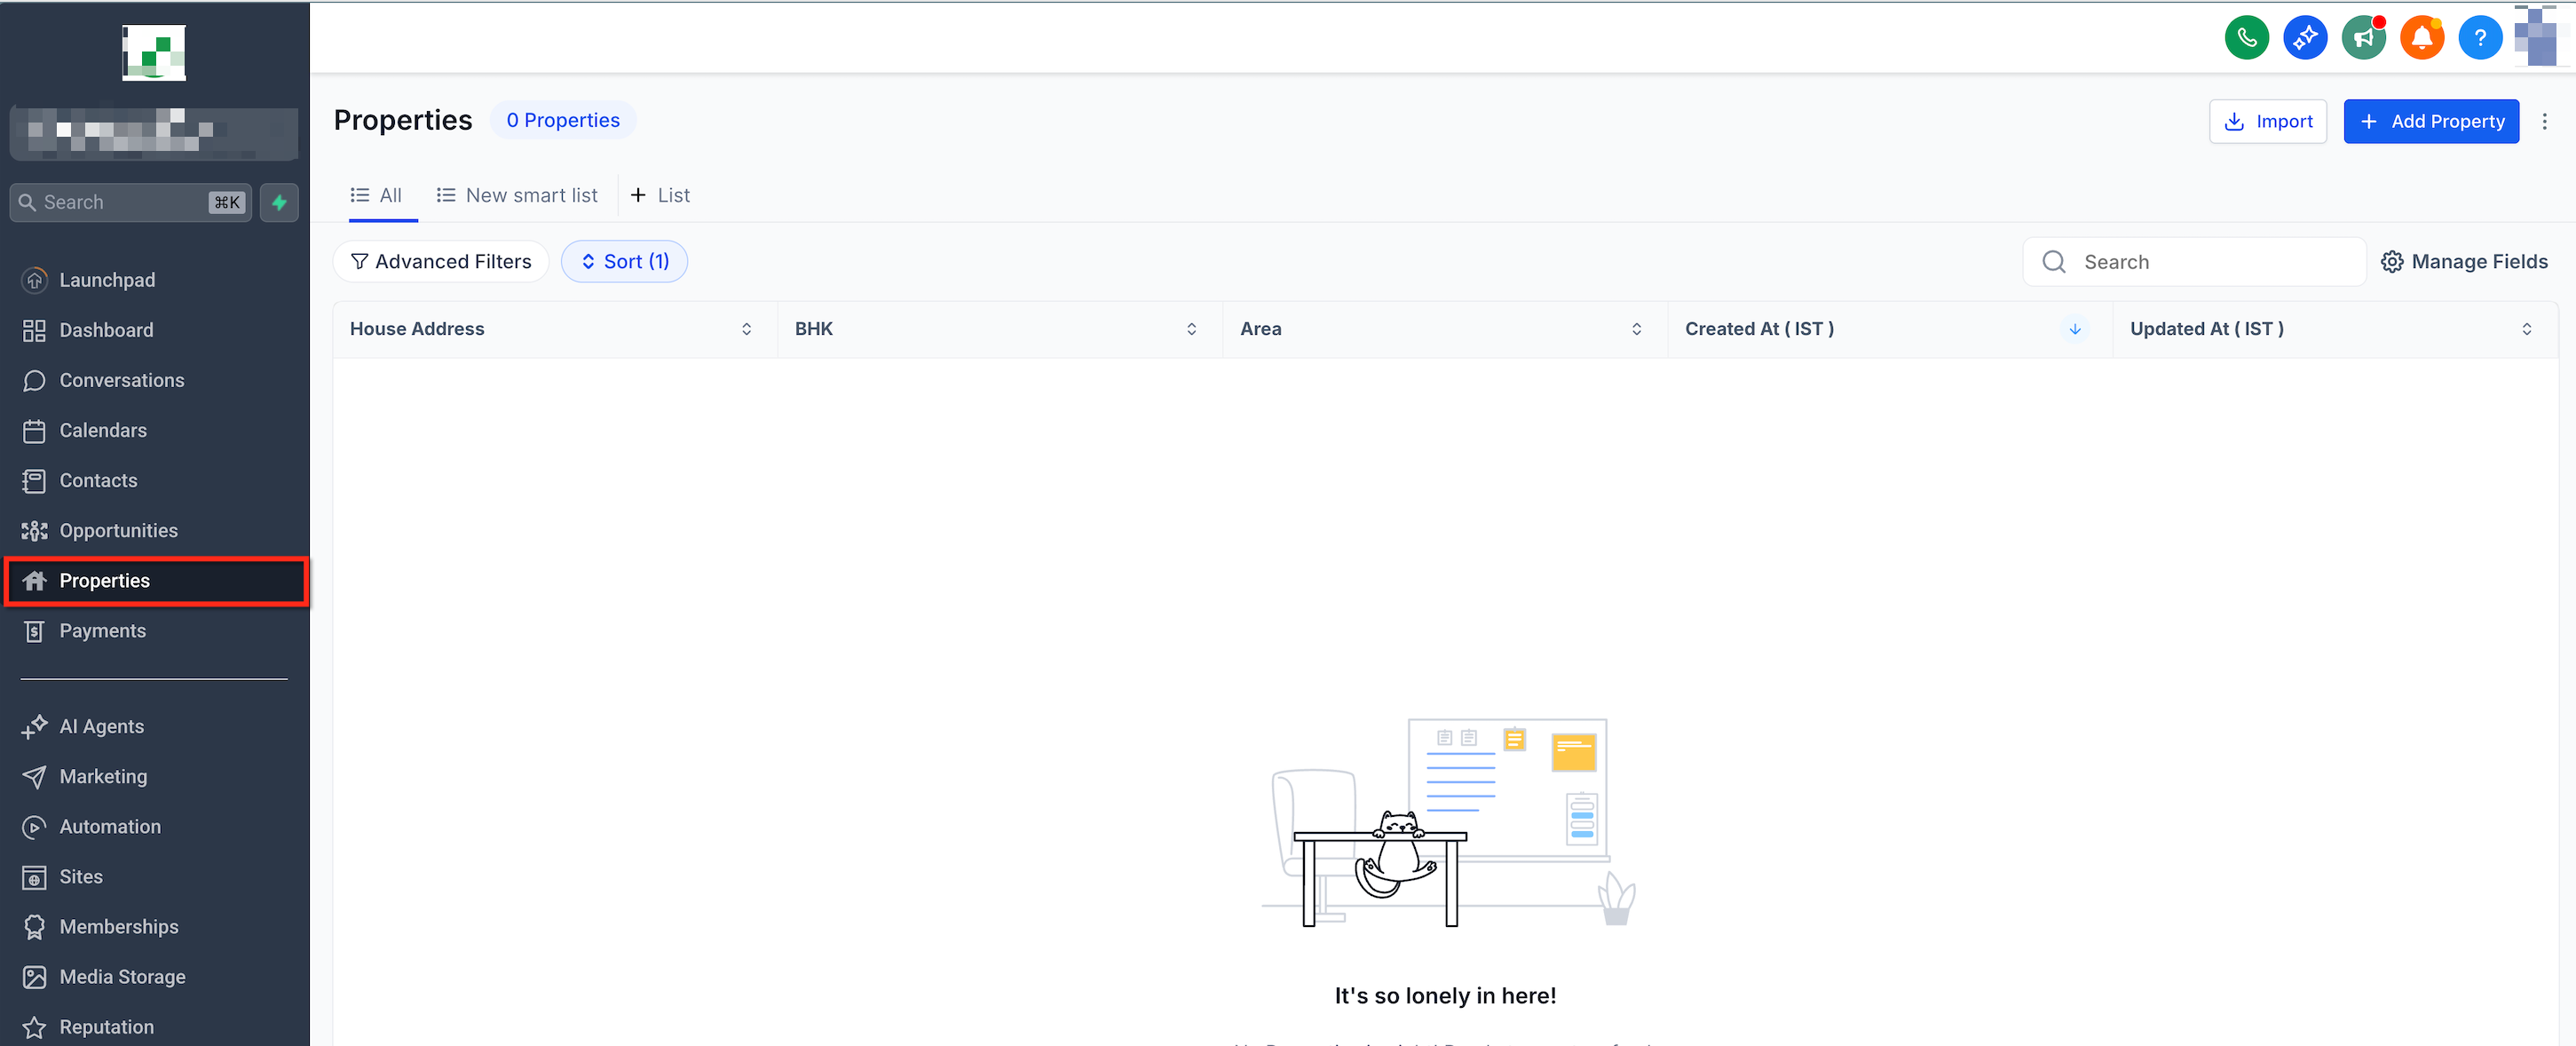
Open Custom objects in your account and select the custom object you want to import the records into.
-
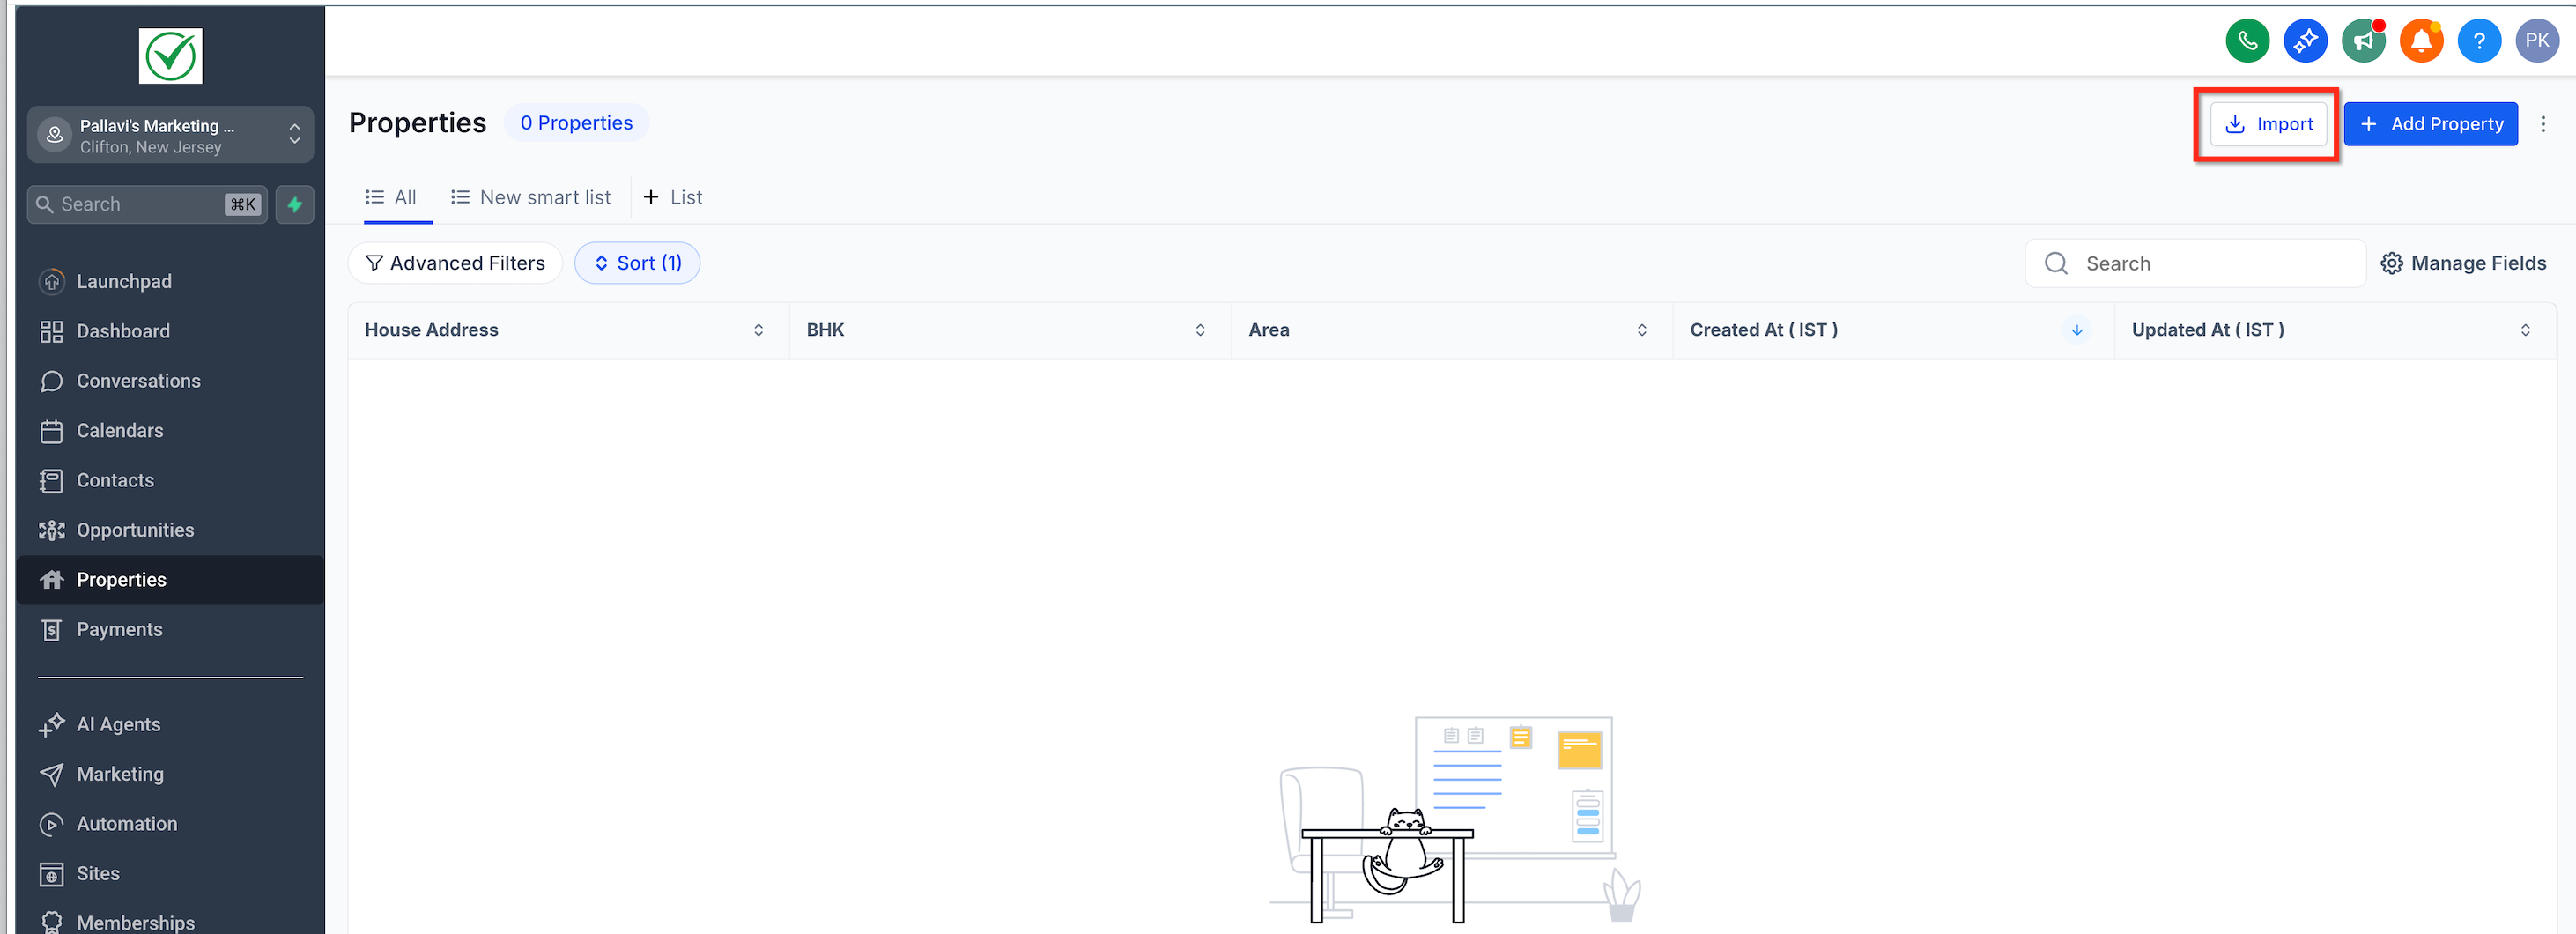
Click Import (top right).
-
Select the objects to start the import.
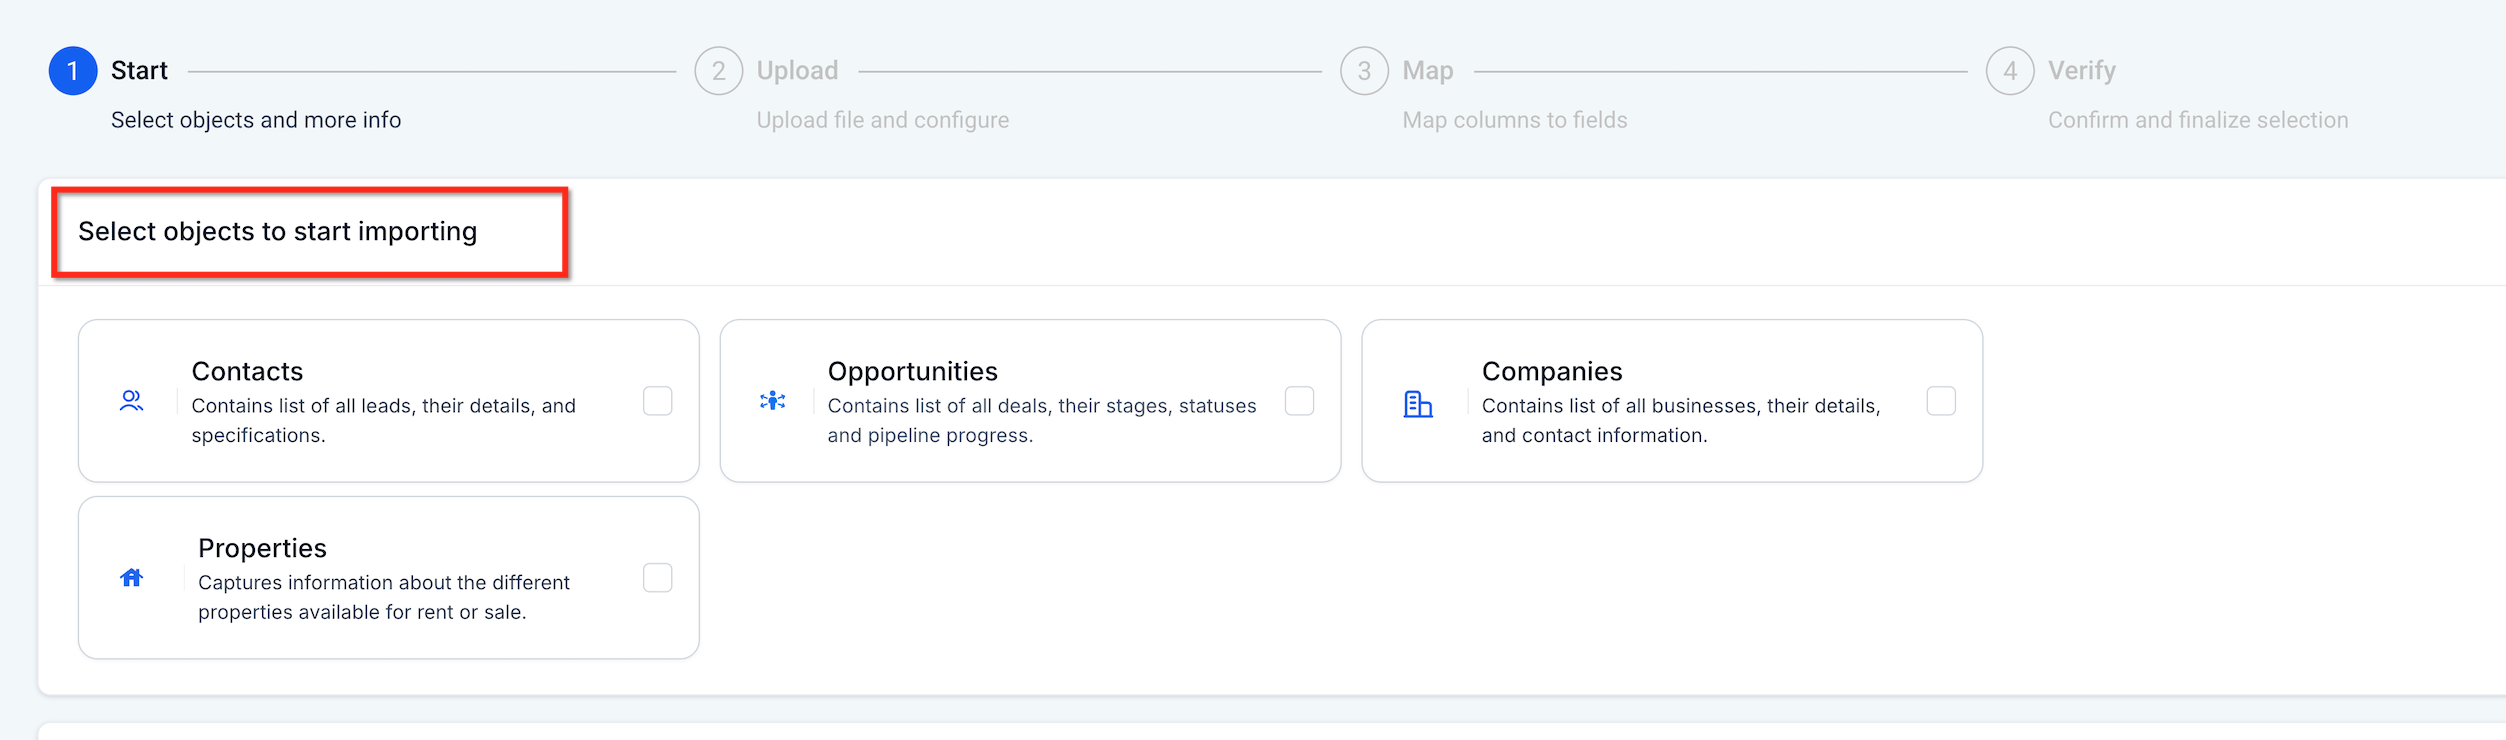
-
Choose an import mode: Create and update.
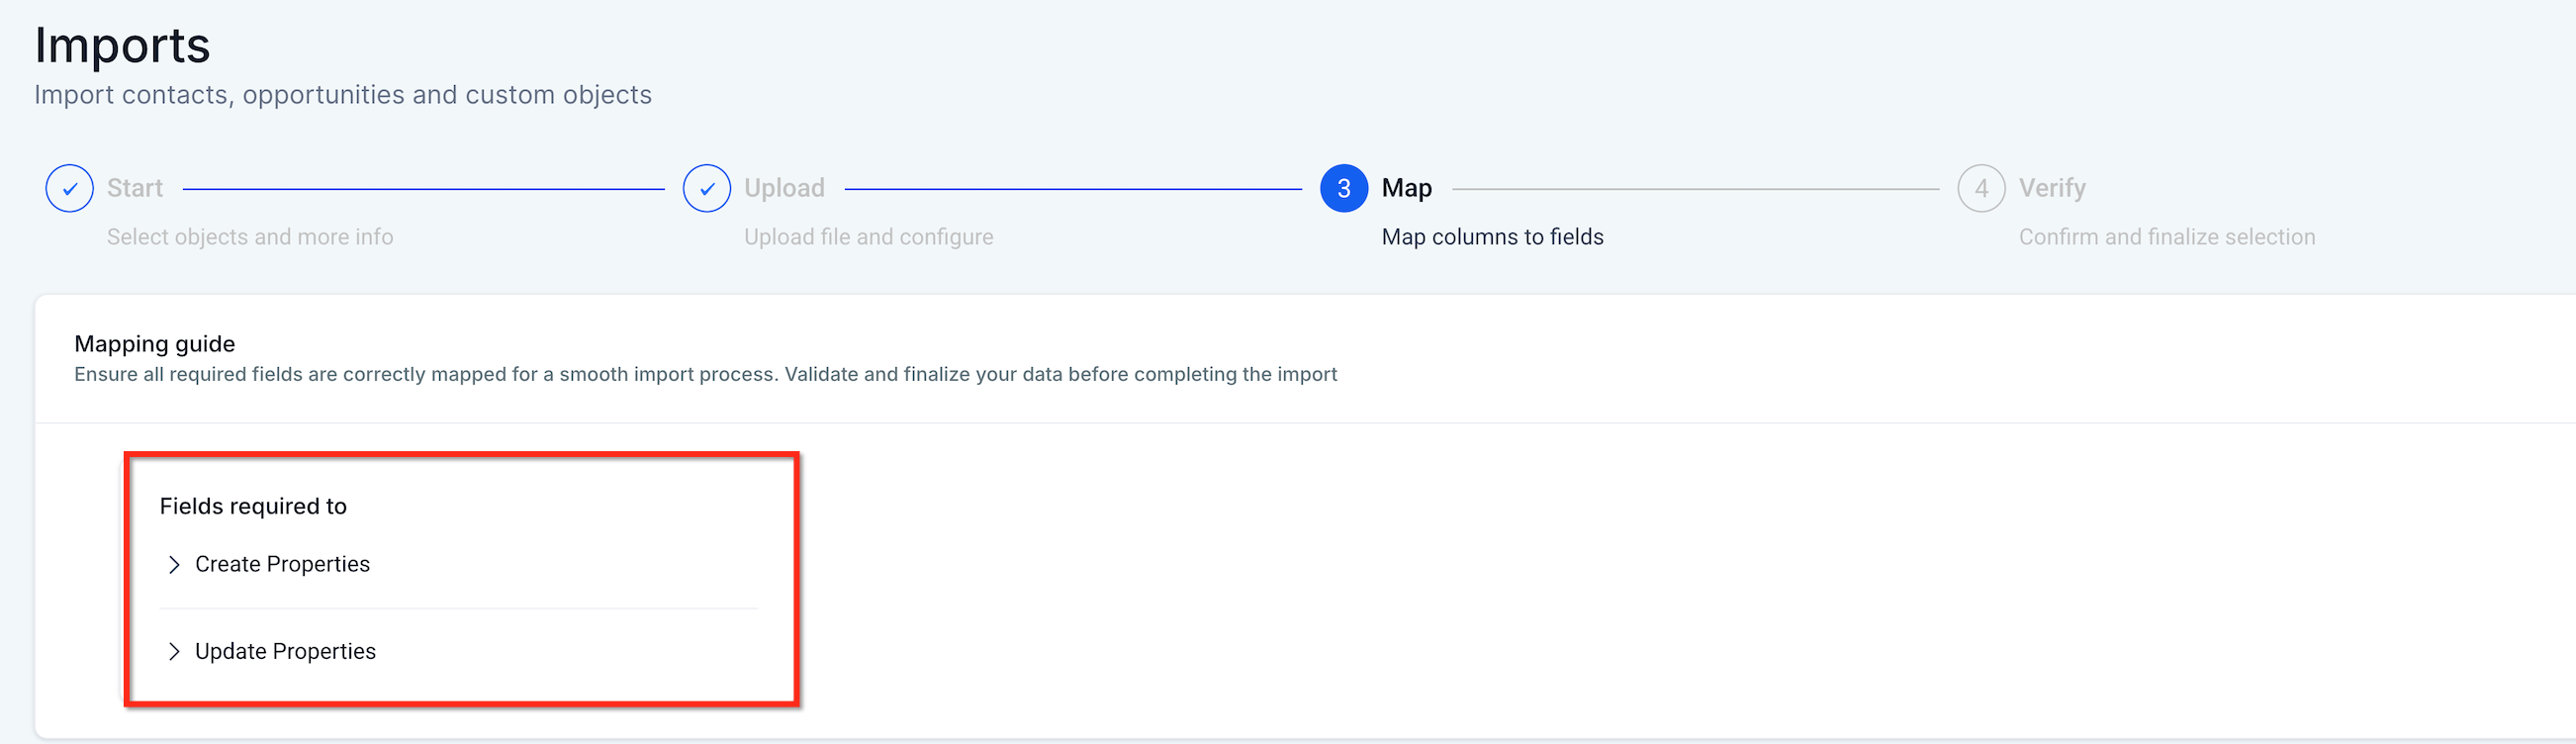
-
If prompted, select the unique field for deduplication (this appears only when several unique fields are mapped).
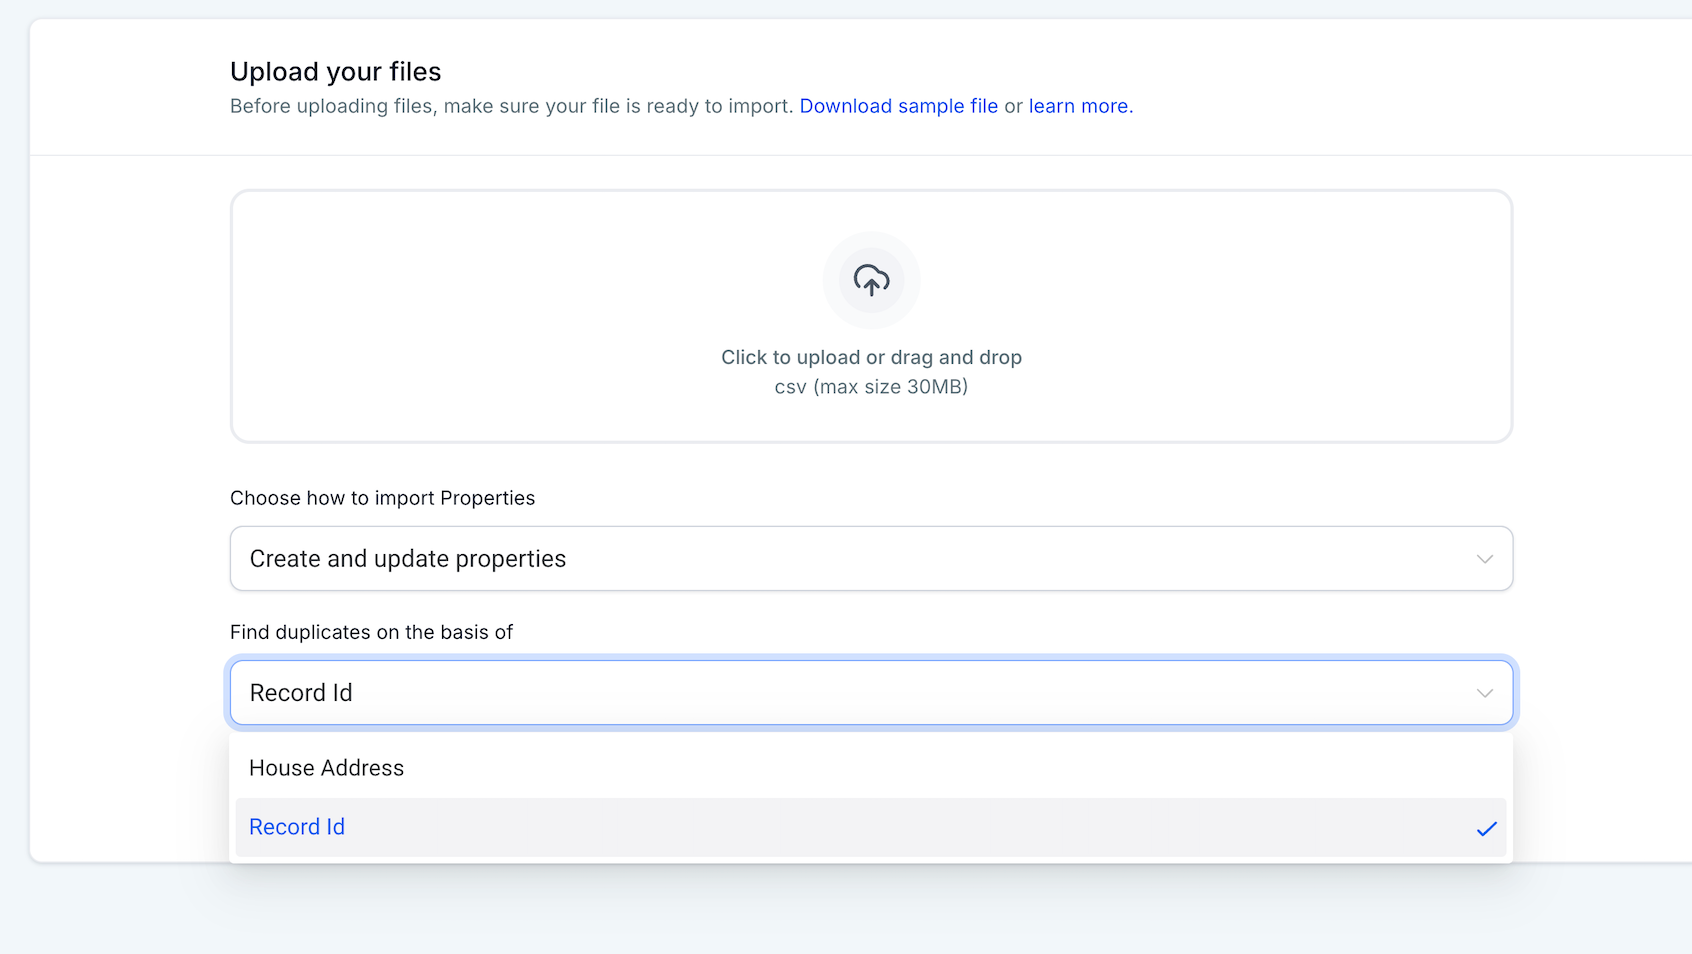
-
Map your fields:
- First, map the primary/required fields.
-
Then map the additional fields (including Owner and Followers, if needed).
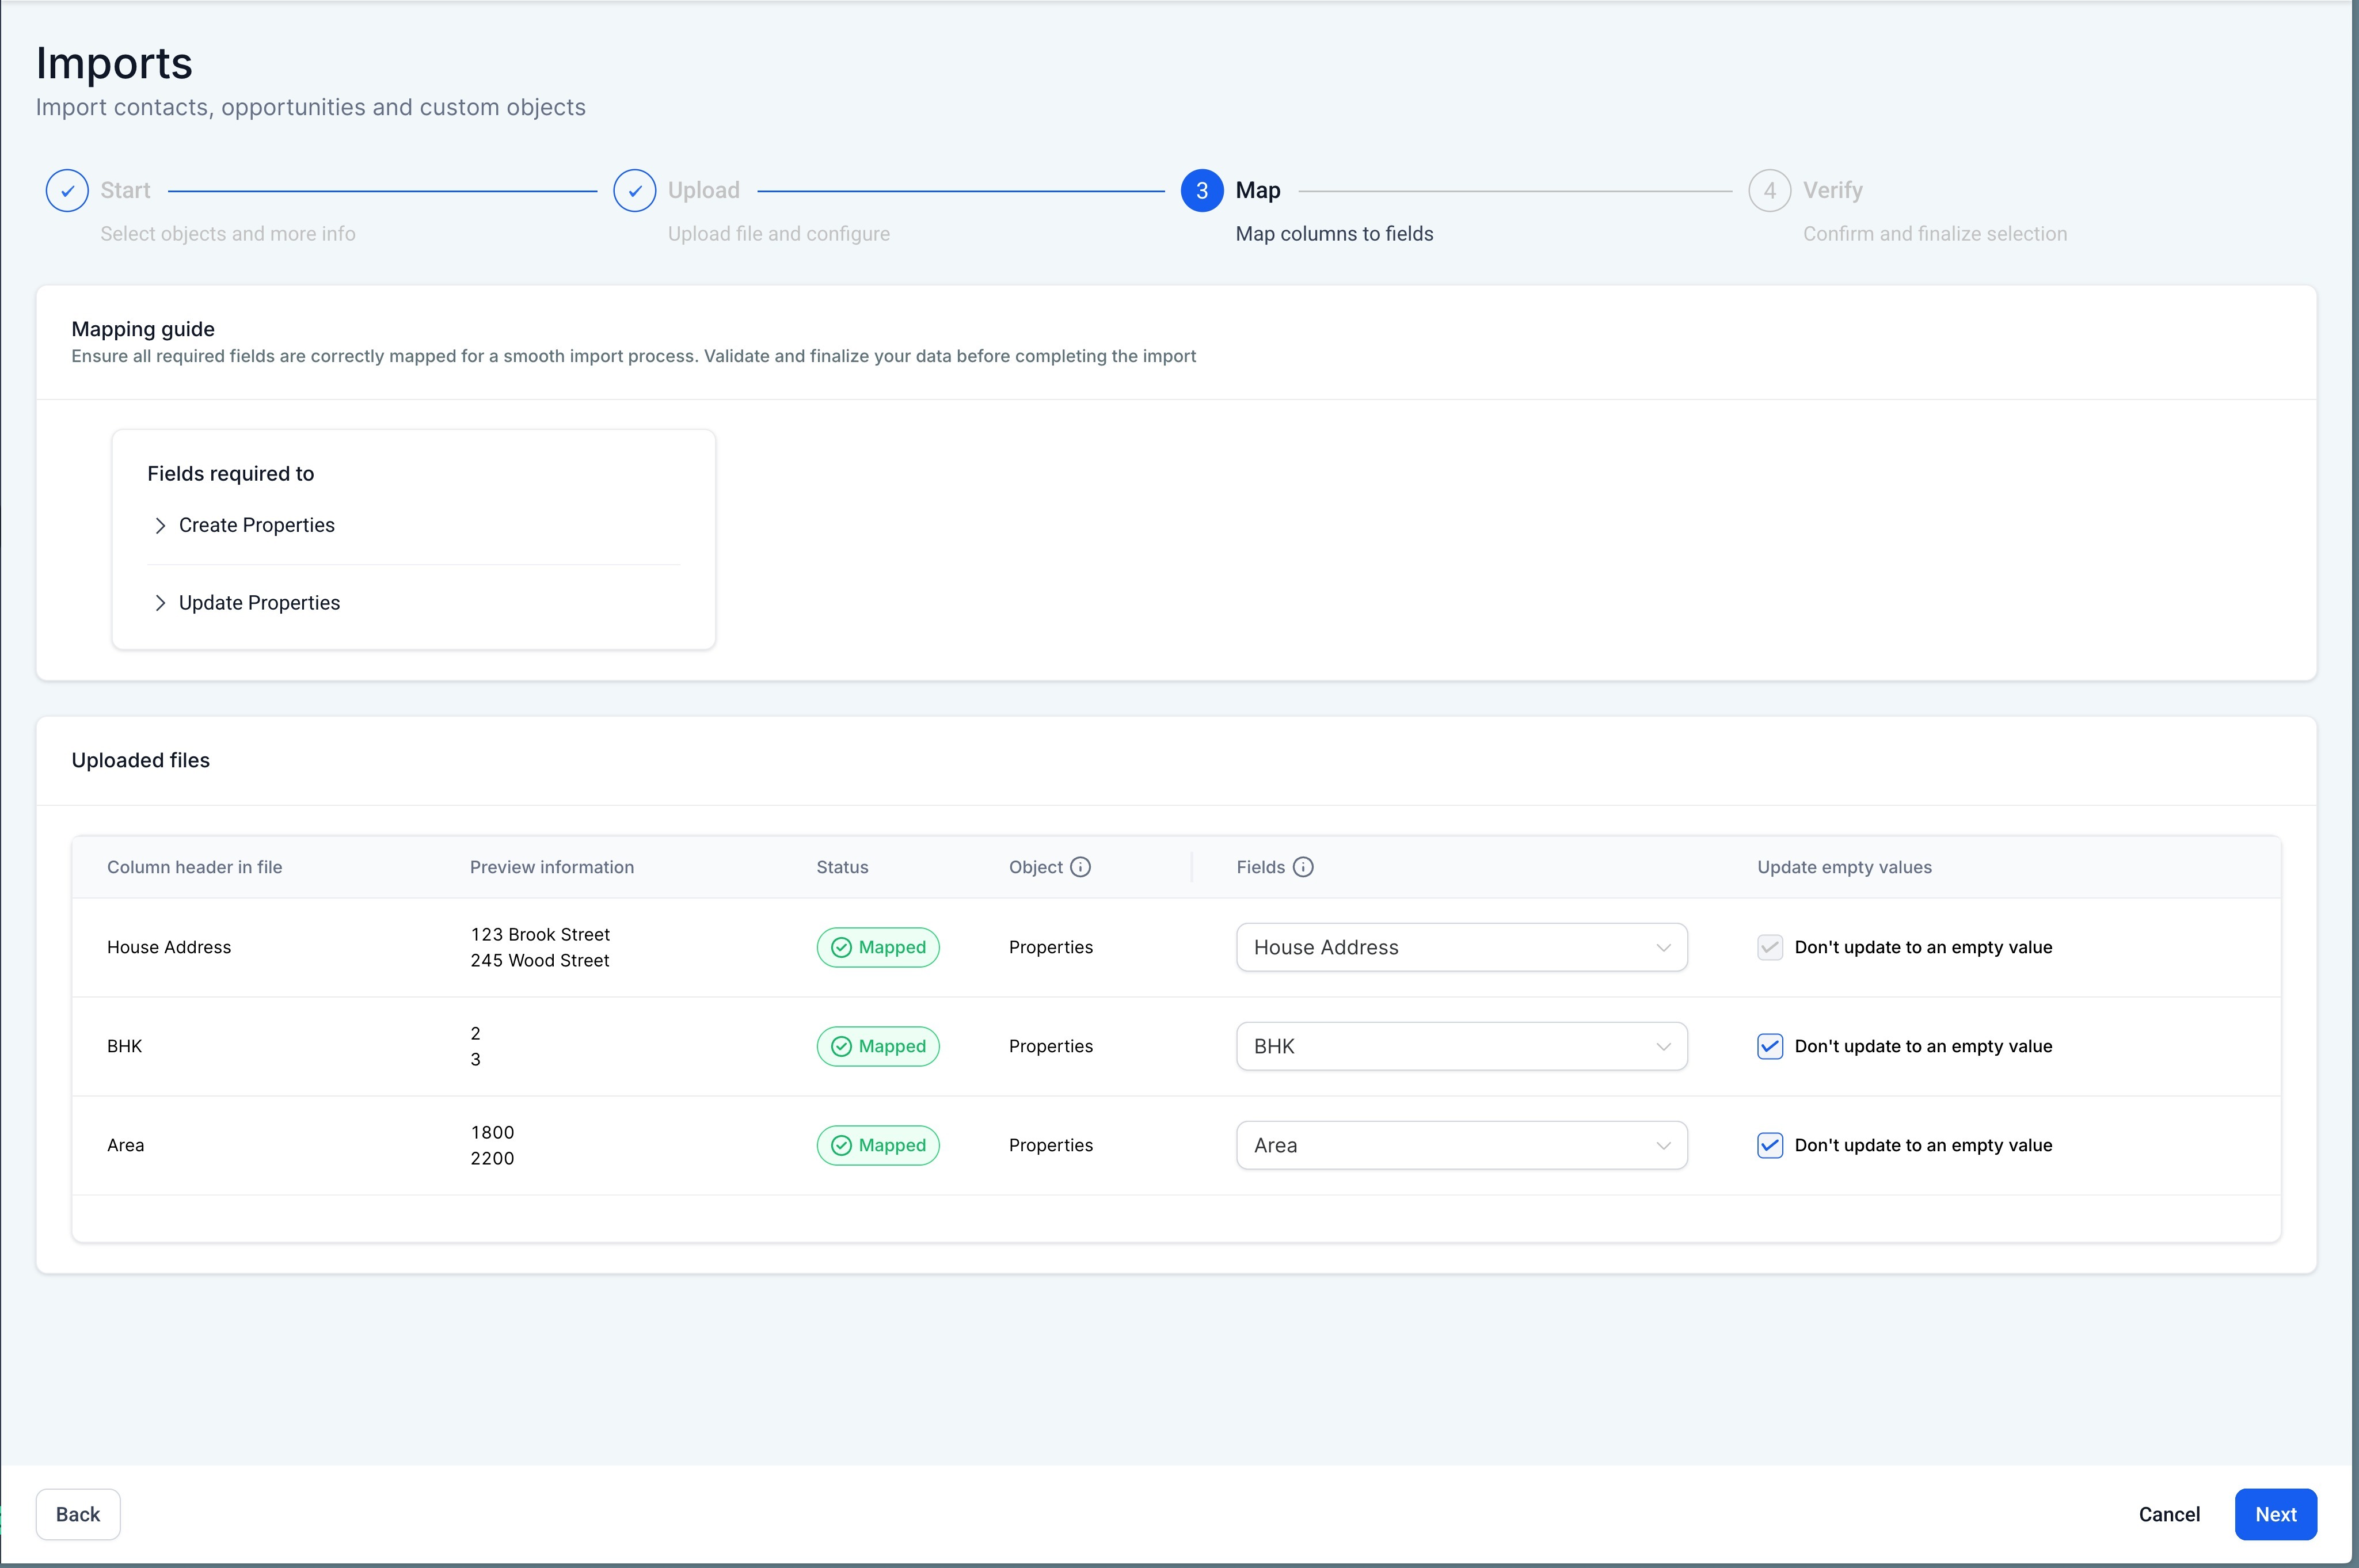
-
Enable Update empty values if your use case requires empty values to be applied during update imports (the exclusions for primary/required fields still apply).
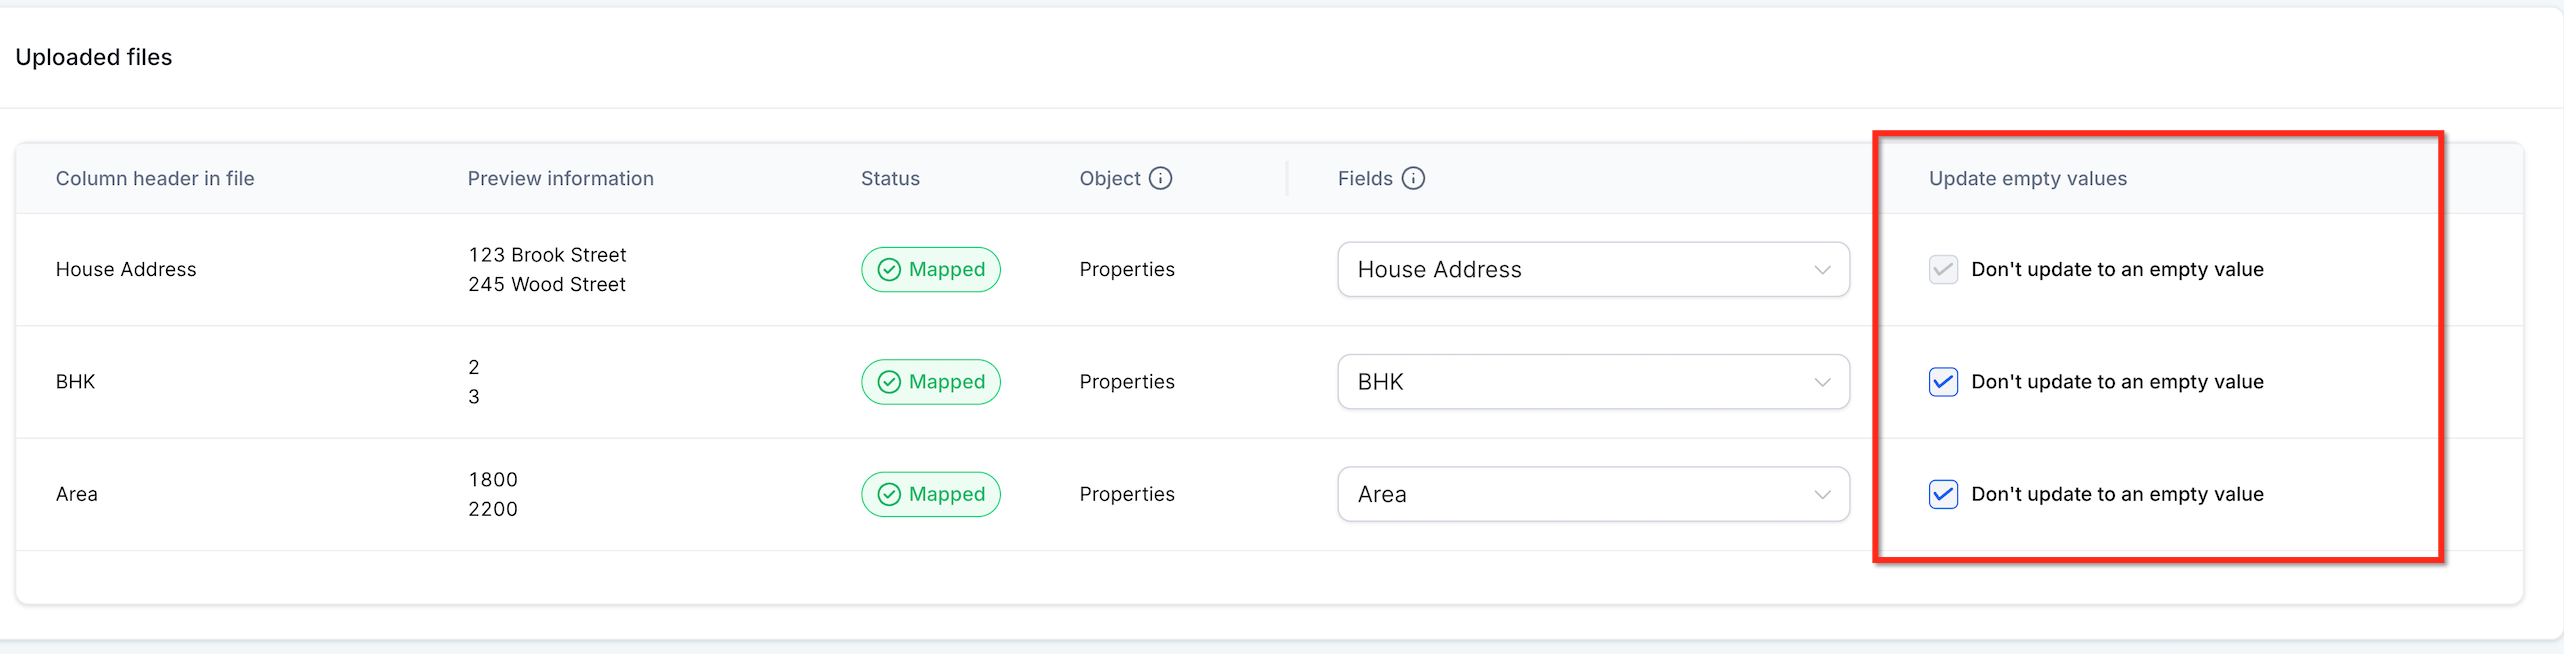
-
Click Start import.